Transcription
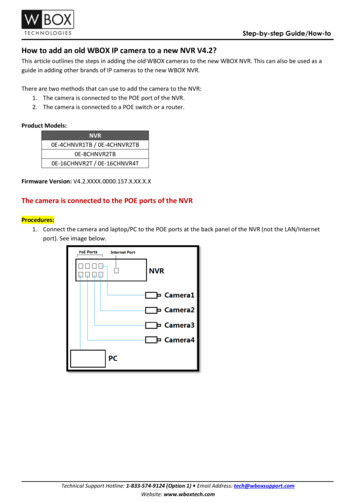
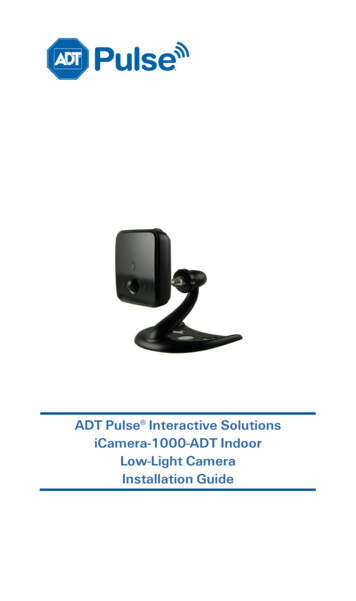
Pulse Camera Add-On and ReplacementSelect« Help CenterPulse Camera Add-On and ReplacementWhen you replace an ADT Pulse Camera with the same model, Schedules and Automations are not requiredto go through the Setup process all over.If the replacement camera is a different model, then the existing camera will need to be removed and anySchedules and Automations associated with that existing camera will also need to be deleted. After you enrollthe new camera you can then reenter the Schedules and Automations that were in place with the old camera.Please Note: In certain situations, you may need to perform a Factory Reset of the camera.OverviewEnroll NewRemove Camera Factory ResetCameraAdding or Enrolling an ADT Pulse CameraAdding or Enrolling an ADT Pulse Camera:1. Select the System tab, and then click Manage Devices.https://alpha.adt.com/help/110[11/12/2018 10:12:48 PM]Related Topics
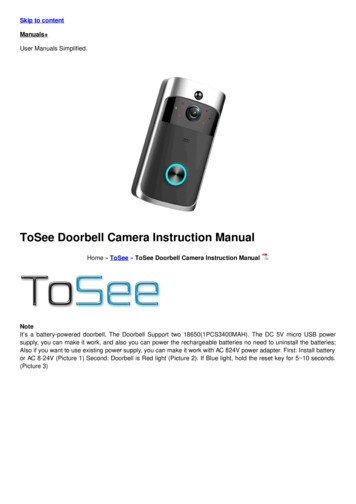
Pulse Camera Add-On and Replacement2. In the Manage Devices screen, click on the Switches, Doors, Thermostats and Others group. A list ofinstalled Z-Wave devices appears.Select Cameras.3. At the bottom of the screen click Add.https://alpha.adt.com/help/110[11/12/2018 10:12:48 PM]
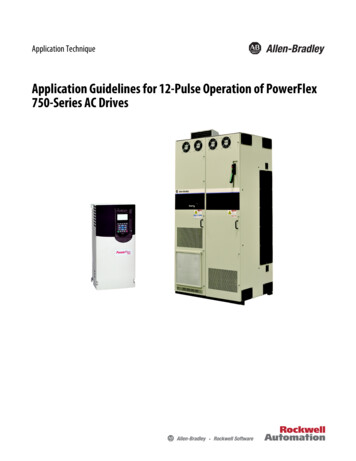
Pulse Camera Add-On and Replacement4. Locate the camera’s MAC ID on the rear of the camera.5. Enter the camera’s MAC ID. Do not click Continue at this time. Follow the the step(s) on this screenbefore proceeding.6. Use a standard Ethernet cable to temporarily connect the new camera to the Device LAN port of theADT Pulse Gateway or Total Security (TS) Base unit.https://alpha.adt.com/help/110[11/12/2018 10:12:48 PM]
Pulse Camera Add-On and Replacement7. For the Add-on Replacement Camera, power up the camera.After the Power and Network LEDsturn solid green, click Continue. Wait for the camera to add. It could take a few minutes, especially if anupgrade is required.8. In the Name field assign the camera a unique name (usually based on the location of the camera). Inthis example we’ll use “Living Room Camera” and then click the Save button at the upper right of 8 10:12:48 PM]
Pulse Camera Add-On and Replacement9. The Camera screen appears, now displaying the added camera. At the top-left of the screen, click GoBack. You are returned to the Manage Devices screen.10. The total number of installed cameras has increased by one. At the top left of the screen, click GoBack.11. You are returned to the Manage Devices screen. The total number of installed cameras hasincreased by one. Click Close, and then Close once again to return to the System tab/System page. Yourhttps://alpha.adt.com/help/110[11/12/2018 10:12:48 PM]
Pulse Camera Add-On and Replacementnew camera will now display.12. Remove the AC power and Ethernet cables from new camera.Place the camera in its permanentlocation and reconnect the AC power cable. Within a few minutes of plugging it back in, the camera isback online.Use the ADT Pulse Portal to check the camera’s viewing angle and range to ensure propercoverage.Removing an ADT Pulse Camera1. If you are not already signed in, logon to the ADT Pulse Portal.2. On the System tab, click on the camera. In this example, we’ll use the Living Room Camera.https://alpha.adt.com/help/110[11/12/2018 10:12:48 PM]
Pulse Camera Add-On and Replacement3. Click Delete to remove the camera.4. The Living Room Camera is now removed from the System tab.4a. Please Note: A pop-up can occur that alerts you that an Automation(s) and Schedule(s) connectionexists. You must first delete the automation(s) and/or schedule(s) associated with the camera before itcan removed from the system. Click OK, and then delete the automation(s) and/or schedule(s), asdescribed in the Alerts, Automations and Schedules found here.https://alpha.adt.com/help/110[11/12/2018 10:12:48 PM]
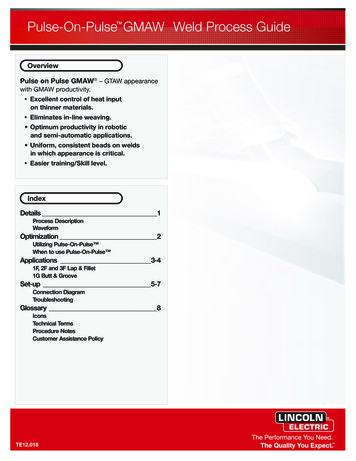
Pulse Camera Add-On and ReplacementPerform a Factory Reset with ADT Pulse Camera(s)You may be prompted to restore the camera to its factory default settings. To reset the camera, press theReset button on the camera for 20 seconds while it is powered on. The camera reboots and the settingsare restored to their default values.The Reset button is recessed in a small opening and requires the use of a paper clip to reach it. Thelocation of the reset button varies by the model type. See the pictures below for the position of the resetbutton.Related TopicsPulse Mobile App - Getting StartedInformation about getting started with the Pulse Mobile App.Pulse Mobile App - CamerasInformation about the Pulse Mobile App and cameras.Pulse Mobile App - ModesInformation about the Pulse Mobile App and how to use modes.Return to TopHow can we help?https://alpha.adt.com/help/110[11/12/2018 10:12:48 PM]Search
Use the ADT Pulse Portal to check the camera's viewing angle and range to ensure proper coverage. Removing an ADT Pulse Camera 1. . Please Note: A pop-up can occur that alerts you that an Automation(s) and Schedule(s) connection exists. You must first delete the automation(s) and/or schedule(s) associated with the camera before it