Transcription
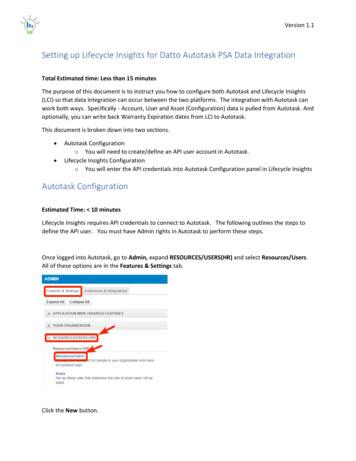
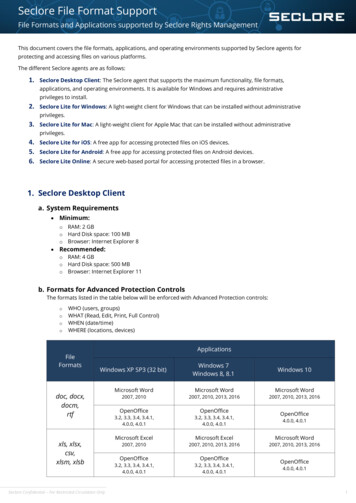
How to configure caller recognition and screen-pop for:AutotaskContact replication method: APIScreen pop method: URIPrerequisitesA specific Autotask API Account is required in order to complete the integration. Follow these steps tocreate an API Account which works with the Configuration tool:1. Within Autotask navigate to Homepage Admin Features & Settings 2020 – This content may not be copied, reproduced, distributed without written permission from the author. All rights reserved.
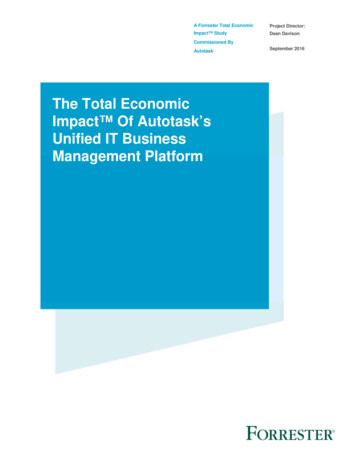
2. Expand ‘RESOURCES/USERS (HR)’ and click ‘Resources/Users’3. Click ‘New API User’4. Fill out the necessary fields under the first ‘General’ area. This information will not be used forour API services, so anything valid will work. Remember to set the ‘Security Level’ to ‘API User (System)’5. Generate the API Keys under the second ‘general’ area. Click the Generate Key button to generate a user key. Make sure to copy and paste thatkey to a separate area, like Notepad or Word, for later usage. Click the Generate Secret button to generate a secret password. Make sure to copy andpaste that key to a separate area, like Notepad or Word, for later usage. This will not beaccessible later.6. Select the vendor from the dropdown in the ‘API Tracking Identifier’ section Ensure ‘Integration Vendor’ is selected Scroll through the list to find and select ‘Cloud CTI - Telephony’7. For the ‘Line of Business’ field, drag over all relevant line items that relate to reading contactdata to ensure the right areas can be read. 2020 – This content may not be copied, reproduced, distributed without written permission from the author. All rights reserved.
8. Click ‘Save & Close’ at the top once of this window once you've copied over both keys andensured all fields are set correctly.NotesFor outbound dialing, highlight a phone number inside Autotask and press the dial hotkey. 2020 – This content may not be copied, reproduced, distributed without written permission from the author. All rights reserved.
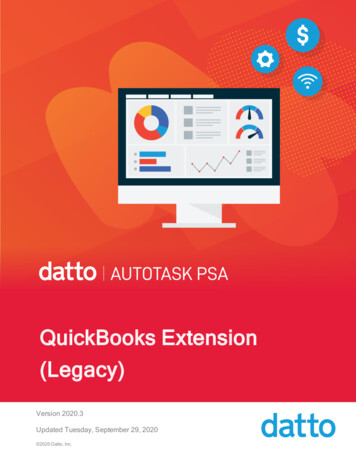
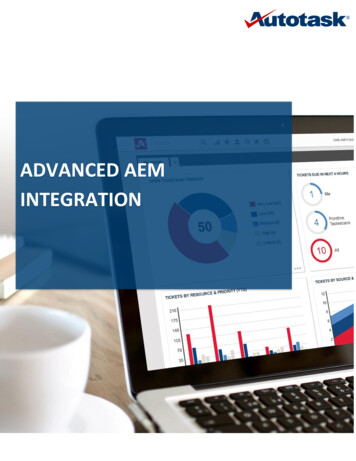
Configuration stepsStart by clicking ‘add recognition’ in the Recognition Configuration Tool (this is done automatically if noconfiguration has yet been configured). From the list of applications, choose ‘Autotask’, as shown below. 2020 – This content may not be copied, reproduced, distributed without written permission from the author. All rights reserved.
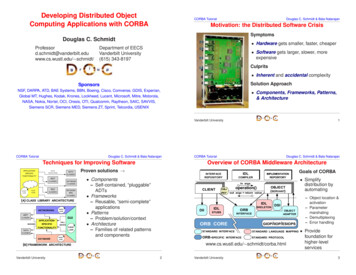
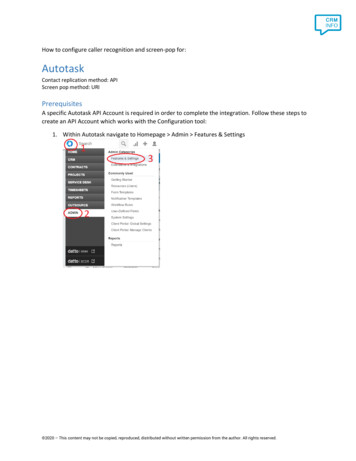
1)Enter your API account Username and Password that have been created. Click ‘Next’ to continue. 2020 – This content may not be copied, reproduced, distributed without written permission from the author. All rights reserved.
2)The ‘Show Contact’ Script is preconfigured. You can add extra scripts or replace the ‘ShowContact’ script.3)Check the configuration summary and click ‘Finish’ to add the recognition from Act! Cloud 2020 – This content may not be copied, reproduced, distributed without written permission from the author. All rights reserved.
Autotask Contact replication method: API Screen pop method: URI Prerequisites A specific Autotask API Account is required in order to complete the integration. Follow these steps to create an API Account which works with the Configuration tool: 1. Within Autotask navigate to Homepage Admin Features & Settings