Transcription
Hosting a Webex MeetingPurpose and ScopeWebex is a service that offers audio, video conferencing and screen sharing services, for stateand external participants. Webex is a cloud-based offering. It is best for meetings of 1 - 100active participants but can support up to 1,000 participants.To Host a Webex session requires a Webex license. Contact the DTI Service Desk to request aWebex license.This document will describe hosting Webex sessions: How to login to Webex and establish a meeting (page 2), How to Start a Meeting (page 4)Managing the Webex session (page 9) Schedule a Webex Meeting through the Outlook Calendar (page 11)Note: Your iPhone/Android offers a phone version for Webex meetings/events, however we donot cover those devices in these instructions.IMPORTANT:These instructions are for Hosting a Webex Meeting. You will need a Webex license and the Cisco Webex App downloaded to your computer to“Host” a Webex session. To request a Webex license open a service desk ticket.You do not need a license to “Participate” in a Webex, however the participant may beprompted to download the Webex app when joining a Webex meeting.Regardless whether you are a “Host” or a “Participant”, do not launch or access theWebex meeting/event through a Remote Desktop connection. From your computer,minimize the Remote Desktop session and launch the Webex meeting/event throughyour browser. (See below to minimize: Select the minus symbol in the banner at the topof your Windows machine; for MAC, select the icon, shown below, from the bottom doc.)Windows MachineMAC Machine
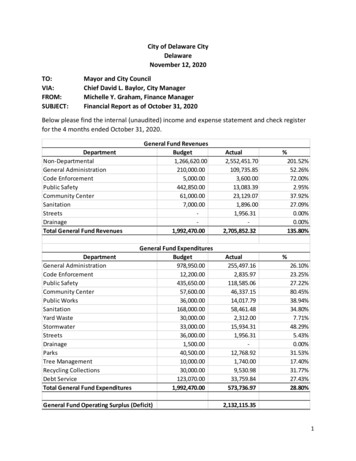
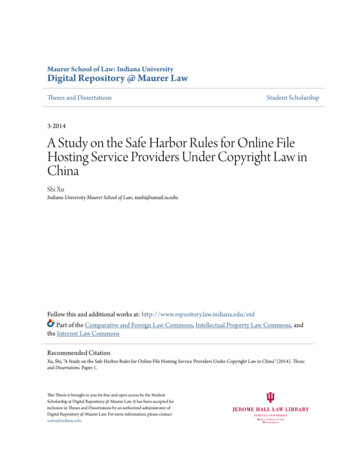
How to sign onto the Webex from a Web Browser1. Open a browser window and type in the URL https://stateofdelaware.webex.com/(If you are in a Remote Desktop session, minimize thesession and type the URL in your native computer browserwindow.)2. In the top right-hand corner of screen, ensure that “Webex”checked and Select the “Sign In” button.3. You will be prompted for your Email address. Enterfirst.lastname@delaware.gov Select “Next”.4. First time users will be prompted to Install the Cisco Webex Meetings app. Select “Run”.2is
5. Once the Webex app is installed, you will be prompted to login using your State logincredentials. Enter your email first.lastname@delaware.com and your State login Password.6. The WebEx Home Page will display.3
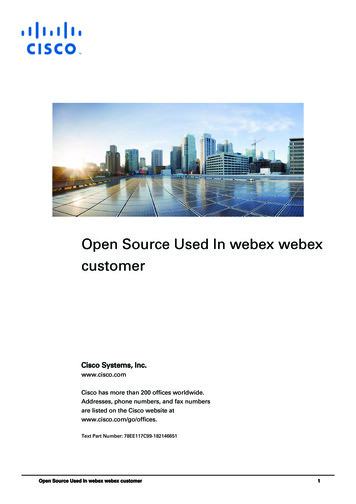
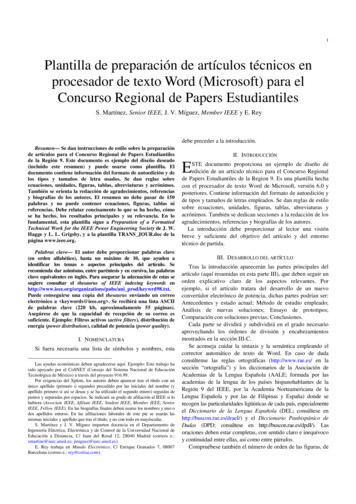
There are multiple options for establishing a WebEx meeting,this document will cover:A. Start a meetingB. ScheduleA. How to Start a Meeting“Start a Meeting” is for immediately establishing a meeting. The process will not generate anOutlook calendar invite or display on the invitees’ calendar. As the Meeting Organizer, you will needto notify users by providing the invite information directly to them.1. Click the Start a Meeting Button.2. Your “Personal Room” will display. Verify and Test your settings. If you prefer to use a phonefor audio, click on the dropdown karat next to “Use computer for audio”, a box with Call inoption will appear. Select from Call in option. (Note: the “Call me” option is disabled )Finally, select the Start Meeting button.4
3. The Cisco Webex Meetings window will display.4. Using the menu items, select Participant,Copy Meeting Link.5. Using email or skype, send a message tothe individuals that are to immediately join your meeting.5
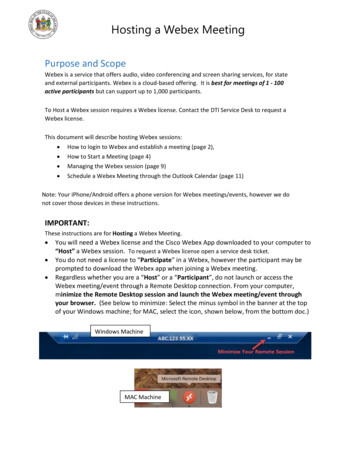
6. Once the attendee clicks on the URL – hyperlink, a Webex window will appear, the participantwill select Join Meeting7. When the participant has computer video and audio capabilities the computer will connectdirectly to the meeting. When the participant does not have audio, they are provided a phone#, access code #, and Attendee ID # to dial in via phone. (Below is participants view on theircomputer)6
8. The Meeting Organizer’s view will depend on the participants computer equipment (Below isMeeting Organizers view of participant without video equipment)B. How to Schedule a Meeting via Web Browser“Schedule” is for establishing a meeting for a later time/date. The process will generate a calendarinvite.1. Click the Schedule button from the Home Screen.7
2. The Schedule a Meeting window will appear:3. The Meeting Organizer will receive an Outlook Calendar Invite from Cisco Webex.4. The participant will receive a calendar invite from the “Meeting Organizer”.8
Managing the Webex Session1. The Meeting Organizer can manage the meeting from the menu bar (top left) or from theicons (bottom center stage).2. To Share Content:3. To Start Recording:9
4. To open/close the Chat panel:5. To End/Close a Meeting10
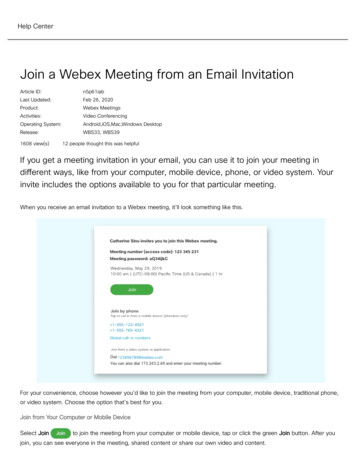
Schedule a Webex Meeting through the Outlook Calendar1.Open your Outlook Calendar. As a licensed Meeting Organizer, you will have two Webex meetingoptions; Meet Now and Schedule Meeting. These options mirror the two options previouslydescribed. Select the Schedule Meeting option.2.A calendar invite will open. As shown below you will not immediately see the Webex session details(as you normally do in a Skype meeting). When the meeting is sent, the details will populate in thecalendar invite.11
3.Below is the calendar invitation that the attendee will receive.12
prompted to download the Webex app when joining a Webex meeting. Regardless whethe r you are a “ Host ” or a “ Participant ”, do not launch or access the Webex meeting/event through a Remote Desktop connection. From your computer, m inimize the Remote Desktop session and launch the