Transcription
RPAN-OBSQuick Start Guide
Steps to going live1.2.3.4.5.Download and Install RPAN OBSOpen OBSConnect your Reddit Account to OBSSet up a SceneGo Live!
1. Download and Install RPAN OBSHaving trouble getting started?See: Troubleshooting guide at end of DeckDownload latest release for your OS: HereOSMacWindowsExtract the ZIP file and move the app to your Applications directoryExtract the ZIP file to your preferred destinationLaunch RPAN Studio from your Applications folderNavigate to the bin\64bit folder and double-click the obs64.exeexecutableExtractLaunch
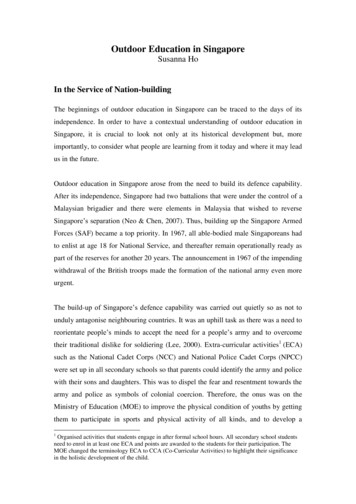
2. Open OBSWhen you first launch RPAN Studio you’ll begreeted with an empty scene and no sources.If you get an error message and can’t startupRPAN Studio, check the troubleshooting guideat the end of the deck, or reach out to yourReddit PoC.
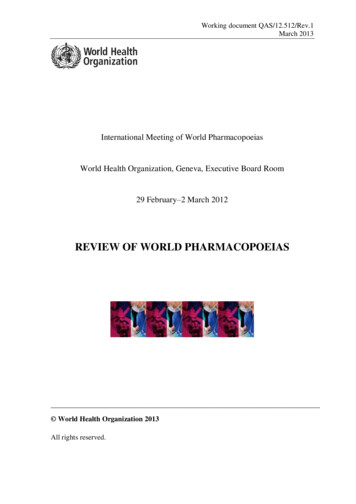
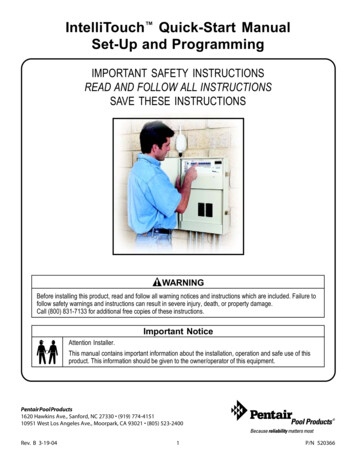
3. Connect your Reddit Account to OBSIn order to go live on r/PAN you must sign in and link your Reddit account1. To sign in to Reddit click on the Settings button2. Navigate to the Stream tab3. Click Connect Account and follow the sign in
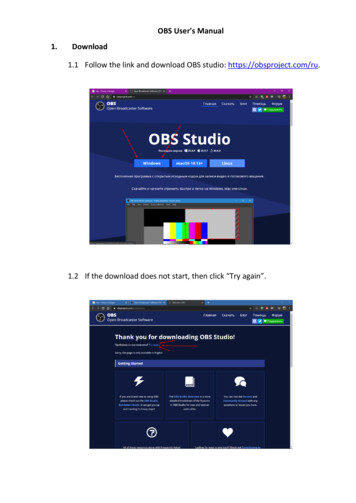
3. Connect your Reddit Account to OBS4. Once signed in you’ll see the currently signed inuser in the settings dialogue5. You’ll also see the addition of the RPAN chatand stats panels in the main window:
4. Set up a SceneSources are what you want to capture, or inputs to the streamsoutput. They can be a webcam, specific window, a capture cardor game, image, text or your entire display that you want tocapture, there are several different sources available.For detailed explanation of available Sources see: HereSources can be saved as Scenes so you can switch easilybased on context.Examples: Starting soon Live Break End
4. Set up a SceneTo add Sources to the Scene click on the button in theSources panel to select a source.You must have at least 1 Scene configured before going live.
4. Set up a SceneCommon Sources to add to a scene Video Capture Device Used for adding a webcam feed to the sceneAudio Input Capture Set up a microphoneDisplay Capture Share your entire Desktop viewText Add Text to rest on top of other SourcesBrowser [Advanced] A web browser that you can add directly to OBS Allows custom layouts, images, video, and even audio tasks Anything that you can program to run in a normal browserNote: Added sources must be removed using the minus button
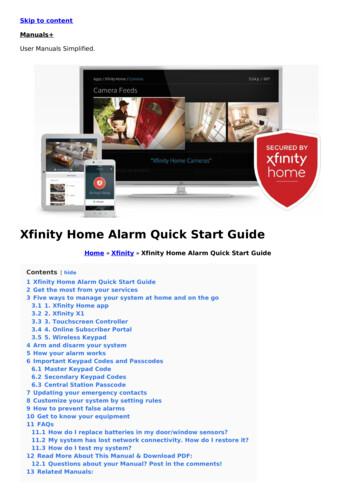
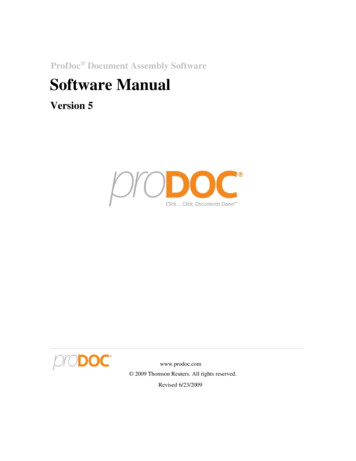
4. Set up a Scene: Simple Webcam1. Add the Source ‘Video Capture Device’ for webcamScale the size of the webcam capture to fit the height of thescreen by selecting the Video Capture Device source andgrabbing the top and bottom red square anchor points anddragging them until they snap to the top and bottom of thescreen.2. Add the Source ‘Audio Input Capture’ for microphoneThe Audio Input Capture does not need editing but the volumecan be adjusted if you find that the VU meter keeps going intothe yellow or red.
4. Set up a Scene: MultipleOnly 1 scene is necessary to start streaming, but you may find value in having a variety of scenes to fit the occasion.Example Scenario:Jason is a talk show streamer, and has 4 scenes configured for the entirety of his stream: Starting soon, Live, Break, and End. Starting Soon: When starting the stream he goes live with the ‘starting soon’ scene, which has no camera input but does have acountdown image, letting the audience know the stream is live but content has not yet started.This allows Jason to make any final preparations off camera before beginning his content. Live: When ready to start the show, Jason switches to his ‘live’ scene that his webcam, text overlays, and any custom UI thatmatches his personal brand. Jason utilizes this scene for the majority of his stream Break: Because Jason streams for 9 hours at a time, he often needs to step away from the camera/stream for things likegrabbing a drink or using the restroom. His ‘Break’ scene does not have a webcam source, but does have a fun placeholderimage letting his audience know he’ll be back in 5 minutes. That way viewers just joining will know its still an active stream. End: At the end of his stream, Jason wants to continue talking with his audience so he switches to the ‘End’ scene that has just awebcam and a ‘Thanks for watching’ image. From here he concludes his stream.
5. Go Live! (WIP)Resizing the SourcesRPAN is locked into Portrait output, but you can still re-orient your content to landscape1. To begin streaming click the Start Streaming button andproceed through the dialogue2. The Subreddit drop-down list will populate with the suggested subreddits listbut is also an editable text field if you wish to manually enter a subreddit.
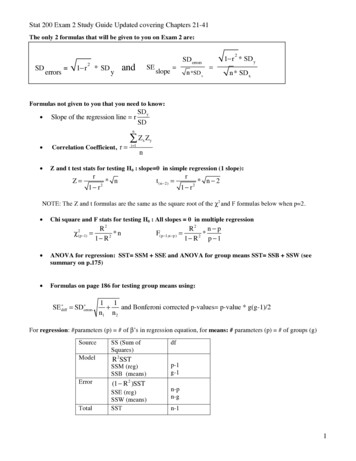
5. Go Live!Start StreamingNow that your scenes and sources are configured, you can go live.1. To begin streaming click the Start Streaming button andproceed through the dialogue2. The Subreddit drop-down list will populate with the suggested subreddits listbut is also an editable text field if you wish to manually enter a subreddit.
Additional InformationChat and StatsOnce streaming has started you can participate in chat and see thecurrent stream statistics in the panels on the right side of the window. Ifyou close the panels and need to reopen them by navigating to View Docks and selecting RPAN Chat and RPAN Stats.Additional SettingsBy default your microphone and desktop audio may be selected asaudio sources that are not explicitly added to your scene. You canmanage these inputs in the Settings panel under the Audio tab.Scale the size of the webcam capture to fit the height of the screen byselecting the Video Capture Device source and grabbing the top andbottom red square anchor points and dragging them until they snap tothe top and bottom of the screen:
Additional InformationAsset Dimensions (WIP)PortraitBanner ImageHeader ImageLower ThirdLandscapeBanner ImageHeader ImageLower Third
TroubleshootingWindows Error: “VCRUNTIME140 1.dll was not found” Install the Visual C 2019 Runtime Note: This won’t be an issue once there’s a proper installer instead of a ZIPmacOS RPAN Studio crashes when setting up a webcam There seems to be some issues when selecting certain presets and settings when initializing webcams. Since RPANStudio is built on OBS Studio this may be a general bug in OBS. Internal testing shows that the webcams can still beset up but may cause a few crashes while adding them.
1.Download and Install RPAN OBS Download latest release for your OS: Here OS Mac Windows Extract Extract the ZIP file and move the app to your Applications directory Extract the ZIP file to your preferred destination Launch Launch RPAN Studio from your Applications folder Navigate to the bin\64bit folder and double-click the obs64.exe executable