Transcription
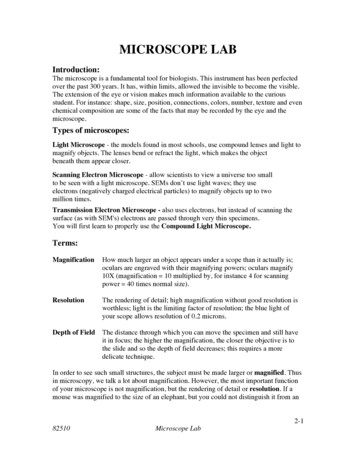
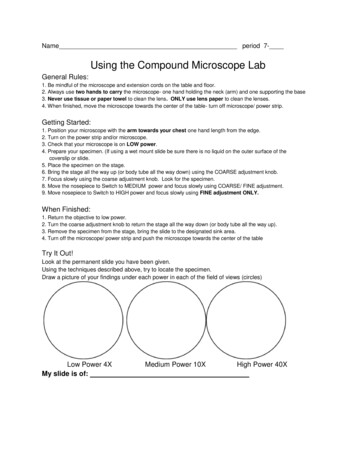
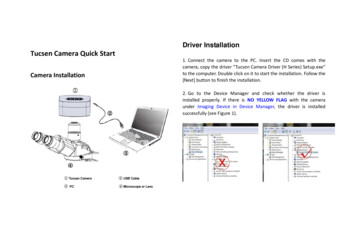
Driver InstallationTucsen Camera Quick StartCamera Installation1. Connect the camera to the PC. Insert the CD comes with thecamera, copy the driver “Tucsen Camera Driver (H Series) Setup.exe”to the computer. Double click on it to start the installation. Follow the[Next] button to finish the installation.2. Go to the Device Manager and check whether the driver isinstalled properly. If there is NO YELLOW FLAG with the cameraunder Imaging Device in Device Manager, the driver is installedsuccessfully (see Figure 1).
created on the desktop.Software Installation1. Copy the software ISCapture installer to the PC. Double-click on itto start the installation. Follow the [Next] button to finish theinstallation.Note: If previous version ISCapture was installed in your PC, theinstaller will automatically detect it and ask to remove it first beforeinstall the new one.If the previous installed ISCapture is still running, it will ask to closethe software and then start the installation.Start ISCapture1. Connect the camera to the PC. Be sure the driver is alreadyinstalled properly.2. Double-click the ISCapture shortcutto start the software.3. Software will automatically detect the device and start thepreview.2. After finish the installation, a software shortcutwill be
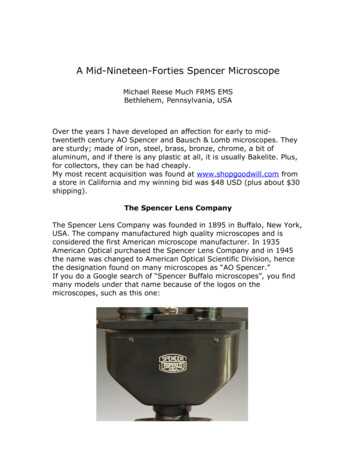
If get the “No Camera” or “Initialization Failed” error, it could be thecamera is not detected by the PC or the driver is not installedproperly. Please go to Device Manager to check the camera driverinstallation status.ISCapture Parameter SettingsNormally Auto Exposure function can get proper brightness preview.If preview is still dark, manually set Gain to the middle of the slider.1. Set Auto Exposure. Observe the preview and adjust themicroscope (or lens) to make image in focus.When get preview in focus, set Gain back to the initial value, changeto Manual Exposure mode and extend the exposure time manuallyuntil get proper brightness images.2. Click White Balance button to correct image color.
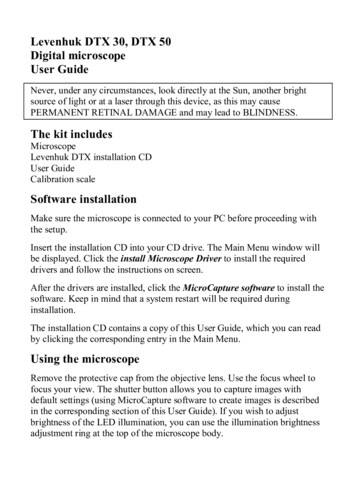
To get better white balance result, please move the sample to theblank area and then hit White Balance button, then move back thesample. Or also can click WB Wizard and follow the steps to finishthe white balance.Click the Lock tagto lock/unlock the preview and capture3. Change resolution, get different preview and capture images.4. Go to File Save tab to set image save format, directory and filename.a. Select Use File Save Config to pre-set the capture image format,save directory and file name.resolution. Unlocking it allows to set different preview and captureresolution (Usually use for low resolution preview, high resolution forcapture).
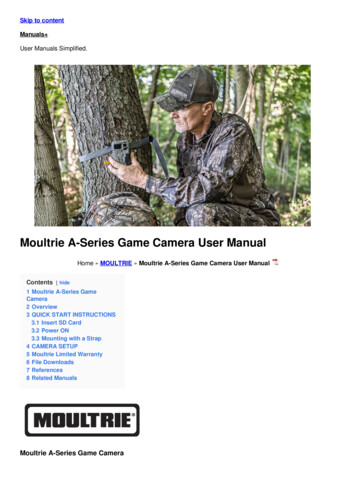
Every time click Capture button, the file save dialog willpop up to ask to set file name, save directory and image format.b.Select Use File Save Dialog to use pop up dialog to set captureimage file name, save directory and format.
Driver Installation 1. Connect the camera to the PC. Insert the CD comes with the camera, copy the driver "Tucsen Camera Driver (H Series) Setup.exe" to the computer. Double click on it to start the installation. Follow the [Next] button to finish the installation. 2. Go to the Device Manager and check whether the driver is installed properly.