Transcription
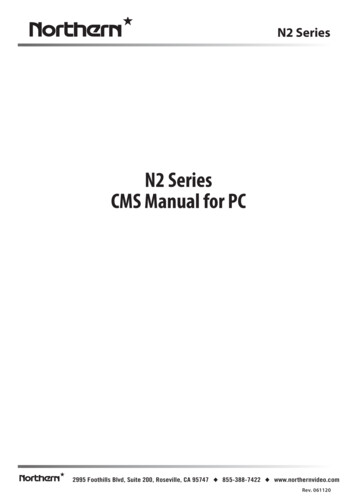
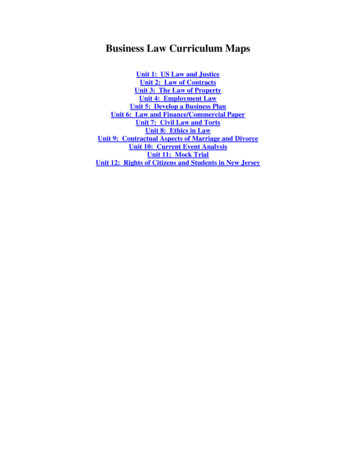
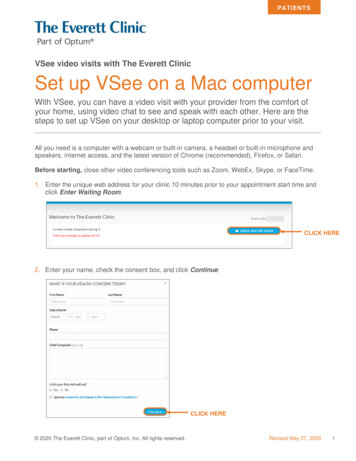
www.digimerge.comSyncroIP Series Mac CMS Quick Start GuideThis guide will describe how to install the Mac CMS for your SyncroIP NVR or IP camera1 and how toconnect to your system over a LAN or DDNS connection.Installing the software1. Download the software from www.digimerge.com.2. Copy the software package file to your Desktop and double-click the file to install. Anwill appear on your Desktop.iconNOTE: You must extract the package file on a Mac. You cannot extract the file on a PC.Connecting to your NVR or IP camera over the LANOnce you have installed the software, you can add NVRs or IP cameras connected to your local areanetwork (LAN).Prerequisites: Your NVR or IP camera must be connected to the same network as the computer where you haveinstalled the CMS.To connect to your NVR or IP camera over the LAN:icon to open the software.1. Double-click the2. Click Auto Add. The software scans your local network for NVRs and IP cameras.Click Auto Add1. This guide does not apply to DND13TL2, DNB13TL2, DNV14TL2, DNB14TL2, or DNE14TL2. Forthese models, remote access on Mac is available through Safari browser.Last updated: September 27, 20131
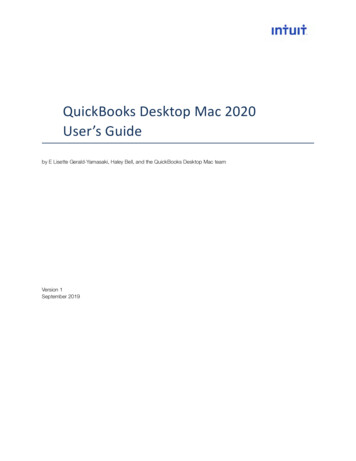
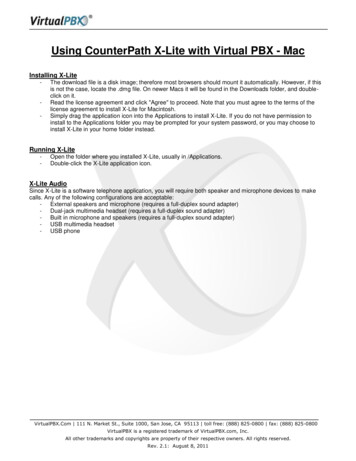
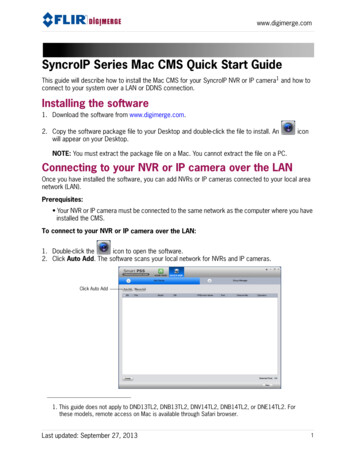
Connecting to your NVR or IP camera over the LAN3. Check the NVR or IP camera and click Add. Click OK.Check the NVR or IPcamera and click AddClick Add4. Click on the NVR or IP camera in the list and click thebutton.Click the device and then click5. Click on the Password field and update the password to the device’s password. The defaultpassword for SyncroIP NVRs is 000000. The default password for SyncroIP cameras is admin.6. Click Getting Info. The software will connect to the NVR to find the number of channels.Ensure the correct password is enteredClick Getting InfoNOTE: If the software cannot find the number of channels, double-check the password, then clickGetting Info again.2
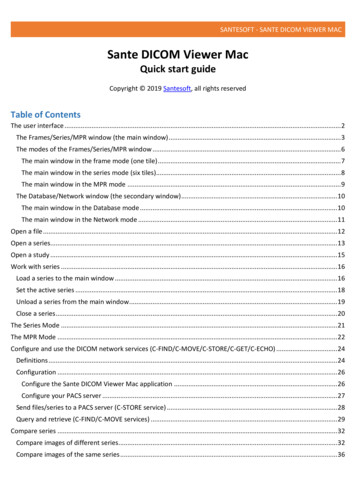
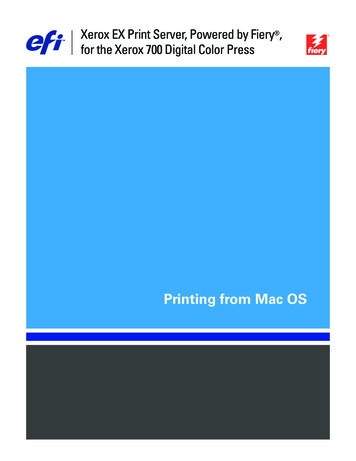
www.digimerge.com7. Click Save.Click Save8. Click Next.9. If you are connecting to an NVR, you must add cameras from your NVR to a group: Click the device in the Device List on the right side. Click one of the cameras, then press Click A.to add cameras to the group.Click the device in the device listClick one of the cameras and then press AClick to add cameras to the group3
Connecting to your NVR or IP camera over the LAN10. Click Finish.Click Finish11. Click PREVIEW.Click PREVIEW4
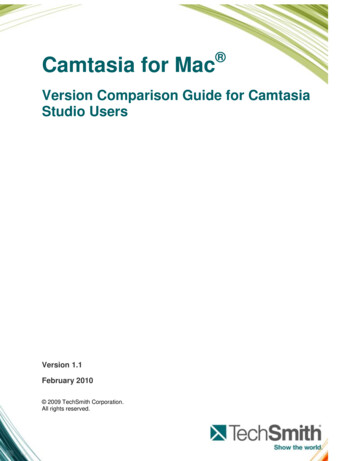
www.digimerge.com12. Click and drag the group to the display area to view your cameras.Click and drag the group to the displayarea to view your camerasResultConnecting to your NVR or IP camera using a DDNSaddressIf you have NVRs or IP cameras with DDNS set up, you can connect to them over the Internet.Prerequisite: Port forward the Client Port (default: 35000) and HTTP port (default: 80) on the router to theNVR’s or IP camera’s local IP address. Register the system for DDNS and input the DDNS information from the confirmation email intothe NVR or IP camera.5
Connecting to your NVR or IP camera using a DDNS addressTo connect to the NVR or IP camera using a DDNS address:1. Open the software and click DEVICE MGR.Click DEVICE MGR2. Click Manual Add.Click Manual Add6
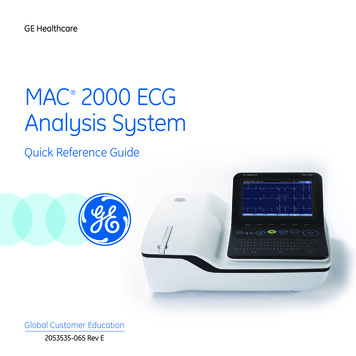
www.digimerge.com3. Configure the following: Title: Enter a name for your NVR or IP camera. IP/Domain Name: Enter the Domain Name/URLRequest you received in the confirmation email,followed by .myddns-flir.com. For example, if yourDomain Name/URL Request is tomsmith, entertomsmith.myddns-flir.com. Port: Enter the Client Port (default: 35000). User Name: Enter the NVR’s or IP camera’s username (default: admin). Password: Enter the NVR’s or IP camera’spassword. The default password for NVRs is000000. The default password for IP cameras isadmin.4. Click Getting Info. The software will connect to theNVR or IP camera to find the number of channels.5. Click Add.Click Getting InfoClick Add7
Connecting to your NVR or IP camera using a DDNS address6. Click Next.Click Next7. If you are connecting to an NVR, you must add cameras from your NVR to a group: Click the device in the Device List on the right side. Click one of the cameras, then press Click A.to add cameras to the group.Click the device in the device listClick one of the cameras and then press AClick to add cameras to the group8
www.digimerge.com8. Click Finish.Click Finish9. Click PREVIEW.Click PREVIEW9
Connecting to your NVR or IP camera using a DDNS address10. Click and drag the group to the display area to view your cameras.Click and drag the group to the displayarea to view your camerasResult10
Connecting to your NVR or IP camera using a DDNS address. If you have NVRs or IP cameras with DDNS set up, you can connect to them over the Internet. Prerequisite: † Port forward the Client Port (default: 35000) and HTTP port (default: 80) on