Transcription
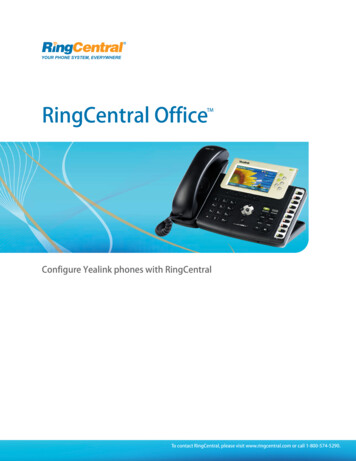
RingCentral OfficeTMConfigure Yealink phones with RingCentralTo contact RingCentral, please visit www.ringcentral.com or call 1-800-574-5290.
Configuring Yealink PhonesOverview. 2Getting ready to setup your Yealink phones . 2Configuring the Yealink phone . 4To contact RingCentral, please visit www.ringcentral.com or call 1-800-574-5290.RingCentral Office1
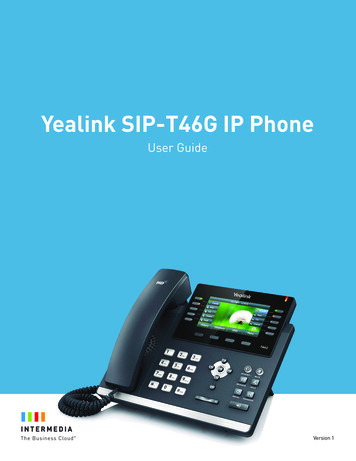
OverviewYealink’s series of phones are designed for small business and feature compelling businessfeatures and good voice quality.Although RingCentral recommends and only provides full support for RingCentral-provided IPphones, we recognize that some customers may wish to use other devices. This document isprovided to enable customers using Yealink series phones to easily configure their devices towork with RingCentral.There are a number of handsets in the lineup. The T38G was specifically used to developthese recommendations, but the configuration of other Yealink series desktop phones issimilar.Getting ready to setup your Yealinkphones1. Connect your devices:a. Make sure your bandwidth and network configuration supports the number of linesyou plan to use. Visit our QoS page for more informationb. Follow the manufacturer’s instructions to:i.Attach the power supply to the phone (or use PoE to provide power ifapplicable)ii.Hook up the phone to a high-speed Internet connection with an Ethernetcable.iii.Connect the handset.2. Set up your RingCentral account:a. If you don’t have a RingCentral account, set up your account here. Add the numberof lines and select No Device as your phone.b. If you already have an account, use your existing lines or add new lines from theRingCentral service site using Add DigitalLines as shown in figure 2b. Select NoDevice when prompted to choose a phone.To contact RingCentral, please visit www.ringcentral.com or call 1-800-574-5290.RingCentral Office2
Figure 2b. Adding DigitalLines:3. Record configuration information from RingCentral:a. After purchasing your lines, log in as an administrator and go to My Settings DigitalLines. You will see a list of the lines you purchased.b. Locate each line you wish to use for your phone. Make sure the E911 columndisplays the word Edit. Otherwise, click Failed and provide the e911 data.c. Click Setup Instructions for each line you wish to provision on your ATA. Copy eachof the five fields shown in Figure 3c.To contact RingCentral, please visit www.ringcentral.com or call 1-800-574-5290.RingCentral Office3
Figure 3c. Copy these five fields:Configuring the Yealink phoneWith the phone connected to your network, you’ll need to access the configuration page ofthe phone. The phone will obtain an address using DHCP automatically on most networks. Tolook up the IP address of the phone, Press the OK button on the phone, then you will see theIP address displayed.Open a web browser and type the IP address of the VoIP phone you just obtained into theaddress field, e.g.http://192.168.2.100. Login to the phone with your username and password. The defaultsettings are ‘admin’ forusername and ‘admin’ for password. If you wish you can change the password immediatelyafter logging in using the Security menu on the top-right.To contact RingCentral, please visit www.ringcentral.com or call 1-800-574-5290.RingCentral Office4
1. Account 1 Configuration panel:Parameters in red are required. Click Confirm at the bottom of the screen to saveconfiguration. Account Active -- Must be EnabledLabel -- Enter the name you would like to be displayed on the phone, for example yourfirst name. Display Name -- Field not used by RingCentral Register Name – The value from the Authorization ID field of RingCentral configurationinformation User Name –The value from the User Name field of RingCentral configurationinformation Password – The value from the Password field of RingCentral configuration information SIP Server –The value from the SIP Domain field of RingCentral configurationinformation, without the trailing: 5060 part; 5060 part should be filled in Port fieldbehind SIP Server field. Enable Outbound Proxy Server – Must be Enabled Outbound Proxy Server -- The value from the Outbound Proxy field of RingCentralconfiguration information, without the trailing: 5090 part; 5090 part should be filled inPort field behind Outbound Proxy Server field.Click Confirm button at the bottom of the screen. Now your configuration is done.If you wish you can configure such as One-touch key through DSSkey menu on the top, etc.To contact RingCentral, please visit www.ringcentral.com or call 1-800-574-5290.RingCentral Office5
Note: RingCentral officially supports the phones and ATAs sold by RingCentral. Other devices,such as described above, also work with RingCentral services, as outlined in this document.Other 3rd-party devices should also work with RingCentral if they support standard SIPprotocol and use configuration procedures similar to those detailed in this document.RingCentral does not test, validate, or provide technical support for any additional devices.RingCentral,IncCorporate999 Baker Way,San Mateo,CA r Support:Phone:1-888-898-4591To contact RingCentral, please visit www.ringcentral.com or call 1-800-574-5290.RingCentral Office6
To contact RingCentral, please visit www.ringcentral.com or call 1-800-574-5290. RingCentral Office 4 Figure 3c. Copy these five fields: Configuring the Yealink phone With the phone connected to your network, youll need to access the configuration page of the phone. The phone will obtain an address using DHCP automatically on most networks.File Size: 1MB
