Transcription
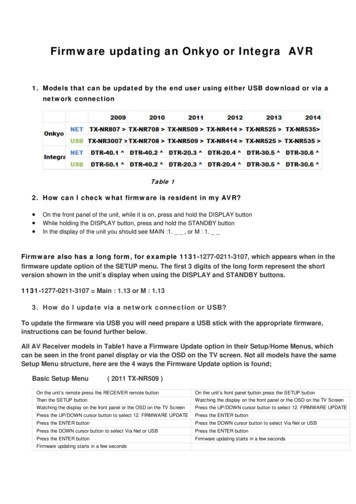
Firmware updating an Onkyo or Integra AVR1. Models that can be updated by the end user using either USB download or via anetwork connectionTable 12. How can I check what firmware is resident in my AVR? On the front panel of the unit, while it is on, press and hold the DISPLAY buttonWhile holding the DISPLAY button, press and hold the STANDBY buttonIn the display of the unit you should see MAIN :1. , or M : 1.Firmware also has a long form, for example 1131-1277-0211-3107, which appears when in thefirmware update option of the SETUP menu. The first 3 digits of the long form represent the shortversion shown in the unit’s display when using the DISPLAY and STANDBY buttons.1131-1277-0211-3107 Main : 1.13 or M : 1.133. How do I update via a network connection or USB?To update the firmware via USB you will need prepare a USB stick with the appropriate firmware,instructions can be found further below.All AV Receiver models in Table1 have a Firmware Update option in their Setup/Home Menus, whichcan be seen in the front panel display or via the OSD on the TV screen. Not all models have the sameSetup Menu structure, here are the 4 ways the Firmware Update option is found;Basic Setup Menu( 2011 TX-NR509 )On the unit’s remote press the RECEIVER remote buttonOn the unit’s front panel button press the SETUP buttonThen the SETUP buttonWatching the display on the front panel or the OSD on the TV ScreenWatching the display on the front panel or the OSD on the TV ScreenPress the UP/DOWN cursor button to select 12. FIRMWARE UPDATEPress the UP/DOWN cursor button to select 12. FIRMWARE UPDATEPress the ENTER buttonPress the ENTER buttonPress the DOWN cursor button to select Via Net or USBPress the DOWN cursor button to select Via Net or USBPress the ENTER buttonPress the ENTER buttonFirmware updating starts in a few secondsFirmware updating starts in a few seconds
Full Setup Menu ( 2009 – 2011 models excluding TX-NR509 )On the unit’s remote press the RECEIVER remote buttonOn the unit’s front panel button press the SETUP buttonThen the SETUP buttonWatching the display on the front panel or the OSD on the TV ScreenWatching the display on the front panel or the OSD on the TV ScreenPress the UP/DOWN cursor button to select 7 HARDWAREPress the UP/DOWN cursor button to select 7 HARDWAREPress the ENTER buttonPress the ENTER buttonPress the UP/DOWN cursor button to select FIRMWARE UPDATEPress the UP/DOWN cursor button to select FIRMWARE UPDATEPress the ENTER buttonPress the ENTER buttonPress the DOWN cursor button to select Via Net or USBPress the DOWN cursor button to select Via Net or USBPress the ENTER buttonPress the ENTER buttonFirmware updating starts in a few secondsFirmware updating starts in a few seconds2012 Models TX-NR 1 and DTR- .4On the unit’s remote press the RECEIVER remote buttonOnkyo models TX-NR818 onlyThen the SETUP button HOME buttonOn the unit's Drop Down front panel press HOME buttonWatching the display on the front panel or the TV ScreenWatching the display on the front panel or the TV Screenpress the LEFT cursor button to select F/W Updatepress the LEFT cursor button to select F/W UpdatePress the ENTER buttonPress the ENTER buttonPress the DOWN cursor button to select Via Net or USBPress the DOWN cursor button to select Via Net or USBPress the ENTER buttonPress the ENTER buttonFirmware updating starts in a few secondsFirmware updating starts in a few seconds2013 Models TX-NR 2 and DTR- .5On the unit’s remote press the RECEIVER remote buttonTX-NR525 - TX-NR929Then the SETUP button HOME buttonOn the unit’s front panel button press the HOME buttonWatching the display on the front panel or the TV ScreenWatching the display on the front panel or the OSD on the TV Screenpress the LEFT cursor button to select F/W UpdatePress the UP/DOWN cursor button to select F/W UpdatePress the ENTER buttonPress the ENTER buttonPress the DOWN cursor button to select Via Net or USBPress the UP/DOWN cursor button to select FIRMWARE UPDATEPress the ENTER buttonPress the ENTER buttonFirmware updating starts in a few secondsPress the DOWN cursor button to select Via Net or USBPress the ENTER buttonFirmware updating starts in a few seconds2014 Models TX-NR 3 and DTR- .6
4. Where do I download the firmware for updating via om/download firmware.cfm5. How Do I prepare the USB stick and files for updatingONKYOGo to the x.htmlHere you will find firmware revision history down the left hand side. On the upper rightcorner you will find the model table
Choose your model from the model table this will take you to that model’s firmwarepage. At the top of the model page you will find the latest firmware version numberAt the bottom of the model page you will find; How to install Download Update to your PC
INTEGRAGo to the URLhttp://www.integrahometheater.com/download firmware.cfmHere you will find a list of Integra product firmware updates listed in chronologicalorder. Each model has 2 download options; Update instructions USB FirmwareTo find the latest firmware version number you must download and open the UpdateInstructions sheetHere you will find firmware revision history down the left hand side. On the upper right corner youwill find the model tableChoose your model from the model table this will take you to that model’s firmware pageIt is recommended to read the “How To Install” instructions first, if you are unfamiliarwith the firmware update process.Below is a step by step guide to preparing the USB for firmware updating using a
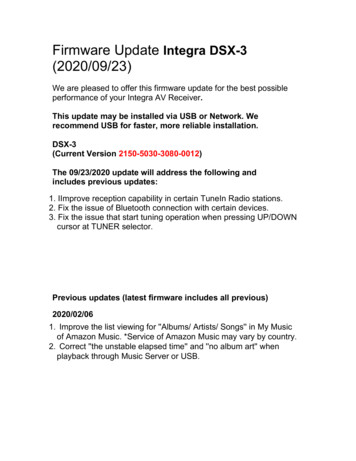
Windows 7 PC; The USB must be empty and formatted FAT32. To format your USB place it into your PC and “My Computer” Windows XP or“Computer” Windows 7; Using your mouse right click on the your USB drive Then select “Format “in the pull down boxMake sure FAT32 is selected in the File System Box
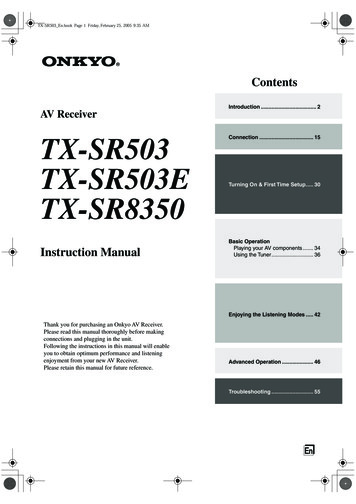
Then from the Onkyo website click on the “Download To Your PC” tab and choose thesave optionSave the downloaded Zip file on you USB drive, this is usually labelled Removable Disk(E:) or Removable Disk (F:)
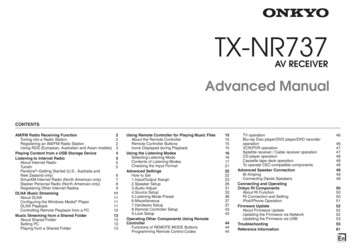
Open the removable drive to reveal its contents Right click on the Zip file and choose the “Extract Here” option After extracting the zip file, the number of files and folders will vary with eachseries. Therefore on your removable drive you may, for example have either; 2011 models -3 files plus the Zip file 2012 models -3 files, a folder labelled AVR Release ( which will contain4 files ), plus the Zip file 2013 and 2014 models -5 Files, plus the Zip file
Now either delete or move the Zip file from your removable drive , it is veryimportant to ensure that you have just the files or AVR Release folder and files atthe head of the root directory They must not be inside another folder.Your USB removable drive is ready to place into the FRONT USB port of your AVReceiver and follow the update process found in step 3 above.
Things to consider before perform a firmware update Always use a cabled network connection, avoid wireless If a cable is not possible then use USB Make sure that all HDMI sources and the TV remain off or turn of HDMI Control inthe AVR Stop any Network services or App control/playback Once firmware updating is finished depending on the model you may get any ofthe following signs“OK:Sum ********” appears on the front display, use the POWER button on the frontpanel to turn it off or unplug it from the wall and turn it on again“Completed!” appears on the front display use the POWER button on the frontpanel to turn it off. Or after several minutes of no activity the unit will turn itself offThe disconnect power to the unit and wait 10 seconds before reconnectingUnexpected errorsCode*-10, *-20*-11, *-13,*21, *28Error MessageThe Ethernet cable was not detectedThe USB device was not detectedInternet connection error.*14The USB firmware file was not found inthe root folder of the USB device,or the firmware file is for anothermodelDL ErrorPoor network connectionUSB Files are in a sub folder and not at the head ofthe root directory
Here you will find a list of Integra product firmware updates listed in chronological order. Each model has 2 download options; Update instructions USB Firmware To find the latest firmware version number you must download and open the Update Instructions sheet Here you will find fi