Transcription
SCISSOR LIFTTUTORIALAn Introduction to DriveWorksXpress
www.driveworksxpress.comCONTENTSINTRODUCTION TO DRIVEWORKSXPRESS . 3About the Tutorial . 3Getting Started . 4DRIVEWORKSXPRESS NAVIGATION BAR . 5REGISTRATION AND BASIC SETUP . 6DriveWorksXpress 2015 Registration. 6BASIC SETUP . 10Launching DriveWorksXpress . 10Create a New Database . 11CAPTURING MODELS AND DIMENSIONS . 12Capturing SOLIDWORKS Models. 12CAPTURING DIMENSIONS AND FEATURES . 15Capturing THe SL Fixed Beam Tie. 16Capturing DIMENSIONS and Features . 17CAPTURING DRAWINGS . 19CAPTURING CUSTOM PROPERTIES . 20CREATING INPUT FORMS . 21Adding Controls. 21TEST MODE. 25RULES BUILDER . 26FILE NAME RULES . 28Build a rule for the Scissor Lift Assembly File Name . 29Building Multiple File Name Rules . 31DIMENSION RULES . 33RUNNING THE PROJECT. 36 DriveWorks Ltd All Rights Reserved 20152
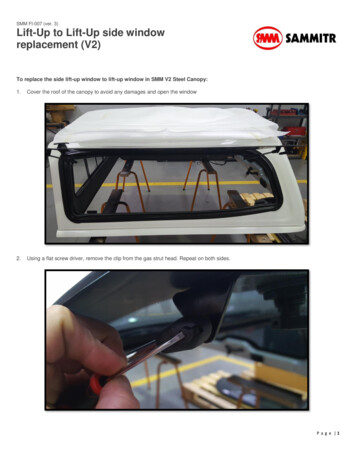
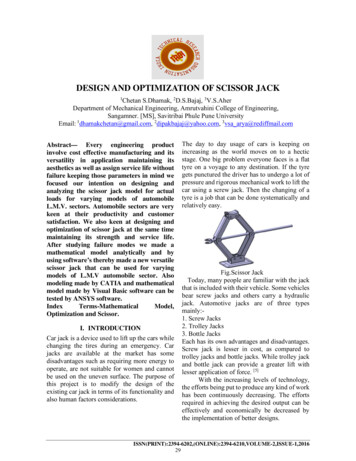
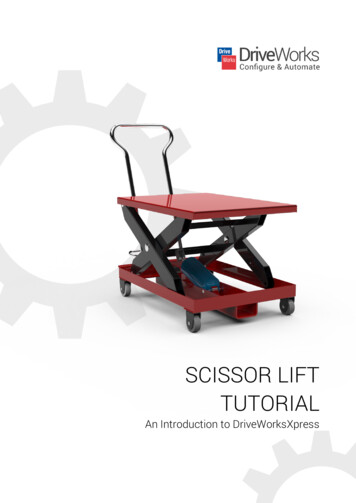
www.driveworksxpress.comINTRODUCTION TO DRIVEWORKSXPRESSDriveWorksXpress is entry-level Design Automation software included in SOLIDWORKS. It is ideal ifthe designs and projects you work on are the Same but Different. It is widely used in many industriesfrom trailers to conveyors, furniture to machinery, mechanical seals to pressure vessels, windows &doors.You’ll find it already installed and waiting for you to use under the SOLIDWORKS Tools menu. It isideal for everyday repetitive design tasks. Use it to create multiple variations of SOLIDWORKS Parts,Assemblies and Drawings quickly and accurately.This DriveWorksXpress tutorial is intended to provide a quick introduction to usingDriveWorksXpress.The Tutorial will show how DriveWorksXpress can: Reduce the cost of custom designsCreate SOLIDWORKS assembly, parts and drawings quicklyEnhance product qualityEliminate or reduce repetitive tasksUpon successful completion of this tutorial, you will be able to: Drive SOLIDWORKS part and assembly geometry with DriveWorksXpressCreate a DriveWorksXpress input form and link the input fields to the SOLIDWORKS modelWrite rules to configure and run your design projectsGenerate new parts, assemblies and drawingsABOUT THE TUTORIALIn this tutorial, we will be automating the creation of a scissor lift. Imagine you work for a companythat designs and manufactures scissor lifts, where each scissor lift you design is the same butdifferent.The length and width of the scissor lift can be changed. Thismeans a custom design needs to be produced for each salesenquiry or order. This could take a few hours and be veryrepetitive for you, the engineer. Time spent creating custom filesmanually could also delay the company’s sales cycle.However, by using DriveWorksXpress, it is possible to reduce boththe lead time and the cost of custom designs to help companiesto be more competitive and win more business. DriveWorks Ltd All Rights Reserved 20153
www.driveworksxpress.comGETTING STARTEDTo begin this tutorial, you will need to download the SOLIDWORKS project files for the scissor liftfrom the DriveWorksXpress website: www.driveworksxpress.comThe SOLIDWORKS files are contained within a zipped file.Ensure you extract the files from this folder before beginning the training.By following this DriveWorksXpress tutorial you will soon be automating your own designs inSOLIDWORKS. DriveWorks Ltd All Rights Reserved 20154
www.driveworksxpress.comDRIVEWORKSXPRESS NAVIGATION BARNextPreviousCapture ModelInformationWelcome un Project DriveWorks Ltd All Rights Reserved 20155
www.driveworksxpress.comREGISTRATION AND BASIC SETUPDriveWorksXpress is included in every seat of SOLIDWORKS. You’ll find DriveWorksXpress bynavigating to Tools Xpress Products DriveWorksXpress in the SOLIDWORKS tool bar.The first time you use DriveWorksXpress in SOLIDWORKS 2015, you will need to log into yourSOLIDWORKS account and register DriveWorksXpress.If you are using SOLIDWORKS 2014, you can skip directly to Basic Setup.DRIVEWORKSXPRESS 2015 REGISTRATIONSTEP 1You’ll need your SOLIDWORKS Serial Number. You can find this by navigating to: Help AboutSOLIDWORKS. DriveWorks Ltd All Rights Reserved 20156
www.driveworksxpress.comClick ‘Show Serial Number’ and copy it ready for step two.STEP 2Once you’ve got your SOLIDWORKS Serial Number, open DriveWorksXpress.You will be asked to log into your My SOLIDWORKS account and register DriveWorksXpress withyour SOLIDWORKS Serial Number. DriveWorks Ltd All Rights Reserved 20157
www.driveworksxpress.comIf you don’t already have an account, you will need to create one with SOLIDWORKS. This is reallyeasy, just click the link to create an account.STEP 3Once you’re logged in, you will get an Activation Code for DriveWorksXpress.Copy the Activation Code and return to SOLIDWORKS. DriveWorks Ltd All Rights Reserved 20158
www.driveworksxpress.comPaste the code into the activation window and click OK.DriveWorksXpress will be activated and the task pane will open.You’re now ready to automate your designs with DriveWorksXpress! DriveWorks Ltd All Rights Reserved 20159
www.driveworksxpress.comBASIC SETUPLAUNCHING DRIVEWORKSXPRESSClick on the ‘Tools’ tab in the SOLIDWORKS menu bar and select DriveWorksXpress from thedrop-down options.This activates DriveWorksXpress, which will open on the right hand side of the screen.The DriveWorksXpress Welcome Page givesyou three options: Create / Change DatabaseThis allows you to create a new projector load and change an existing project Add / Edit ModelsAdd more models to the existingproject Run ModelsJump directly to Run to specify a newvariation using a completed project DriveWorks Ltd All Rights Reserved 201510
www.driveworksxpress.comCREATE A NEW DATABASETo create a new DriveWorksXpress Database, click the ‘Create/Change Database’ radio button.Click ‘Next’ in the DriveWorksXpress TaskPane.You will automatically be asked to open anew database.Browse to the location where you want tocreate your new database and name it‘Scissor Lift’.Click ‘Open’ to save the database andcontinue.A new DriveWorksXpress database will besaved in your specified location. DriveWorks Ltd All Rights Reserved 201511
www.driveworksxpress.comCAPTURING MODELS AND DIMENSIONSCAPTURING SOLIDWORKS MODELSClick Next to navigate to the next window within the DriveWorksXpress Task Pane.This will allow you to capture your models and the parameters that will be controlled. There arethree ways to select which models are to be captured and driven using DriveWorksXpress: Browse for new modelIf no models are open in SOLIDWORKS,you can browse to the location of thefiles you would like to be driven andautomated using DriveWorksXpress Use current open modelIf you currently have a part or assemblyopen in SOLIDWORKS,DriveWorksXpress can capture thesemodels to be driven and automated Models already in DriveWorksXpressIf you have previously captured modelswithin DriveWorksXpress, these will bedisplayed in the DriveWorksXpress TaskPaneMake sure ‘Browse for new model’ is selected and click ‘Next’.Browse to the location on your hard drive where you have saved your Scissor Lift files, openthe folder and select the SOLIDWORKS Assembly Document called ‘Scissor LiftAssembly.SLDASM’Click ‘Open’The Scissor Lift assembly will open in SOLIDWORKS. DriveWorks Ltd All Rights Reserved 201512
www.driveworksxpress.comOnce DriveWorksXpress knows the location of the files, we’ll need to tell it which components wewant to capture dimensions and features from.The DriveWorksXpress Task Pane willnow show all of the options forcapturing model information.NOTE – It is possible for these tabs to be dragged and compressed into one line in order tocreate more work space in DriveWorksXpress. If you don’t see the tabs displayed in the imageabove, it is possible that you may see the following at the bottom of the Task Pane: Captured ModelsThis shows the models that have been captured inside of DriveWorks. Captured Assembly StructureThis allows you to see all the models making up the structure of the assembly within a ‘tree’formation. This option allows you to select which models within the assembly that you would liketo capture. Dimensions and FeaturesDimensions and features can be controlled by double clicking a model from the model list withinthe model tree above the Capture options and then clicking ‘Dimensions and Features’. Custom PropertiesAny custom property that has been assigned in SOLIDWORKS can be captured and driven byDriveWorksXpress. Drawings and ConfigurationsIf there are manufacturing drawings, they can be located and added to DriveWorksXpress byselecting this tab and hitting ‘Browse’ under the ‘Drawings’ heading.If rules are required to drive which configuration of a part or assembly gets used, this can also beindicated in the ‘Drawing and Configurations’ option. DriveWorks Ltd All Rights Reserved 201513
www.driveworksxpress.comAt the bottom of the Task Pane, select the‘Captured Assembly Structure’ tab. This willdisplay check boxes next to each model in theassembly. Select the parts/assemblies that youwant DriveWorksXpress to control by checkingthe box next to each item.The top level assembly (Scissor Lift Assembly)will already be checked. Not every component inthe assembly needs to be controlled.Capture the models that have been checked inthe image. DriveWorks Ltd All Rights Reserved 201514
www.driveworksxpress.comCAPTURING DIMENSIONS AND FEATURESThe Dimensions and Features tab allows you to choose which parameters from a model orassembly you would like to capture and drive. You can then assign a descriptive name to thedimension or feature you have selected to make them easier to identify and create rules for.A parameter is captured by selecting the ‘Captured Models’ tab and then double clicking on themodel that the parameter exists in.This will open the model in SOLIDWORKS allowing you to select the dimensions and features youwish to capture and control.With the models captured, begin the process of capturing the parameters that you need tocontrol. The following steps will guide you through the process of capturing dimensions andfeatures in DriveWorksXpress. DriveWorks Ltd All Rights Reserved 201515
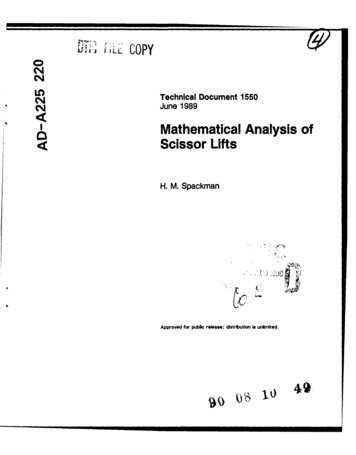
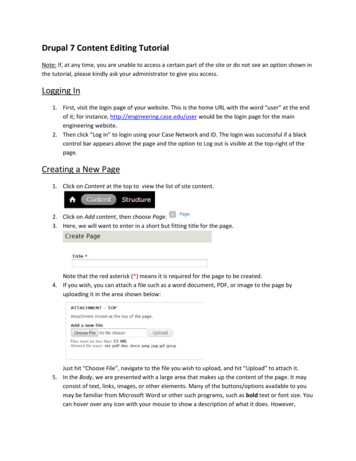
www.driveworksxpress.comCAPTURING THE SL FIXED BEAM TIEDouble click on the SL Fixed Beam Tie in the ‘Captured Models’ tab and then select the‘Dimensions and Features’ tab.For the SL Fixed Beam Tie, capture thedimension associated to length of the BossExtrude1. This dimension determines thelength of the beam. Double Click ‘BossExtrude1’ in the SOLIDWORKS Feature Tree,and then select the dimension displayed in thegraphical view.With this dimension selected, DriveWorksXpresswill display the dimension address in the textbox labelled ‘Address’. DriveWorksXpress allowsyou to provide the dimension with a referencename.Type ‘Fixed Beam Length’ in the ‘Name’ box andClick Add.Providing a reference name will make it easierfor you to comprehend what the dimensioncontrols, when building your rules.The captured dimension will be listed under Dimensions and Features in the DriveWorksXpresstask pane.The next step is to capture
that designs and manufactures scissor lifts, where each scissor lift you design is the same but different. The length and width of the scissor lift can be changed. This means a custom design needs to be produced for each sales enquiry or order. This could take a few hours and be very repetitive for you, the engineer. Time spent creating custom files manually could also delay the company’s .