Transcription
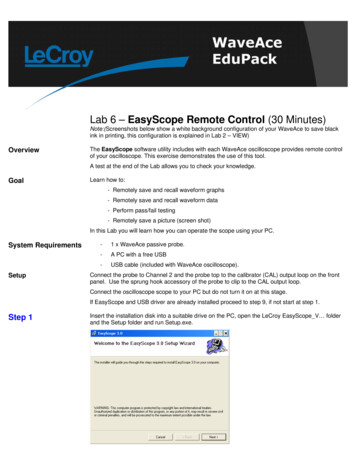
Lab 6 – EasyScope Remote Control (30 Minutes)Note:(Screenshots below show a white background configuration of your WaveAce to save blackink in printing, this configuration is explained in Lab 2 – VIEW)OverviewThe EasyScope software utility includes with each WaveAce oscilloscope provides remote controlof your oscilloscope. This exercise demonstrates the use of this tool.A test at the end of the Lab allows you to check your knowledge.GoalLearn how to:- Remotely save and recall waveform graphs- Remotely save and recall waveform data- Perform pass/fail testing- Remotely save a picture (screen shot)In this Lab you will learn how you can operate the scope using your PC.System RequirementsSetup-1 x WaveAce passive probe.-A PC with a free USB-USB cable (included with WaveAce oscilloscope).Connect the probe to Channel 2 and the probe top to the calibrator (CAL) output loop on the frontpanel. Use the sprung hook accessory of the probe to clip to the CAL output loop.Connect the oscilloscope scope to your PC but do not turn it on at this stage.If EasyScope and USB driver are already installed proceed to step 9, if not start at step 1.Step 1Insert the installation disk into a suitable drive on the PC, open the LeCroy EasyScope V folderand the Setup folder and run Setup.exe.
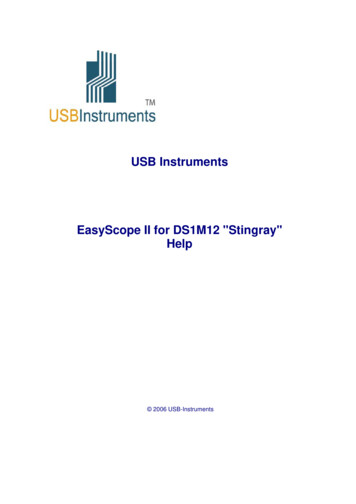
Click Next .Step 2Click Next .Step 3Click Next and the installation will proceed.
Step 4After installation has completed click Close.Step 5If only the the USB driver is already installed proceed to step 9.Step 6Turn on the oscilloscope and connect it to your PC using the USB serial cable. Microsoft Windowsautomatically detects the oscilloscope and displays the Found New Hardware Wizard. Select Installfrom a list or specific location (Advanced).Click Next .Step 7Choose Include this location in the search and click Browse to locate the USB Driver folder andthen click Next. The USB Driver will be installed.
Click Next .Step 8With some versions of Windows you may see a warning message at this point. If so click onContinue Anyway. When installation has completed click Finish to exit. Turn off the oscilloscope.Step 9For convenience the installer places an icon on the Windows desktop.Run the EasyScope application either directly or by double clicking this icon. Two red circleswill be displayed in the top right corner of the application window. Turn on the scope and the leftcirclewill change to green. Click the Connect icon at the top left and the two green circlesare displayed.
Step 10Reset the scope configuration to the default factory settings using the front panel DEFAULTSETUP button. An alternative method is to use the front panel SAVE/RECALL button, then pressthe Type button until Factory is displayed and finally press the Load button.At any time the menu on the right-hand side of the screen can be removed/restored by pressing thefront panel MENU ON/OFF button.Step 11Step 12Turn CH1 off and CH2 on by pressing the front panel CH1 and CH2 buttons. Pressing a channelbutton also displays the corresponding vertical settings. DC coupling on CH2 is selected by default.Check the slider switch on the probe is set to X10 and using the Probe button set 10X on thescreen.Press the [blue] AUTO button on the front panel. In a few seconds you should have a triggeredsignal with a number of cycles shown on the screen.
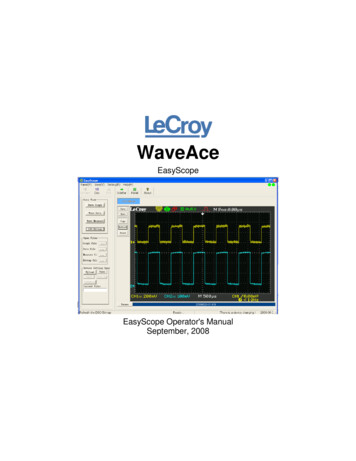
Step 13Notes: As an alternative tomanually refreshing the graphusing the Refresh button theMode can be set to Auto. In thismode the graph is updatedautomatically every fewseconds.In the Goto View section of the EasyScope screen click on Wave Graph and then click onRefresh in the Graph windows. A graph of the waveforms is displayed and the currentsettings are shown below.Waveforms can be saved ineither binary (*.wdf) or ASCII(*.csv). Binary files are morecompact but ASCII files aremore convenient when usedwith an external applicationsuch as Excel etc.Click on Save and on the pop-up screen choose the channel (CH1) and clock OK. Thenext screen allows you to select the destination and save format. Set type as graph file(*.csv), name it Lab6.csv and click Save.
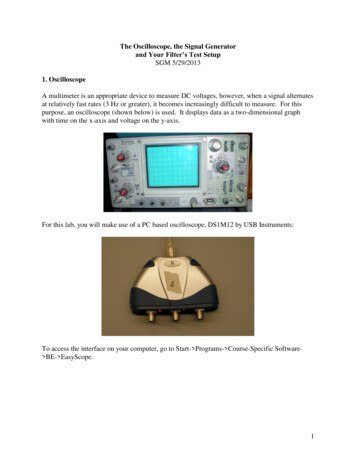
Step 14Step 15Note: Data can also be printedby clicking on the Print button.A preview screen is first shownIn the Graph Show box click on CH1 to turn off the CH1 graph. Now in Graph Oper clickon Open and select the Lab6.csv file. The previously saved data is displayed as Chan3.In Goto View click on Wave Data. The current data is listed.
and clicking on the printer iconwill print to the default printer.Click on Save as and select CH1 and OK. The type is now always wavedata file (*.wdf).Name the file Lab6.wdf and click Save.Step 16Select the Wave Graph view again and in Graph Show turn on CH1 and turn off Chan3. In theMeasure section select CH1 and click Auto so the waveform is continually refreshed.
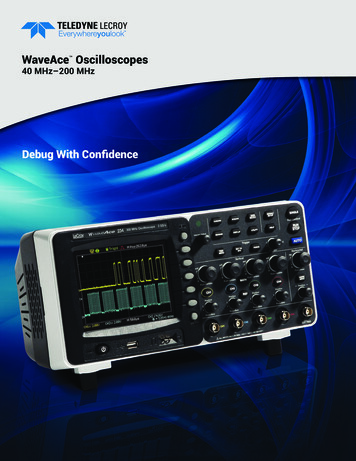
Now select the Wave Measure view and CH1 is compared to a set of Pass/Fail settings.To change a setting click on Pass Fail, select a measurement and set Enable to allow the limits tobe changed.
Measurement data can also be saved used the Save As button and is saved as a (*.wmf) file. TheMeasure file button in the Open Files box can be used to recall these measurements.Step 17In Goto View click on DSO Bitmap. Click on the Refresh button and the current scopescreen is displayed.As for the other Views this view can be saved to disk (and recalled) by using the Save andOpen buttons.
Step 18As an exercise click on the Panel icon on the toolbar. See if you can use this to changethe scope settings.
TestQuestion 1How would you load a channel’s waveform data into Excel? Question 2Is it possible to save and recall instrument Setups to and from the PC? Question 3On the Wave Graph view there is a checkbox called GetAllData. Check this and click on theRefresh button. More cycles are now shown on the graph. Why is this? SummaryIn this lab you have learned to control the WaveAce using the EasyScope application and to saveand recall information.
Lab 6 - EasyScope Remote Control (30 Minutes) Note:(Screenshots below show a white background configuration of your WaveAce to save black ink in printing, this configuration is explained in Lab 2 - VIEW) Overview The EasyScope software utility includes with each WaveAce oscilloscope provides remote control of your oscilloscope. This exercise demonstrates the use of this tool.