Transcription
Word 2010Mail Merge to E-MailData Source in ExcelElizabethtown College Computer ClassKathy Kellie, Computing Trainerx1582
u:\private\classes\word\mail merge class\2010-mail merge to e-mail.docx
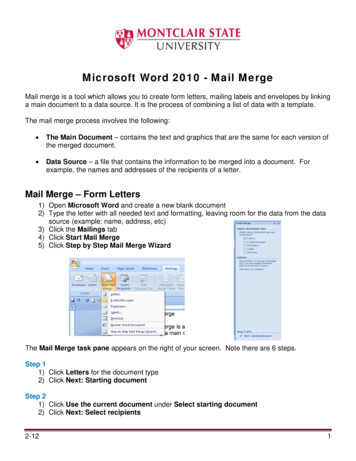
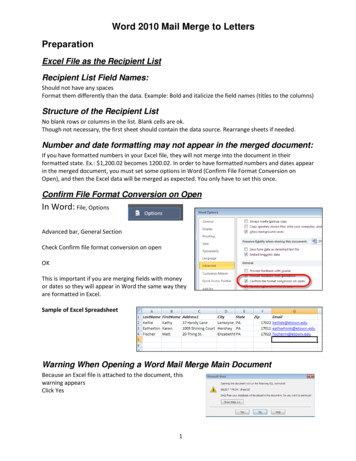
Word 2010 Mail Merge – E-mailNotes on Using an Excel File as a Data SourceIf you have formatted numbers in your Excel file, they will not merge into the document in theirformatted state. Ex.: 1,200.02 becomes 1200.02In order to have formatted numbers and dates appear in the merged document, you must setsome options in Word, and then the Excel data will be merged as expected. You only have toset this once.Confirm File Format conversion on OpenOffice Button: Word Options Advanced barGeneral SectionCheck Confirm file format conversion onopenThis is important if you are merging fields with money or datesSample of Excel SpreadsheetOutlook Should be on BEFORE You Complete the Merge1
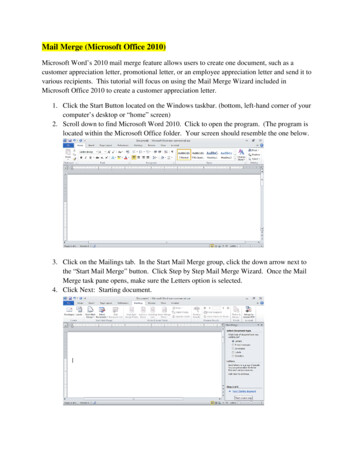
Word 2010 Mail Merge – E-mailEmailDisplay Mail Merge Wizard Task PaneStarting with a blank document, select Mailings tabClick Start Mail MergeSelect Step by Step Mail Merge WizardMail Merge Task Pane AppearsChoose E-mail messages for the DocumentSelect E-mail messagesClick Next: Starting document2
Word 2010 Mail Merge – E-mailSelect Starting DocumentChoose Use the current documentClick Next: Select recipientsChoose the Data Source/Recipient ListSelect Use an existing listClick Browse 3
Word 2010 Mail Merge – E-mailNavigate to your Excel FileSelect it and click OpenSelect OLE DB Database FilesClick OKCan’t Open the File?If the Excel file is in the old format(97-2003) it displays compatibilitymode when opened in Excel 2010.This format doesn’t work well in aWord 2010 mail merge. So if youcan’t get the file to open, try savingthe Excel file in the newer 2010format (XLSX)Note: the first sheet should be selected. Use this one if your address list is on sheet 1, otherwiseselect whichever sheet has the address list.Click OK4
Word 2010 Mail Merge – E-mailThe address list appearsClick OKNote: You can sort, filter and omit recordsSave the Document5
Word 2010 Mail Merge – E-mailAdd Merge Fields to the E-mailClick Next: Write your e-mailmessageNow write your messageType the textandInsert the Merge FieldsIn the Mail Merge TaskPaneClick More itemsClick the field to insertClick Insert buttonClose the dialog boxField is insertedRepeat with any other fields you want to place in the message6
Word 2010 Mail Merge – E-mailPreview E-Mail MessagesThis is notthe actualmerge, it is only a preview. Toactually send the messages, youmust ClickNext: Preview your e-mail messagesClick or to view eachmessageThis is NOT the finished productYou must clickNext: Complete the mergeComplete the MergeClick Next: Complete the mergeClick Electronic Mail 7
Word 2010 Mail Merge – E-mailIn the To: listSelect the field name that contains email addressesIf your field is named email, this is automatically picked for youFill in the Subject line:Click OKSend records:AllClick OKThe messages are sent from OutlookCheck to See if the Messages Were SentIn Outlook, select Sent ItemsOpening an Existing File that has Mail Merge FieldsBecause an Excel file is attached to thedocument, this warning appearsClick Yes8
Word 2010 Mail Merge - E-mail 6 Add Merge Fields to the E-mail Click Next: Write your e-mail message Now write your message Type the text and Insert the Merge Fields In the Mail Merge Task Pane Click More items Click the field to insert Click Insert button Close the dialog box Field is inserted