Transcription
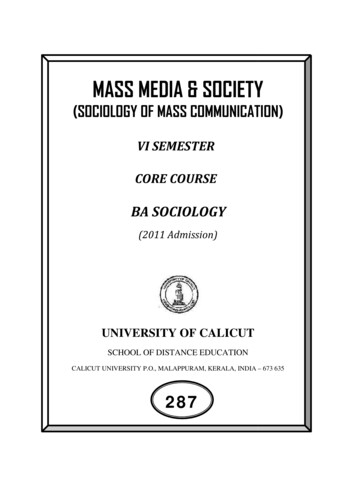
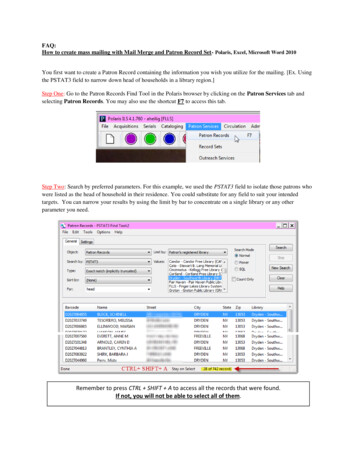
FAQ:How to create mass mailing with Mail Merge and Patron Record Set- Polaris, Excel, Microsoft Word 2010You first want to create a Patron Record containing the information you wish you utilize for the mailing. [Ex. Usingthe PSTAT3 field to narrow down head of households in a library region.]Step One: Go to the Patron Records Find Tool in the Polaris browser by clicking on the Patron Services tab andselecting Patron Records. You may also use the shortcut F7 to access this tab.Step Two: Search by preferred parameters. For this example, we used the PSTAT3 field to isolate those patrons whowere listed as the head of household in their residence. You could substitute for any field to suit your intendedtargets. You can narrow your results by using the limit by bar to concentrate on a single library or any otherparameter you need.Remember to press CTRL SHIFT A to access all the records that were found.If not, you will not be able to select all of them.
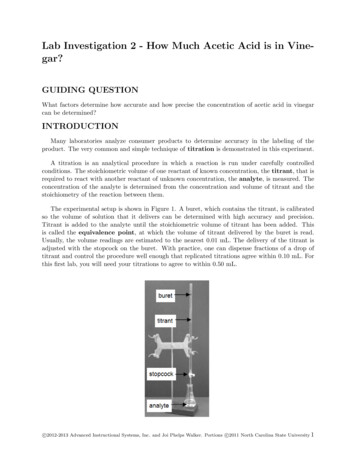
Step Three: You can choose which records you would like to use or press CTRL ALT A to select all the records.Then right click to Add to Record Set, then New.Step Four: After creating a Title and Note, after saving your new Record Set, make a note of the Record Setnumber located in the header. (If you lose this number, you can always search for it under Patron Services Record Sets Search by title.) You will need it to use Mail Merge.Step Five: Create an Excel file containing your new Patron Record Set.
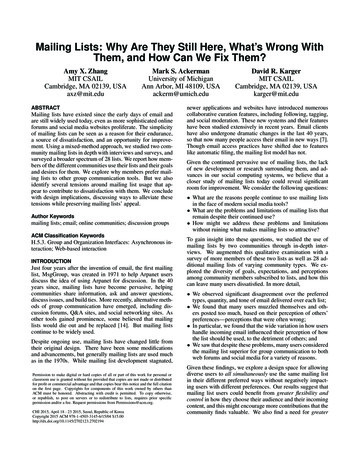
In the Polaris Toolbar, click on:Utilities Reports and Notices(New window will open)Custom Public Services Patron Services Patron Mailing List By Patron Record SetMake sure that you select Excel as your Output Type byclicking the printer icon in the top right corner and selecting Excel.Step Six: Use the Patron Record Number to generate the Excel file and then save to an appropriate file.You are now ready to use Microsoft Word 2010 to use the Mail Merge feature to create labels, envelopes, etc.
Microsoft Word 2010 Mail MergeStep One: After opening your Word document, select the Mailings tab at the top. Click on the Start Mail Mergeicon then select the Step by Step Mail Merge Wizard.Step Two: On the right hand side, select which item you would like to use, and follow the template to select the sizeof the item you are wishing to create. When prompted to select recipients, Use an existing list, and Browse to findyour Excel Patron Record Set.
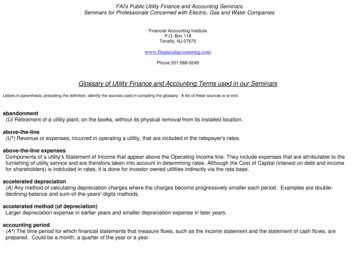
Step Three: Move on to step four of six of the template to arrange your envelope. Click on the text box where youwould like to add the Patron Record Set information, and select more items under the Arrange header.Note: You can edit the placement of the data so it resembles the format that you need.Step Four: By going to the next step of the template, you will be able to see if the data transferred correctly.Step Five: If satisfied with the results, follow the prompts to print.Notes: Use this technique to target groups for reading groups, programs, and other events that does not require afull mailing to your districtSave lists to contact lists easier to access
Microsoft Word 2010 Mail Merge Step One: After opening your Word document, select the Mailings tab at the top. Click on the Start Mail Merge icon then select the Step by Step Mail Merge Wizard. Step Two: On the right hand side, select which item you would like to use, and follow the template to select the size of the item you are wishing to create.