Transcription
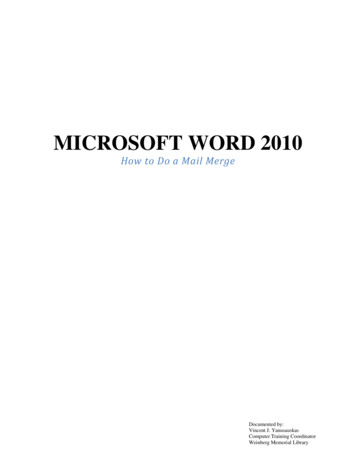
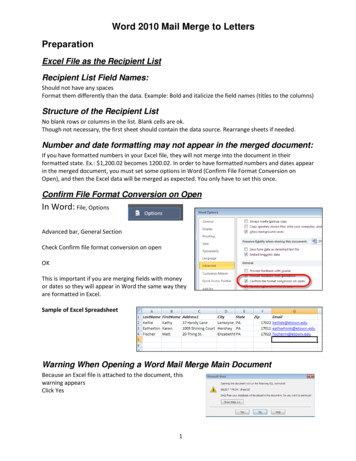
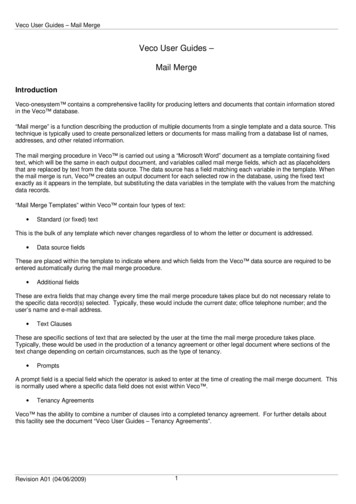
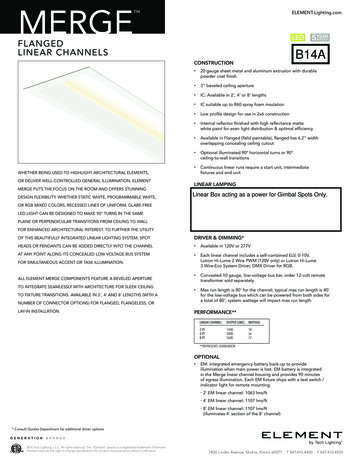
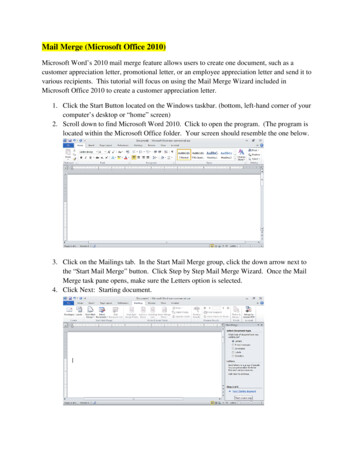
Mail Merge (Microsoft Office 2010)Microsoft Word’s 2010 mail merge feature allows users to create one document, such as acustomer appreciation letter, promotional letter, or an employee appreciation letter and send it tovarious recipients. This tutorial will focus on using the Mail Merge Wizard included inMicrosoft Office 2010 to create a customer appreciation letter.1. Click the Start Button located on the Windows taskbar. (bottom, left-hand corner of yourcomputer’s desktop or “home” screen)2. Scroll down to find Microsoft Word 2010. Click to open the program. (The program islocated within the Microsoft Office folder. Your screen should resemble the one below.3. Click on the Mailings tab. In the Start Mail Merge group, click the down arrow next tothe “Start Mail Merge” button. Click Step by Step Mail Merge Wizard. Once the MailMerge task pane opens, make sure the Letters option is selected.4. Click Next: Starting document.
5. Under Select Starting document, make sure “Use current document” is selected. (Thedisplayed blank page is where you will prepare the master document.) Click Next:Select Recipients.6. Under Select Recipients, choose the location where you have an available list ofrecipients. In this tutorial, select option three, Type a new list. However, if you have anavailable recipient list in either Microsoft Excel, or Microsoft Access, choose the firstoption and follow the on-screen instructions. If you have an Outlook Contact list, chooseoption two and follow the on-screen instructions.7. After selecting Type a new list, click Create.8. Enter information for up to four recipients. This is just so you can see how the MailMerge feature works. For recipient 1, enter a title (Mr., Mrs., or Ms.), last name, firstname, address line one, address line two, if applicable, city, state and zip code. For eachadditional entry, click the New Entry button.9. Once you’ve made your final entry, click OK.10. You will be prompted to save your recipient list as a source file. Enter a name for yourlist in the File Name box and click the Save button.11. Under step 3 of 6, click Next: Write your letter.12. Under Write your letter, click Address block. Select the format in which you want yourrecipients’ names to appear in the address block of the letter. You can preview thisinformation in the box on the right. Once you have selected a format, click OK.13. Select Greeting line on the Mail Merge task pane. Choose a greeting line for theappreciation letter. Click the OK button. Refer to the following figure.
14. Notice that the placeholder for the Greeting line is placed next to the address block. Justclick on the placeholder and press enter twice. On the Mail Merge task pane, under Step4 of 6, select Next: Preview your letters.15. You may have to adjust the line spacing for the recipient address block. On the Hometab, click the Line and Paragraph Spacing button in the Paragraph group. Select 1.0 forsingle spacing click on the Remove Space After Paragraph option.16. You can begin typing and formatting your own customer appreciation letter or copyingthe one found below.17. Once you have completed the letter, under Step 5 of 6, select Next: Complete the merge.18. Click “Print” under the Mail Merge heading to print each individual letter. In the Mergeto Printer box, make sure that “All” is selected and click OK. Follow the on-screenprompts to print your letters.
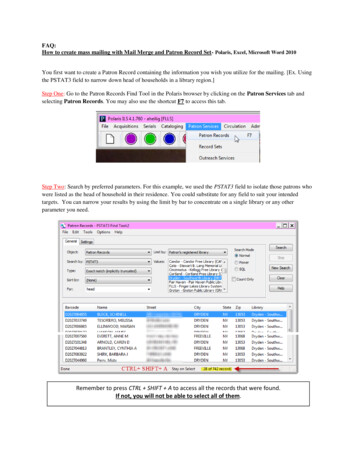
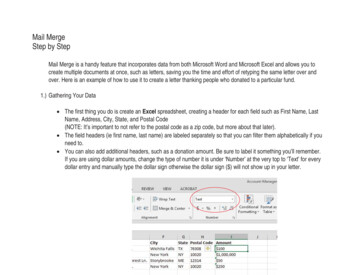
Creating Labels in Microsoft Word 20101. After completing the mail merge in the previous section, click the down arrow key on the“Start Mail Merge” button, located in the Start Mail Merge group. Click on Labels in thedisplayed menu.2. In the Label Options window, select label information according to the types of labelsyou have. For this tutorial, click the down arrow next to the Label vendor box, scrolldown and select Avery US Letter. Under Product number, select 5660 Easy Peel AddressLabels. Click OK.3. Click “Address Block.” Click OK once the Insert Address Block pop-up windowappears.4. Click OK in the Mail Merge pop-up window.5. In the Mail Merge task pane, click on “Address block.” See the figure below.
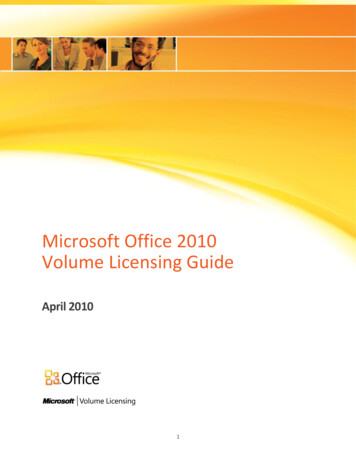
6. Click on Address block again to insert the formatted addresses. Click OK once the InsertAddress Block window opens.7. Click the “Update all labels” button. Under step 4 of 6, select Preview your labels. Yourscreen should resemble the following figure.8. Click Next: Complete the Merge. Follow the on-screen instructions to print the mailinglabels.
Creating Labels in Microsoft Word 2010 . 1. After completing the mail merge in the previous section, click the down arrow key on the "Start Mail Merge" button, located in the Start Mail Merge group. Click on Labels in the displayed menu. 2. In the Label Options window, select label information according to the types of labels you have.