Transcription
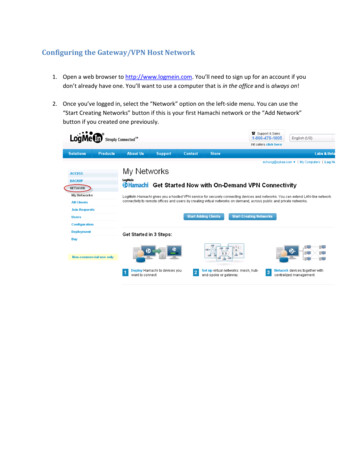
Configuring the Gateway/VPN Host Network1. Open a web browser to http://www.logmein.com. You’ll need to sign up for an account if youdon’t already have one. You’ll want to use a computer that is in the office and is always on!2. Once you’ve logged in, select the “Network” option on the left‐side menu. You can use the“Start Creating Networks” button if this is your first Hamachi network or the “Add Network”button if you created one previously.
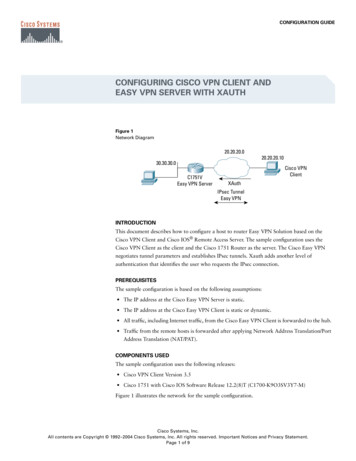
3. Enter a name and description. Most importantly, select “Gateway” as the Network Type beforeyou click Continue. This is the ‘most traditional’ method of using a VPN, where client computersare able to access the host computer’s network.
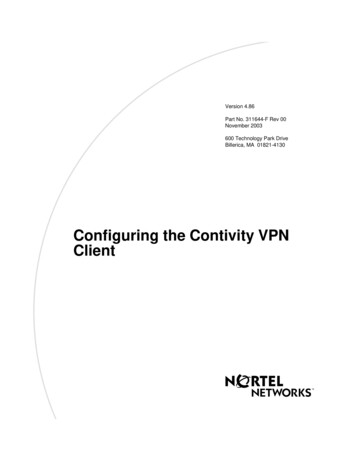
4. I prefer to “Accept automatically” any clients who know the correct password. This is easy tomodify if you’d like to change it later.5. The next screen is where you select the Gateway or Host computer. Because you haven’tinstalled Hamachi yet, there are no options to select. Click “Continue to Add Client” to start theClient Installation Wizard.
6. Thhe defaults foor the Hamacchi installationn are perfectlly fine. Be surre to Launch Hamachi upooncoompletion of the installation.7.AfterAthis has completed, you’llybe backk to the “My NNetworks” paage of the LoggMeIn.comwebsite.wYou should see your Client macchine listed; iff not, try Refrreshing the wweb page.CHUNG‐XPMOODETE’) is no t a part of thee8. Note that our client (in this example, ‘ECCampbellOfficeVPN networrk. Click on thhe “Edit” link oon the right sside of the weeb page.9. Click on the “NNetworks” tabb and add a check‐mark too the networkk you want thhis client to haaveacccess to, thenn click “Save”.
10. Navigate back to the “My Networks” page. You’ll notice that the client is now a part of the VPNnetwork; it still requires configuration before we’re done. This time, click on the “Edit” link forthe network.11. Our last step is to configure the Gateway. In the first “Members” tab, click on the “Add/Removemembers” link. Then click the radio‐button under Gateway for our single client member. Andclick “Save”.
12. The VPN network is now completely configured. Next, we need to add some client members!Adding Client Member Computers to the VPN Network1. Click on the “Add Client” link in the My Networks page.2. Change this selection to “Deploy LogMeIn Hamachi to remote computer(s)”. Click “Continue”.
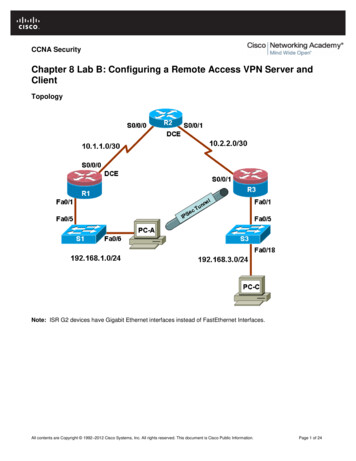
3. Yoou can configgure a maximum number ofo uses and exxpiration period for your VVPN installer. Besuure to select thet network thattyou’d like clients to a utomatically join.4. Thhe next window will show you a URL. Save this URL!! You can use this URL to innstall the VPNN onclients or home computers.
5. Open the URL you saved.6. Click the “Download Now” button.7. Run the downloaded file to start installation on the client machine.
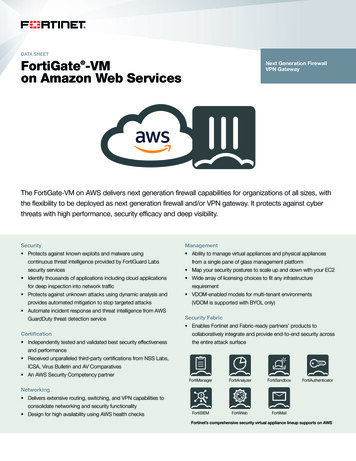
8. Go through thee familiar LoggMeIn Hamacchie Setup; thhe defaults shhould all be suuitable. Launcchn you’re finishhed.Hamachi when9. WhenWHamachhi launches, itt will already be a part of tthe VPN netwwork. Click on the ‘powerbutton’ to turnn the VPN off or on – whenn on, you’ll bee able to acceess your office network.
5. The next screen is where you select the Gateway or Host computer. Because you haven’t installed Hamachi yet, there are