Transcription
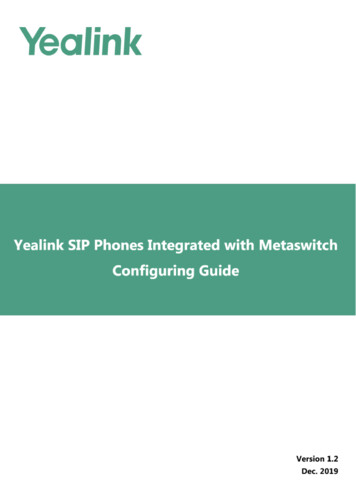
How to Configure the Yealink T48G:The Yealink SIP-T48G desk phone supports up to 16 SIP accounts, and up to 16 Simultaneous calls.Note: this equipment support PoE. And when using power supply, the input ratings are 5V 0.6A.This guide will cover the following steps1.Logging into the phone2.Upgrading the firmware3.Entering in all provisioning information4.Configuring device to access its voice mailbox.1. Accessing the phone’s Web User Interface Connect the phone to a DHCP enabled network, and allow the phone to pull an IP address. You can either pull the IP address of the phone by using network scanning software like Netscan(windows), Angry Ip scanner (Mac), or you can view the IP address of the phone by navigating themenus Eg: Menu Status. Navigate to the phones IP address in your web browser. The default username and password are admin.2. Upgrading the firmware As of 3/29/16 the latest firmware for the YeaLink SIP-T48G is 35.80.0.79.rom, and can be locatedhere. Within the phones web interface go to Settings Upgrade. Click on Choose file, and navigate to thedirectory which the update was downloaded to, and then click “Upgrade”.*WARNING* Do not refresh the web browser, or power off the phone while the firmware upgrade is inprogress.3. Configuring Phone with Generic SIP device information provided from the Host Pilot portal. Pull up HostPilot, and locate the specific Generic SIP device you are looking to configure. In the web interface of the of Yealink desk phone you will want to click on “Account”. Make sure the drop down for “Line Active” is set to Enabled, and not Disabled. Below is a key for all of the information needed, and provided by HostPilot, in relation to theterminology used within the Yealink web interface.
SIP Username/UsernameUnique 9 digit ID located in Host PilotSIP Authorization ID/Register NameUnique 9 digit ID located in Host PilotSIP Password/PasswordUnique alpha-numeric password located in Host Pilot.Outbound Proxy/Outbound Proxy Serverusbc.telecomsvc.com or UC70.telecomsvc.comSIP Domain/Server Hostusbc.telecomsvc.com or UC70.telecomsvc.com Once all of the above information listed has been entered in, and looks similar to this click confirm.
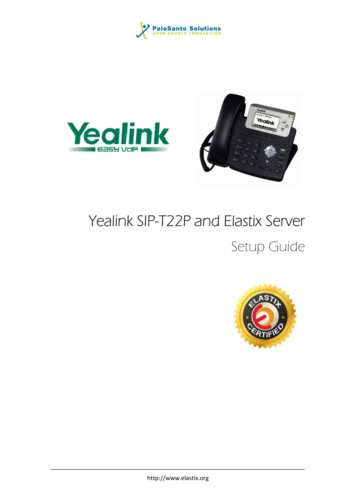
Next select “Advanced” under the “Account” tab, and make sure that the following fields are configured asdocumented below.Keep Alive TypeDefaultKeep Alive Interval (Seconds)30DTMF TypeRFC2833DTMF Payload Type101Voice MailDID of phoneSIP Registration Retry Timer30Caller ID SourceRPID-FROM Once all of the above information has been entered in, it should look similar to this
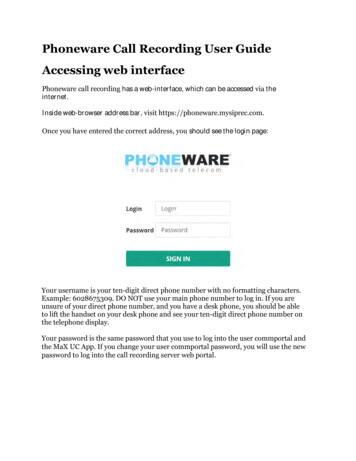
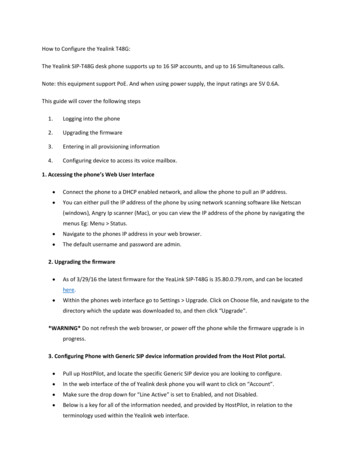
Lastly Select the “Network” tab, then the “Advanced” sub tab, and make the following changes.Voice QoS46SIP QoS46Maximum RTP Port50000Minimum RTP Port30000 When done you should have something that looks similar to this.
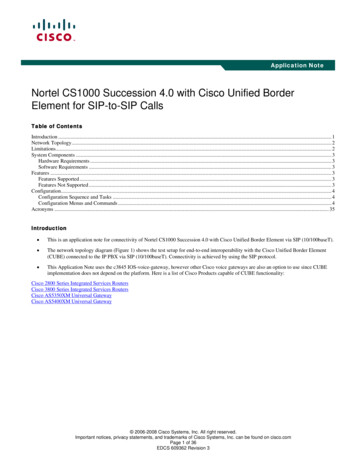
Lastly select the “Settings” tab, then the “SIP” sub tab, and make the following change:Local SIP Port6xxx (xxx 3 digit Ext, ie. Ext 133 6133)Now you are good to go! Please feel free to review KB article for Firewall Rules and Port Requirements for theservice to work correctly.https://kb.intermedia.net/Article/3119
(windows), Angry Ip scanner (Mac), or you can view the IP address of the phone by navigating the menus Eg: Menu Status. Navigate to the phones IP address in your web browser. The default username and password are admin. 2. Upgrading the firmware As of 3/29/16 the latest firmware for the YeaLink SIP-T48G is 35.80.79.rom, and can be located .