Transcription
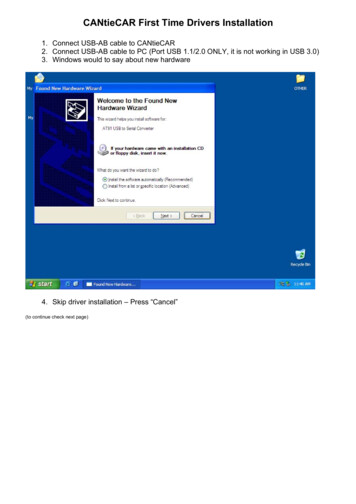
Digital Film Scanner/ConverterUSER GUIDEIVAFS22Thank you for purchasing the Ivation Digital Film Scanner/Converter. This User Guide is intended toprovide you with guidelines to ensure that operation of this product is safe and does not pose risk to theuser. Any use that does not conform to the guidelines described in this User Guide may void the limitedwarranty.Please read all directions before using the product and retain this guide for reference. This product isintended for household use only.This product is covered by a limited one-year warranty. Coverage is subject to limits and exclusions. Seewarranty for details.Box ContentsDigital film scanner/converterNegative adapterSlide adapterPower adapterUSB to mini USB cableTV cableCleaning brushUser guideSafety Precautions Do not attempt to disassemble the unit. Do not touch the inner part of the scanner after dropping or other damage. Stop using the scanner immediately if there is any smoke or smell during operation. Do not clean the scanner with alcohol, gasoline, diluent, or other organic solvent. Do not use the scanner in a dusty or damp environment. Use only standard size film with this scanner. Make sure the scanner is clean before operation. This unit will automatically shut off after 30 minutes without continuous operation.Loading the Slide and Negative Adapters1. Hold the negative or slide towards the light and face the front upwards.2. Select the correct adapter depending on whether you are scanning a negative or slide. Both adaptersare labeled.3. Flip the adapter onto the side that reads “THIS SIDE UP.” Open the adapter and place the slide ornegative inside.4. Close the adapter and press the edges so that it snaps into place.5. Insert the adapter into the slot on the bottom of the scanner, noting the arrow indicating the top side.
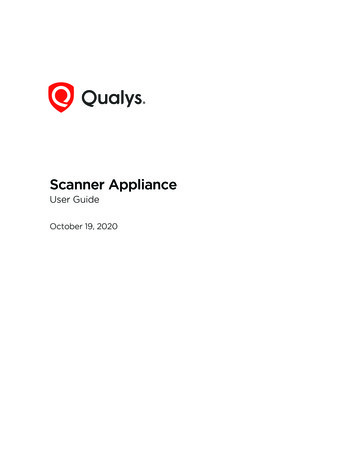
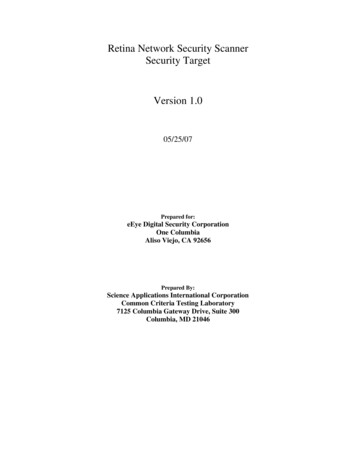
Navigating the menu1. Film type 5. Format2. Resolution 6. USB MSDC3. Capture 7. Language4. PlaybackOperation1. Press and hold the power button to turn the unit on or off.2. The scanner will automatically shut off after 30 minutes without continuous operation.Selecting Film TypeFS630NSoftware flow chart-V1.01. In the main menu, select the Film Typeoption.P2-2 to select the film type.2. Cycle through the options with the directional buttons and press the20170315OK buttonNote:1.The default 135 negatives2.Press the left and right buttons to select different negatives4.Select Film, Press OK to enter the preview mode5.Press the menu button to return to the previous menuOKLeft/RightOKLeft/RightOKLeft/RightOK
Capturing an Image1. Press the scan/menu button. If scanning a specific type of negative or slide, cycle through the optionswith the directional buttons and press the OK button to select Film Type. After selecting the film type,the scanner will automatically enter Capture mode.2. For a non-specified film type, cycle through the options with the directional buttons and press the OKbutton to select Capture to enter capture mode. The photo will be scanned and an image will appear onthe screen.3. To flip the image horizontally, press the left directional button.4. To flip the image vertically, press the right directional button.5. To set the exposure compensation, press the OK button. Use the directional buttons to adjust eachvalue and confirm by pressing the OK button.6. To save the image, press the scan/menu button and select the save icon by pressing the OK button.
Playing Back an Image1. In the main menu, select the Playback option. The saved images will automatically play.2. Press the OK button to pause the automatic playback and use the directional buttons to cycle throughimages manually.3. To return to automatic playback, press the OK button again and select Exit. In this menu you may alsodelete the image or return to the main menu.Selecting the Resolution1. In the main menu, select the Resolution option.2. Use the directional buttons to select either 14M or 22M (interpolation). Confirm by pressing theOK button.
Formatting the SD Card1. In the main menu, select the Format option.2. Note that when formatting, all data currently saved will be deleted.3. Confirm by using the directional buttons to highlight Yes and press the OK button to confirm.Language Settings1. To change the language, select the Language option in the main menu.2. Use the directional buttons to cycle through the language options.3. Select the desired language by pressing the OK button.Available languages: English, French, German, Italian, Spanish, Traditional Chinese, Simplified Chinese,JapaneseConnecting to a Computer1. Use the included USB cable to connect the scanner to the computer.2. In the main menu, select the USB MSDC option.3. After successfully connecting to the computer, you will be able to view and edit the captured images.
Care and Maintenance Handle film with care and avoid scratches or fingerprints. For best results, wear cotton gloves whilehandling film. Clean the film by gently wiping with compressed cotton.SpecificationsUSB interface: USB 2.0Image sensor: 14MP CMOS sensorBuilt-in display: Color 2.4” TFT LCDExposure control: automatic/manual (-2.0EV 2.0EV)White balance: automatic:Resolution: 14.0MP/22MP (interpolation)Supported film types: 135 film (36x24mm)126KPK film (27x27mm)110 film (17x13mm)Super8 film (4.01x5.79mm)Monochrome (slide)Picture effects: B&W, slides, negativesFile format: picture/JPEGTV-OUT type: NTSC/PALBuilt-in memory: 128MExternal memory card: SD card up to 32GBPower supply: DC 5V adapter / USB portSupported language: S-Chinese / TZ-Chinese / English / French / German / Italian / Spanish / JapaneseSupported OS: Windows XP / Vista / Windows 7/8 / Mac10.7.3 and aboveDimensions: 3.4” x 3.4” x 4”Weight: 8.8 oz. (250g)Customer Serviceinfo@myivation.com866-849-3049
Digital Film Scanner/Converter USER GUIDE IVAFS22 Thank you for purchasing the Ivation Digital Film Scanner/Converter. This User Guide is intended to . Picture effects: B&W, slides, negatives File format: picture/JPEG TV-OUT type: NTSC/PAL Built-in memory: 128M External memory card: SD card up to 32GB Power supply: DC 5V adapter / USB port