Transcription
Release NotesTimeForceVersion 2.8.1
Publication RecordSoftware Version2.8.1Publication DateDescriptionMay 2009Release notes for Qqest Software SystemsTimeForce May 2009 release 2009 Qqest Software Systems, Inc. All rights reserved.P.O. Box 860, Sandy UT 84091-0860Telephone (801) 262-1611Qqest TimeForce is a registered trademark of Qqest Software Systems, Inc. Windows is atrademark of the Microsoft Corporation. InstallShield Express is a registered trademarkof InstallShield Software Corporation.
OverviewThese release notes describe the changes made to the TimeForce system with therelease of version 2.8.1 dated May 2009.ContentsOVERVIEW . 3CONTENTS. 3HR INCIDENTS AND REVIEWS . 4HOLIDAY LISTS . 4“AFTER X HOURS” CONTINUOUS MEAL POLICY . 5HOURS ROUNDING POLICY. 6OBSERVE DAYLIGHT SAVING TIME OPTION . 7ACCRUALS . 8ACTIVE DIRECTORY LOGIN. 10COLLAPSIBLE MENU FOR SCHEDULES. 12UNSCHEDULED HOURS CROSSING MIDNIGHT. 12PAY GROUPS. 13SPREADSHEET HOURS ALLOCATION . 15SELF SERVICE PUNCH LOCKOUT. 15SCHEDULE BASED OVERTIME POLICIES . 16PREAPPROVED ABSENCE REQUESTS. 17PASSWORD SECURITY. 18OVER/UNDER HOURS ERROR . 20VIEW REMAINING JOB HOURS. 20DATABASE BACKUP . 20BUG FIXES . 205/28/20093 of 22
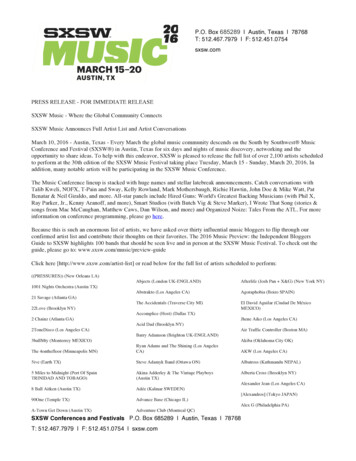
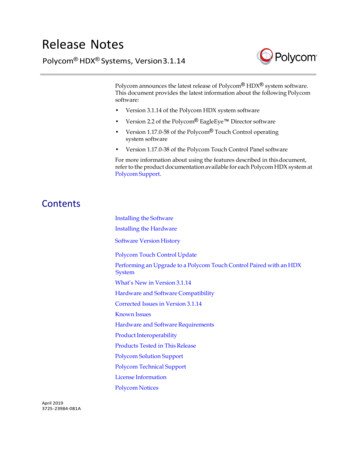
HR Incidents and ReviewsThe functionality has been added to attach .pdf documents to Performance Reviews orIncident Reports in the HR module of the system. This allows for easy reference todocumentation that has been created outside of the TimeForce system.Incidents/Reviews must be added to the system before documents can be attached.Click on the main “HR” tab at the top of the screen, and then on either the Review orIncident links located directly below the row of main navigation tabs.The figure below is an example of the new HR feature.Figure 1: Incidents/ReviewsRefer to the “HR” section of the electronic help system for full details on HRIncidents/Reviews.Holiday ListsBirthdays as HolidaysWhen creating Holiday Lists, this option allows you to specify that employee birthdaysshould be treated as a company holiday. Any employee assigned to the list will receiveholiday hours on their birthday.This setting is specified when assigning holiday dates to a Holiday List. Click on themain “Admin” navigation tab, then on the Holiday Lists link located under the Policiessection of the screen. Each existing Holiday List is displayed. Click on the AssignHolidays link.The figure below is an example of the new feature.5/28/20094 of 22
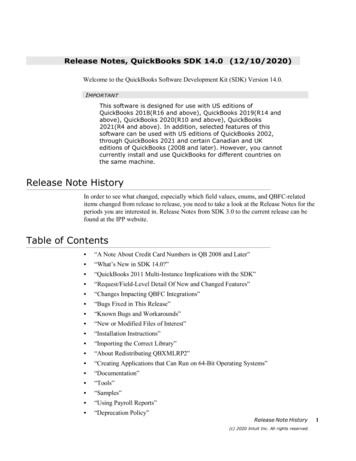
Figure 2: Birthday as HolidayRefer to the “Holiday Lists” section of the electronic help system for full documentationon creating and using Holidays.Copy Holiday ListThe option has been added to copy a Holiday List. This allows you to copy the settingsand assigned holidays of one list, and save it as a separate policy under a different name.Click on the main “Admin” tab, and then on the Holiday Lists link located under thePolicies section of the screen.The figure below is an example of the new option.Figure 3: Copy Holiday listRefer to the “Holiday Lists” section of the electronic help system for full documentationon creating and using Holiday.“After X Hours” Continuous Meal PolicyWhen using meal policies, this feature allows you to specify the number of hoursbetween two punches. If the number of hours exceeds the number specified, the mealdeduction is generated. This makes it possible for multiple lunch deductions to be takenin a day.5/28/20095 of 22
Click on the main “Admin” navigation tab, and then on the Meal Policies link locatedunder the Meal Policies section of the screen.The figure below is an example of this setting.Figure 4: After X Continuous Meal PolicyRefer to the “Meal Policies” section of the electronic help system for more informationon setting up and using this option.Hours Rounding PolicyA new rounding policy has been added which allows you to round a hours totals on youremployees’ time cards.Daily or Pay Period hours totals can be rounded to the nearest selected interval. The lasthours total for the day/pay period will be rounded.Click on the main “Admin” tab, and then on the Rounding link located under the Policiessection of the screen.The figure below is an example of the hours rounding setup screen.5/28/20096 of 22
Figure 5: Hours Rounding PolicyRefer to the “Rounding” section of the electronic help system for full instructions.Observe Daylight Saving Time OptionThis option works in conjunction with Self Service users, and allows you to specifywhether or not Daylight Saving Time (DST) should be observed when creating a newuser.This option is for use in a setting where users are logging into and using the TimeForcesystem from an area that does not observe DST, even if the program server and otherusers do.Click on the main “Admin” navigation tab, then on User Security from the System Toolssection of the screen. When creating a new user, the option Observe Daylight Savingappears next to the Time Offset setting.The following figure shows an example of the new setting.Figure 6: Observe DSTRefer to the “User Security” section of the electronic help system for details on creatingusers.5/28/20097 of 22
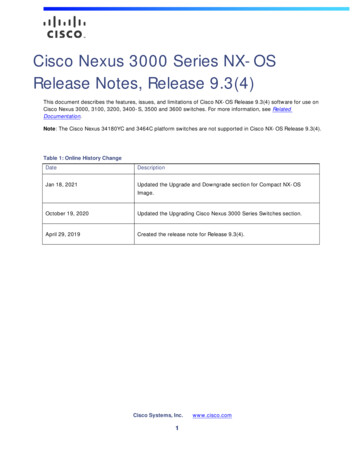
AccrualsThe following options have been added to Calendar Based Accrual Policies.Worked Hours Requirement on Calendar Based AccrualsThis setting applies to Calendar Based Accrual Policies, and allows you to specify thatemployees must reach a required number of worked hours per month/year in order toreceive accruals.This option is included as a part of the “Milestone” setting in a Calendar Based accrualpolicy. Click on the main “Admin” navigation tab, and then on the Accrual Policies linklocated under the Policies section of the screen. Create a new Calendar Based policy, andclick on the [ADD MILESTONE] icon.The figure below is an example of the new setting.Figure 7: Worked Hours Accrual RequirementRefer to the “Accrual Policies” section of the electronic help system for fulldocumentation on Calendar Based Accrual Policies.Pay Period AccrualsWith this release the option has been added to specify that an accrual policy applies perpay period, using a set pay period rate (as opposed to being calculated based on an annualamount).This setting is set up on the 2nd option of both the main “Calendar Based Policy” screen,and also on policy “Milestones.”Click on the main “Admin” navigation tab, and then on the Accrual Policies link locatedunder the Policies section of the screen. When creating a new Calendar Based policy, the“Pay Period” option appears in the When should these hours be applied field.See the figure below for an example.5/28/20098 of 22
Figure 8: Pay Period Accrual SettingOnce the policy settings have been specified, click on the [ADD MILESTONE] icon atthe bottom of the screen. The 2nd step allows you to specify the number of hours to beawarded on a per pay period basis.See the figure below for an example.Figure 9: Pay Period Accrual Milestone SettingRefer to the “Accrual Policies” section of the electronic help system for furtherinformation.Banked Hours Expiration OptionThe option has been added to accrual Milestones to set up an expiration date for hoursthat have been “Banked.”When enabled, a number of days after the Rollover Date is specified for expiration. Forexample, expiration is set to occur 90 days after rollover. This means that if the bankedhours are not used within the given 90 days, they will expire.5/28/20099 of 22
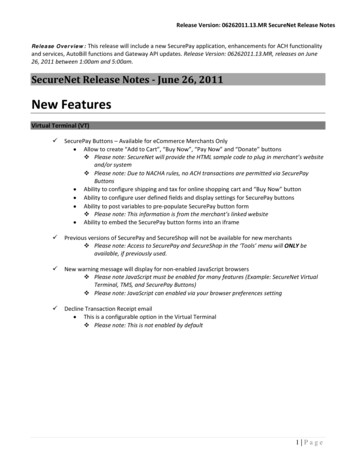
Click on the main “Admin” tab, and then on the Accrual Policies link located under thePolicies section of the screen. Click on an existing accrual policy, or create a new one(this setting applies to both “Calendar Based” and “Hours Worked Based” policies).From the main policy screen, click on the [ADD MILESTONE] icon.The figure below is an example of the new setting.Figure 10: Banked Accruals ExpirationRefer to the “Accruals” section of the electronic help system for further details.Active Directory LoginThis option allows you to specify that the TimeForce web server is part of the ActiveDirectory Domain. With this option enabled, users will not need to log in when openingTimeForce.Users in TimeForce are set up with their network domain name. When openingTimeForce, the program will check which domain user is logged into the network, andlog them in as the appropriate corresponding TimeForce user.IIS must be configured to allow for “Integrated Security,” the “Active Directory” optionmust be enabled in the System Setup of TimeForce. Click on the main “Admin” tab, andthen on Settings located under the System Tools section of the screen.See the figure below for an example of the setup screen.5/28/200910 of 22
Figure 11: Active Directory System Setup OptionThe “Active Dir User” option in User Security must be associated with a domain user onthe network. Click on the main “Admin” tab at the top of the screen, and then on the UserSecurity link located under the System Tools section of the screen.See the figure below for an example of this setting.Figure 12: Active Directory User SetupRefer to the “Settings” section of the electronic help system for full instructions onconfiguring Active Directory.5/28/200911 of 22
Collapsible Menu for SchedulesIn an effort to simplify the process of creating and using schedules in TimeForce, theSchedule Links area has been added to the left-hand side of all scheduling screens. Thisarea is similar to the Administration Links section that appears on the main “Admin”screen.This section contains a link for each screen in the scheduling module, and can becollapsed by clicking on the icon.Click on the main “Schedule” tab. The Schedule Links appear in the left-hand section ofthe screen.See the figure below for an example.Figure 13: Schedule LinksRefer to the “Scheduling” section of the electronic help system for full documentation onthe Scheduling module and its options.Unscheduled Hours Crossing MidnightWhen unscheduled employees work a shift that crosses midnight, this option allows youto specify that the punches falling after midnight are to be considered as hours for theshift that began the previous day.An Unscheduled Max Break Span is specified which represents the duration betweenan “in” punch and a prior “out” punch that the system will use in absence of a shift.Click on the “Employee” tab, select the desired employee, and click on the Pay Policieslink located directly below the main program navigation tabs.The figure below is an example of this setting.5/28/200912 of 22
Figure 14: Unscheduled Hours Crossing MidnightNote that this option must be enabled in the “System Setup” section of the program.Refer to the “Pay Policies” section of the electronic help system for further instructions.Pay GroupsThis release contains the following functionality changes to Pay Groups.Manage Error Monitoring in Pay GroupsEnabling this option allows you to assign Error Monitoring Defaults to a “Pay Group.”Any employee assigned to the Pay Group will also subsequently be assigned to thespecified Error Monitoring Defaults.This option must be enabled. Go to the main “Admin” tab, and click on the Settings linklocated under the System Tools section of the screen. Click on the Edit link under theSystem Setup header. Under the Pay Group Settings section of the screen, enable the“Manage Employee Error Monitoring through Pay Group” option and click on the[SAVE SETTINGS] icon at the bottom of the screen.Once enabled, this feature is accessed by clicking on the main “Admin” tab, and then onthe Pay Groups link located under the Personnel section of the screen. View an existingPay Group, or add a new one. Error Defaults appear at the bottom of the screen.The figure below is an example of the Error Defaults section of the screen.5/28/200913 of 22
Figure 15: Error Defaults in Pay GroupsRefer to the electronic help system for full instruction on setting up and using ErrorMonitoring.Copy Pay GroupThe option has been added to copy a Pay Group. This allows you to copy one Pay Groupand its assigned policies, and save it separately under a different name.Note that the employees assigned to a Pay Group are not copied with the policy settings.Employees must be manually assigned to the new group.5/28/200914 of 22
The figure below is an example of the new option.Figure 16: Copy Pay GroupSee the “Pay Groups” section of the electronic help system for more information.Spreadsheet Hours AllocationThe functionality has been added to track Job and Task hours allocations from the“Spreadsheet Hours Entry” screen.When enabled, the total number of worked hours is displayed, along with the totalnumber of allocated hours and the difference between the two.This option must be enabled. Go to the main “Admin” tab, and click on the Settings linklocated under the System Tools section of the screen. Click on the Edit link under theSystem Setup header. Under the Time Card Settings section of the screen, enable the“Display a Warning if the Hours Allocation Difference is not Zero” option and click onthe [SAVE SETTINGS] icon at the bottom of the screen.Once enabled, this feature is accessed by clicking on “Time Card,” and then on theSupervisor link located directly below the row of main navigation tabs. The “Supervisor”screen opens. Click on the Spreadsheet Punch Entry link located in the row of links at thetop of the screen.The figure below is an example of the new functionality.Figure 17: Spreadsheet Hours AllocationRefer to the “Supervisor” section of the electronic help system for full instructions onusing this option.Self Service Punch LockoutThis setting allows you to specify that any employee clocking into the system using theEmployee Self Service module must be scheduled in order for the punch to be accepted.If the employee is not scheduled to work a shift at the time the punch is entered, thepunch will be rejected by the system.5/28/200915 of 22
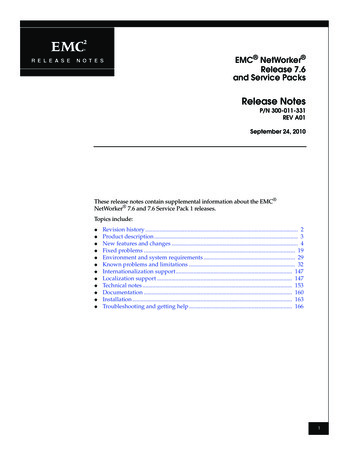
In order for this option to function, the user must be set up correctly from the “UserSecurity” section of the program. The employee must also be scheduled. The shift thatthey are scheduled to work must be assigned to a “Schedule Rule” with a specified“Allowed Period.”A customizable message is displayed to employees whose punch has been rejected. Thismessage is customizable from the “System Setup” section of the screen.The figure below is an example of the setup screen.Figure 18: Self Service Punch LockoutThis option must be enabled. Refer to the electronic help system for more information onusing this option.Schedule Based Overtime PoliciesThe functionality has been added to base an employee’s weekly or daily overtime on thenumber of hours that they are scheduled to work.With this feature in use, employees will receive overtime for any hours worked over theirnumber of scheduled hours. This feature only works with “Daily,” “Weekly,” “TwoWeek,” “6-Day Consecutive,” and “7-Day Consecutive” overtime types.In order to function correctly, the employee must be assigned to a schedule. Theemployee’s schedule must be assigned to a Schedule Rule with a specified “RequiredHours.”Click on the main “Admin” navigation tab, and then on the Overtime link located underthe Policies section of the screen. View an existing policy, or create a new one.See the figure below for an example of the new setting.5/28/200916 of 22
Figure 19: Schedule Based Weekly OvertimeRefer to the “Overtime” section of the electronic help system for full instructions onsetting up and using this option.Preapproved Absence RequestsThis feature allows you to specify an Absence Request in the system as “preapproved.”This tells the employee that the request for time off has been approved, but no absence iscreated in the system, and the hours are not deducted from the employee’s accrued hours.For absences to be created and accrual time to be deducted, the preapproved absencemust be set to a status of “Approved.”This can be helpful when an employee requests time off for a future date. Although therequest is approved, the employee’s accrued hours will not be affected until the date ofthe absence arrives, and the supervisor sets the preapproved absence to a status of“Approved.”Log into the system as an “Admin” or “Supervisor” user. Click on the main “Time Card”tab, and then on the Supervisor link located directly below the main navigation tabs. TheAbsence Requests section appears at the bottom of the screen.5/28/200917 of 22
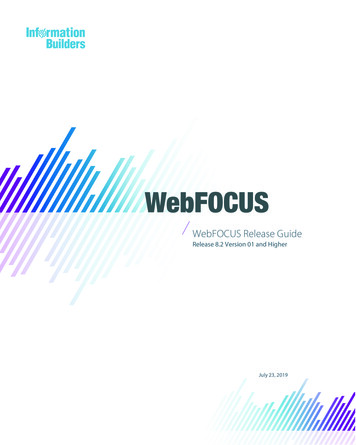
All absence requests that have been entered into the system are displayed. Click on thelink in the Date column to bring up the request details. Click on the [PREAPPROVE]icon at the bottom of the screen.The figure below is an example of this option.Figure 20: Preapproved AbsencesNote that this option must be enabled in the “System Settings” section of the program.Refer to the “Supervisor” section of the electronic help system for more information.Password SecurityThe option has been added to maximize password security by increasing the requiredcomplexity of user passwords, and by specifying a global expiration by user “Role.”Increase Password ComplexityThis feature enables you to specify that a login password must be of a minimum characterlength, and that passwords must contain 3 out of 4 of the following characters, lowercasealphanumeric, uppercase alphanumeric, numeric, and symbol.This option must be enabled. Go to the main “Admin” tab, and click on the Settings linklocated under the System Tools section of the screen. Click on the Edit link under theSystem Setup header. Under the User Settings header, put a check mark in the “Increase5/28/200918 of 22
Password Complexity” option. This activates the “Password Length” field. Enter therequired minimum character length in this field.The figure below is an example of this setup screen.Figure 21: Increase Password ComplexityRefer to the “System Setup” section of the electronic help system for further instructions.Global Password ExpirationWhen creating “Customized” users in the Tim
TimeForce. Users in TimeForce are set up with their network domain name. When opening TimeForce, the program will check which domain user is logged into the network, and log them in as the appropriate corres