Transcription
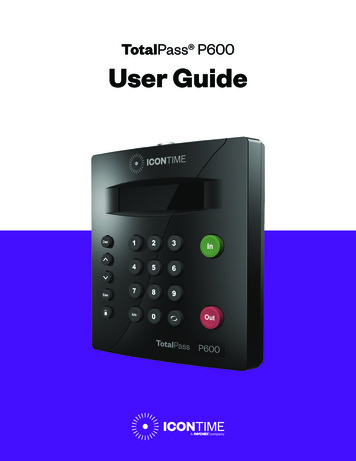
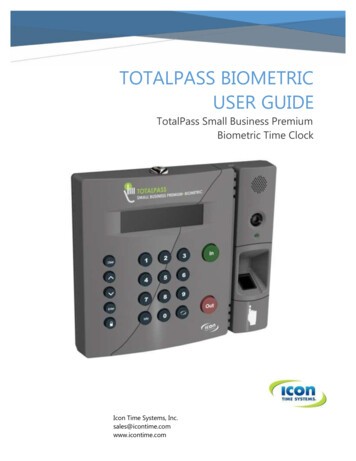
TOTALPASS BIOMETRICUSER GUIDETotalPass Small Business PremiumBiometric Time ClockIcon Time Systems, Inc.sales@icontime.comwww.icontime.com
Copyright 2018 Icon Time Systems, Inc. All rights reserved.Reproduction of this document in whole or in part is strictly prohibited.This document may contain typographical or copy errors. TotalPass, IconTime Systems, the Icon Time Systems logo, and all other Icon TimeSystems product names mentioned in this document are registeredtrademarks of Icon Time Systems.All other products, brand names, or company names mentioned in thisdocument are properties and trademarks or registered trademarks oftheir respective companies.Icon Time Systems,Inc. 9650 SW NimbusAve. Bldg. 14Beaverton, OR 97008Phone: 800.847.2232sales@icontime.com www.icontime.com
Table of ContentsTotalPass Biometric User GuideTable of ContentsChapter 1: Getting Familiar with Your Time ClockIntroduction . 3Welcome. 3System Requirements . 4Features . 5Available TotalPass Upgrades . 6Connection / Setup . 6Logging In . 6Support and Troubleshooting . 7Integration with Payroll Services . 7Register your Time Clock . 7Navigating the Time Clock Software . 8Home Page . 8Lists Menu . 8Reports Menu . 9Payroll Menu . 9Files Menu . 9Settings Menu . 9Help Menu . 9Chapter 2: Setting Your Time Clock PreferencesSetting Your Pay Preferences .3Setting Your Overtime Preferences .4Setting Your Punch Preferences .5Setting Employee Input Preferences.7Setting Your Device Preferences .8Email / Backup Preferences: .9Outgoing Email Settings (SMTP Server) . 10Common SMTP Server Settings . 12Setting Your Alert Preferences .13Alert Setup . 14Creating Custom Fields.14TOCTotalPass Biometric User Guide
Table of ContentsChapter 3: Setting Up Your EmployeesEmployee List .3Adding Employees . 4Employee Information . 5Employee Settings. 5Lunch Time Deduction . 7Web Punch Time Clock Settings . 7Create Payroll Export File . 8Biometric Settings . 8Accrual Settings (Upgrade Required) . 9Wifi Connection . 9Connecting Using the Clock Interface . 10Connecting Using a WPS Button . 11Connecting Using a WPS with PIN . 11Connecting Using the Software Interface . 12Ethernet Connection . 13Delete Employee’s Punches . 13Chapter 4: Using Biometric Fingerprint EntryOverview . 3Time Clock Functions . 3Enrolling Employees Fingerprints Using Self Enroll. 4Biometric Settings . 5Biometric Settings by Employee . 5System-wide Biometric Preferences . 5Finger Scan Preferences . 5Photo Verification Preferences. 5Chapter 5: Clocking In and OutPunching In and Out . 3Biometric Finger Scan Entry . 3Proximity Badge Entry . 4Web Punch Time Clock Entry . 4Tracking Paid Breaks. 4Department Change (Punch In and Transfer). 5Entering Tips, Job Numbers or Piece Counts . 5Collecting Employee Inputs on an In Punch. 6Collecting Employee Inputs on an Out Punch . 6TotalPass Biometric User GuideTOC
Table of ContentsChapter 6: Departments and SupervisorsDepartments . 3Customize Your Departments . 3Assigning/Changing Departments . 4Removing a Department . 4Supervisors . 4Setting Supervisor Permissions . 5Assigning Employees to a Supervisor . 5Supervisor Login . 6Chapter 7: Generating ReportsReports Overview.3Adding a Punch . 4Adding Non-Work Hours (Holiday and NonWorked). 5Editing a Punch . 6Using Batch Edits. 6Viewing Additional Reporting Details . 7Punches from Failed Biometric Punch Verification.8Using the Attendance Report.8Using the Timecard Report .9Using the Individual Timecard Report .10Using the Department Report.10Using the Timecards by Department Report .10Creating Custom Reports .11Generating Reports on Custom Field Values – Labor Distribution .12Step 1: Set Up the Custom Field Title and Assignment . 12Step 2: Assign the Custom Field Value to the Employee . 12Step 3: Generate the Custom Report Using Create Report. 13Chapter 8: Sending to PayrollSending to Payroll .3Creating the Payroll Export File . 3QuickBooks Export Payroll Process . 5Configuring Payroll .6QuickBooks Online Configuration . 6TOCTotalPass Biometric User Guide
Table of ContentsChapter 9: Alternate Employee Entry OptionsWeb Punch Employee Entry .3Setting Up Your Employees - Web Punch Time Clock . 3Punching In/Out Using Web Punch Entry . 4Clocking In/Out from GPS Enabled Smart Phone – Location Tracking . 5GPS Location . 5IP Address Restriction . 5Setting Authorized IP Addresses Globally . 5Setting Authorized IP Addresses by Employee . 6Running Reports with the Web Punch Time Clock . 7Using Proximity Badges.7Assigning Proximity Badges to an Employee . 7Locking the Time Clock Terminal Keypad . 8Punching In/Out Using Proximity Badges . 8Chapter 10: Maintaining Your Time ClockSetting up Scheduled Automatic Backups .3Creating a Data Backup .4Data Backup from the Software Interface . 4Data Backup to a USB Flash Drive . 4Restore Time Clock Data Backup .5Restore a Time Clock Data Backup from the Software Interface . 5Restore a Time Clock Data Backup from a USB Flash Drive . 5Removing Data from Your Time Clock .6Updating Your Time Clock.6Updating Your Time Clock from the Software Interface . 7Updating Your Time Clock Using a USB Flash Drive . 7Auto-Update . 8Resetting Your Time Clock Passwords .9Changing Your Time Clock Software Interface Password . 9Resetting the Software Interface Password . 9Resetting the Supervisor Mode Security Code. 10Chapter 11: Time Clock Terminal Supervisor ModeLog Into Supervisor Mode .3Parent Clock Supervisor Mode Settings .3View
Punch photo verification in case of failed finger scan 15 employee web punch entry licenses included, upgrade to a maximum of 50 Import employees to the time clock from a CSV file Proximity badge entry option