Transcription
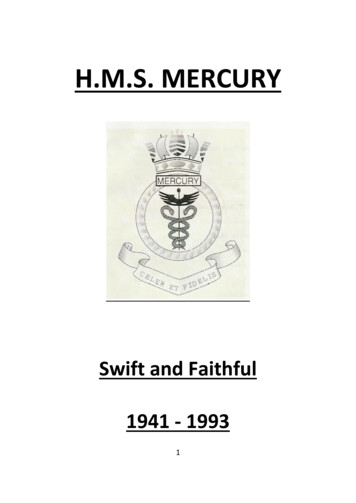
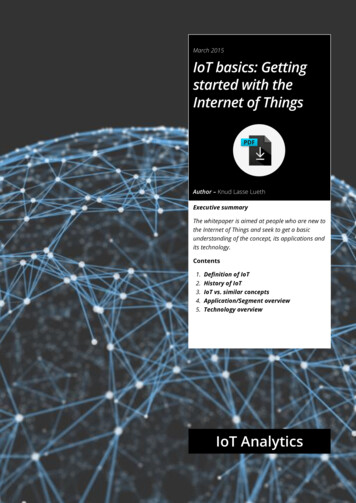
Linux Development Getting StartedVB-Linux on your Laptop – Convenient Option Compared to Remote Transformer AccessFirst, on your Windows or Mac OS-X laptop, install Oracle Virtual-Box as follows:First, download Ubuntu Linux distribution 12.04.1, or newer from here:1. http://www.ubuntu.com/download/desktop2. Or you can download and install the exact same version I run on VB from here http://math.uaa.alaska.edu/ ssiewert/linux dvd iso/To install Ubuntu Linux on Virtual Box, then you'll also need to download Virtual Box here https://www.virtualbox.org/wiki/DownloadsIf you want to do a native installation, I recommend you do a full backup first, and then either install ona second hard-disk, or on an un-used partition of your primary hard-disk, but do be careful either way.Virtual Box is fairly easy and you can most easily install the Ubuntu "guest OS" by installing VB (VirtualBox) and then installing Linux as a new machine from the DVD ISO image you downloaded from theUbuntu download web site.Virtual Box gives you a way to install multiple guest Operating Systems like Linux distributions, Minix OSto go with Tanenbaum’s text, or any other OS you might want to run on your Windows or Mac OS-Xmachine that you normally use, with far less risk than a dual-boot system. The VB manager looks likethis:If you run into problems with a VB installation or any configuration of VB, see me during office hours.
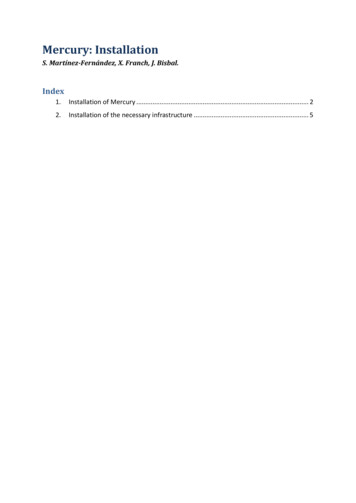
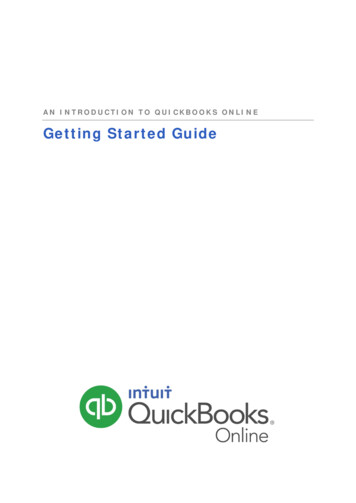
Virtual Box ExtensionsThe VB Extensions can be installed after you have VB and you Linux distribution installed to provide:1) Expansion of your desktop to full screen2) Mounting of Windows folders inside your Linux guest OS3) Cut and paste between your guest OS and WindowsSo, first, install the VB Extensions per current instructions from Oracle (carefully!). If you have an olderinstallation of VB, you should upgrade it first to make sure it is well matched with the current version ofthe extensions available for download (this is critical, so check carefully). It is best to download theextensions at the same time you download VB. If you already have VB installed, upgrade to the latest:In my case, I was already up to date:
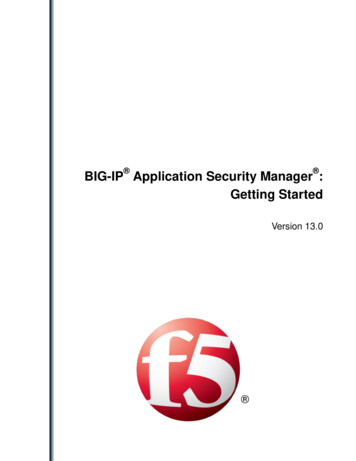
Sharing Files with Windows Using VB ExtensionsOnce you have the latest VB manager running and you install the VB extensions to go with it, then, youcan for example set up file sharing with Windows as follows. First, access the shared folder icon thatyou will see in the lower RIGHT corner of your guest OS VM:Click on the Folder icon and browse to the Windows folder you want to share as I have done for A320OS or Teaching:
Once you have shared the Windows folders you want, then the rest is simple. As the instructions tellyou when you hover over your Shared Folders, just use the following command inside your Linux guestOS instance (e.g. for my A320-OS shared folder):If you have not established a mount point, first do “sudo mkdir /mnt/A320OS”, then “sudo mount –tvboxsf A320-OS /mnt/a320”.That’s it, now just access the files in Linux like any other file system. Here’s my shared folder mount asshown using the Linux df command:Now I can list, copy files, etc. as I would with any other Linux filesystem with this Windows sharedmount:
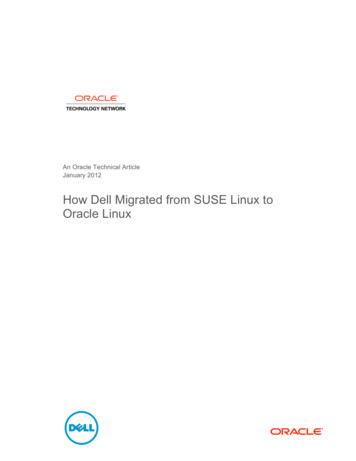
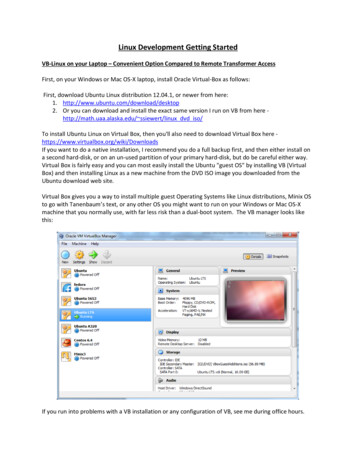
Development Tools for VB-LinuxIf you’re new to Linux and/or just don’t like command line type development, here’s somerecommendations for the course:1. On VB-Linux – try the Eclipse C development environment for a full IDE and/or use nano, make,and ddd (sudo apt-get install ddd), or better yet, for full compatibility with Beagle, use nano,make, and nemiver (sudo apt-get install nemiver).2. For a less integrated, but smaller install – use use nano, make, and nemiver (sudo apt-get installnemiver).Here are the details on how to get going:For those new to Linux, if you want an IDE that is similar to Visual Studio, you can install eclipse-cdt (onVB-Linux ONLY) as follows:sudo apt-get install eclipse-cdtAfter it installs, run it (type in eclipse) you can import the fibsimple for example (File, Import , type filein filter, select File System, browse to downloaded fibonacci code, Finish) and you should see:You can set breakpoints, do builds, edit (with an editor that is more like VS), so you may find this morefriendly than nano and Makefile with an external debugger, but we will also learn how to use anexternal debugger.So, I recommend that you also install nmiver on BOTH your Beagle xM and VB-Linux with:sudo apt-get install nemiver
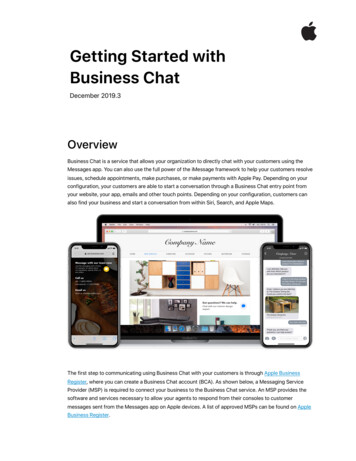
This is a debugger only and you can load and run code with nemiver fib for example after your code isbuilt using make. It runs nicely on smaller Linux systems (E.g. an Andorid-class Linux system such as theBeagle xM or Raspberry Pi, but also on VB-Linux).Hopefully this helps all out a bit more with some nice development and debug tools that go beyondcommand line.There are other stand-alone debuggers that run nicely on VB-Linux if you’re interested (“ddd” and“xxgdb”), but nemiver runs well on both VB-Linux and small scale systems.In case you’re curious or want to use it on VB-Linux, here’s what it looks like:
Some helpful suggestions for configuring your VB-Linux VM:Once you have Linux installed (e.g. Ubuntu 12.04 LTS) on your VM in Virtual Box, I would suggestinstalling the Guest additions as follows (make sure you have downloaded them with version thatmatches your VB - https://www.virtualbox.org/wiki/Downloads ):Once the guest additions have installed, you can set up a number of useful VB to host features. First,how about cut and paste (use Machine, Settings and then set up bidirectional clipboard):Now you can copy text from shell output and paste it into your reports as well as doing screen-dumps.Screen-dumps are just fine, but sometimes you may want to cut and paste from an external webbrowser or any number of host tools into your guest OS as well.Without Guest Additions, you can’t resize your VB window and the guest OS desktop. So, second, it’sreal nice if your VB window and desktop can be resized:
One final option I use quite a bit is the ability to mount a Windows file-system inside my guest OS. Youcan do this as follows (note I set up C:\UA-A\Teaching\A320-OS already):For this existing shared folder, I set it up to be manually mounted as follows:ssiewert@ssiewert-VirtualBox: sudo mount -t vboxsf A320-OS /mnt/a320[sudo] password for ssiewert:ssiewert@ssiewert-VirtualBox: dfFilesystem1K-blocksUsed Available Use% Mounted on/dev/sda11238443248892806866060 42% /udev2015456420154521% /devtmpfs8099207808091401% /runnone5120051200% /run/locknone202480020020246001% /run/shm/dev/sr058258582580 100%/media/VBOXADDITIONS 4.2.18 88780A320-OS731761524 490036428 241725096 67% /mnt/a320ssiewert@ssiewert-VirtualBox:
But, let me add C:\UA-A\Teaching now using the Folder icon For first time mounting, you may need to do manually:ssiewert@ssiewert-VirtualBox: sudo mkdir /mnt/Teachingssiewert@ssiewert-VirtualBox: sudo mount -t vboxsf Teaching/mnt/Teachingssiewert@ssiewert-VirtualBox: dfFilesystem1K-blocksUsed Available Use% Mounted on/dev/sda11238443248893006866040 42% /udev2015456420154521% /devtmpfs8099207808091401% /runnone5120051200% /run/locknone202480020020246001% /run/shm/dev/sr058258582580 100%/media/VBOXADDITIONS 4.2.18 88780A320-OS731761524 490036940 241724584 67% /mnt/a320Teaching731761524 490036940 241724584 67% /mnt/Teachingssiewert@ssiewert-VirtualBox: Finally, depending on what style of window manager you prefer, you may want the Gnome sidebar ornot. I don’t like it, so I use classic Gnome, which can be set up as follows on the next page. If you likethe side-bar, then please do use it as it installs.
Yulei.Liu.AU Apr 26 2012 Tags: gnome 12.04 precise ubuntu classic 60,520 VisitsUbuntu 12.04 LTS is released, unfortunately Unity is still the default interface, if you want to goback to classic Gnome as I do, below is how to:Gnome session package name has changed from 11.04 to 12.04, the new package name isgnome-shell.First, start Ubuntu software center as below:then type "gnome shell" in the search bar, then install GNOME Shell.
Logout then login, you can now select Gnome Classic in the login screen:
Ubuntu 12.04 LTS on transformer.uaa.alaska.eduYou can simply ssh, sftp, or scp to transformer.uaa.alaska.edu. If you use Windows, one of the besttools to use for this is Cygwin - http://cygwin.com/install.html (make sure you select SSH or OpenSSHfor installation when you configure the download), but easier than this if you just want a simple terminalis to use Putty for windows - http://www.putty.org/Assuming you use Cygwin, a simple SSH login will look like this:Assuming you use Putty, a simple SSH login will look like this:
For a Remote Desktop on WindowsThere are two options: 1) Windows Remote Desktop to XRDP (running on transformer) or 2) TightVNCclient connection over and SSH tunnel to VNC server running on transformer.The simplest option is to use Windows Remote DesktopYou should be prompted for the remote connection, so enter transformer:You may be prompted to ok lack of server authentication (just say OK):
Next, you’ll be asked to enter login credentials:After this, you should see a desktop (make sure you have a good configuration in your .vnc directory):Copy over ssiewert/.vncEdit xstartup:#!/bin/sh# Uncomment the following two lines for normal desktop:unset SESSION MANAGER#exec /etc/X11/xinit/xinitrcgnome-session --session gnome-classic &[ -x /etc/vnc/xstartup ] && exec /etc/vnc/xstartup[ -r HOME/.Xresources ] && xrdb HOME/.Xresourcesxsetroot -solid greyvncconfig -iconic &#x-terminal-emulator -geometry 1280x1024 10 10 -ls -title " VNCDESKTOPDesktop" &#x-window-manager &
On a Windows machine use SSH to setup a tunnel (get help to start tunnel server)ssh -L 5907:localhost:5907 ssiewert@transformer.uaa.alaska.eduCopy over ssiewert/.vncEdit xstartup:#!/bin/sh# Uncomment the following two lines for normal desktop:unset SESSION MANAGER#exec /etc/X11/xinit/xinitrcgnome-session --session gnome-classic &[ -x /etc/vnc/xstartup ] && exec /etc/vnc/xstartup[ -r HOME/.Xresources ] && xrdb HOME/.Xresourcesxsetroot -solid greyvncconfig -iconic &#x-terminal-emulator -geometry 1280x1024 10 10 -ls -title " VNCDESKTOPDesktop" &#x-window-manager &Install tightVNC on your Windows machine: http://www.tightvnc.com/download.phpWhile you are SSH’d into transformer, run VNC client to localhost::5907 to connect to your desktop.You should then be prompted for your password for the SSH tunnel (enter normal password):
If all goes well, you should get a remote desktop like this:Setting up server to start automatically (/etc/init.d/vncserver)After adding a new user to /etc/init.d/vncserver and assigning a DISPLAY, do:sudo /etc/init.d/vncserver restart#!/bin/bashPATH " PATH:/usr/bin/"export USER "ssiewert"DISPLAY "7"DEPTH "16"GEOMETRY "1024x768"OPTIONS "-depth {DEPTH} -geometry {GEOMETRY} : {DISPLAY} -localhost". /lib/lsb/init-functionscase " 1" instart)log action begin msg "Starting vncserver for user ' {USER}' onlocalhost: {DISPLAY}"su {USER} -c "/usr/bin/vncserver {OPTIONS}";;stop)log action begin msg "Stoping vncserver for user ' {USER}' onlocalhost: {DISPLAY}"su {USER} -c "/usr/bin/vncserver -kill : {DISPLAY}";;restart) 0 stop 0 start;;esacexit 0
References:1. ng-up-tightvnc-on-ubuntu-12-04/2. lled-no-unity3. /Install-VNC.html4. op/
Virtual Box is fairly easy and you can most easily install the Ubuntu "guest OS" by installing VB (Virtual Box) and then installing Linux as a new machine from the DVD ISO image you downloaded from the Ubuntu download web site. Virtual Box gives you a way to install multiple g