Transcription
Convio Data Sync Connector 3Installation GuideConvio Connector Installation Instructions.doc1
INSTALLATIONInstallation Prerequisites . 3Technical Requirements. 3Installing the Pervasive Data Integrator . 4Installing the Connector . 5Install the Keystore . 6Verify the Installation. 7Troubleshooting the Installation. 9Start and Stop Tomcat . 10Convio Connector Installation Instructions.doc2
Installation PrerequisitesYou must have administrator rights to the machine on which you are installing the Convio Connector and must have theability to configure the network firewall / router.Technical RequirementsThe following Hardware and Network setup is required to run the Convio Connector:1. Raiser‟s Edge v7.6 running on MS SQL Server.2. Business class internet connection.3. Dedicated server class computer running Microsoft Windows XP Pro/Server 2003.1GB RAM (ECC recommended), 2GHz processor, 750MB of available hard-disk space on primary drivewith RAID 1 or RAID 5, UPS battery backup.4. Public static IP address, with associated hostname, which can be forwarded to the computer running theConnector.5. Firewall/Router configured to allow traffic on port 11921 between the Convio networks and the computer runningthe Connector:a. Setup DNAT from chosen IP for port 11921 to Convio Connector server – TCP trafficb. Restrict port to only accept connections from Convio network ranges:66.45.103.0 - 66.45.103.127 (66.45.103.0/25 CIDR format)209.163.168.192 - 209.163.168.255 (209.163.168.192/26 CIDR format)69.48.252.129 - 69.48.252.254 (69.48.252.128/25 CIDR format)6. Firewall/Router configured to allow FTPS traffic from the computer running the Connector to the Convio network:a. Port 21 open for FTP communication channel.b. Ports 1024 - 65535 open for outbound (Client to Convio) FTP data traffic.7. Port 1433 on the computer running SQL Server open to traffic from computer running the Connector.Convio Connector Installation Instructions.doc3
Installing the Pervasive Data Integrator(If you will not be using the Pervasive Data Integrator Engine you can skip this step.)NOTE: The Pervasive Data Integration Engine MUST be installed prior to running the Convio Connector 3 Setup.exe1.2.3.4.5.Backup and uninstall any pre-existing Pervasive installations.Double-click the Pervasive Data Integrator Installer package: DataIntegrator92344.exeWhen prompted for the Setup Type, select „Integration Engine‟.The Choose Destination Location should read: C:\Program Files\Pervasive\Cosmos9Continue the installation until it you can click Finish to exit.Convio Connector Installation Instructions.doc4
Installing the ConnectorOnce the Hardware and Network settings have been confirmed, you can begin the installation of the Convio Connector.1.2.3.4.5.Double-click the Convio Connector Installer package: Convio Connector 3 Setup.exeFollow the on-screen instructions.After the installation is finished, continue to the next section in this document called “Verify the Installation.”Install the keystore file that you received from Convio support. Please refer to “Install the Keystore” section.The Convio Connector should be installed and running.Convio Connector Installation Instructions.doc5
Install the Keystore(If you have not yet received your convio-connector.ks file you may skip this step.)All communication between the Connector and the Convio servers is encrypted via SSL. An SSL server socketrequires a certificate, which is contained in the keystore. You will be sent a keystore file created expressly for yourimplementation of the Connector. It will only be valid for the URI associated with your Connector installation, typicallyconvio-connector.your-name.org.From Convio support you will receive a zip file your DNS name .configuration.zip.Follow the steps below to install your keystore file and to update the server configuration for Tomcat.1. Stop your Tomcat service (see “Start and Stop Tomcat” section for details.)2. Place the your DNS name .configuration.zip file into the folder: C:\3. Unzip the file. If you are prompted to replace the older 'server.xml' file, select yes.4. Start your Tomcat service (see the “Start and Stop Tomcat” section for details.)Note: that after successful completion of the steps above, your unsecure HTTP connection will be disabled andonly the secure HTTPS will be operational.Convio Connector Installation Instructions.doc6
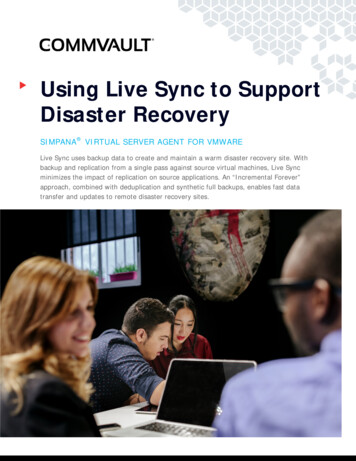
Verify the InstallationAfter successful installation, an internet browser will be launched. From this page you can verify the RE Connectorinstallation. Follow the instructions on this page to execute the tests. If any of the following four tests fail, continue to the"Troubleshooting the Installation" section.Convio Connector Installation Instructions.doc7
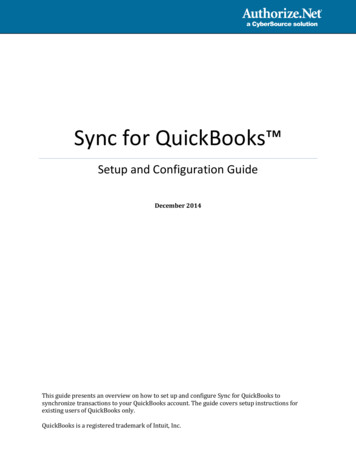
1. Verify Tomcat is installed and running:Click on the "Apache is running" link. The following page should appear:2. Verify Axis is running:Click on the "Axis is running" link. The following page should appear (disregard any warnings for optionalcomponents):3. Verify Connector SOAP interface:Click on the "Connector SOAP" link. The following page should appear:4. Verify Connector web service is running:Click on the "Connector invalidate cache". The following page should appear:Convio Connector Installation Instructions.doc8
Troubleshooting the InstallationAfter running the 'Convio Connector Setup' file, check the Verify the Installation section above to verify that the Convioconnector is running. If any of the verification pages fails, continue through the troubleshooting steps below:1. The Convio Connector is expected to install in the directory C:\ConvioYou may need to uninstall previous versions of the connector prior to installing Convio Connector v3. Pleasecontact support if you require assistance.2. Make sure your firewall / router is allowing traffic over port 11921.3. Verify Tomcat is installed and running:a. Restart Tomcat: navigate to: Start Menu Programs Convio Utilities RestartTomcatb. In a web browser address bar enter: http://localhost:11921(If the keystore is installed enter: https://localhost:11921)You should see the "Apache Tomcat Welcome" page.4. Verify Axis is running:a. Restart tomcat: navigate to: Start Menu Programs Convio Utilities RestartTomcatb. In a web browser address bar enter: http://localhost:11921/convio/happyaxis.jsp(If the keystore is installed enter: https://localhost:11921/convio/happyaxis.jsp)You should see the "Axis Happiness" page.5. Verify Connector web service is running:a. Restart tomcat: navigate to: Start Menu Programs Convio Utilities RestartTomcatb. In a web browser address bar oConnectorSOAP?method invalidateCache(If the keystore is installed ioConnectorSOAP?method invalidateCache)You should see "Configuration Invalidated" page.6. Verify a secure https connection:a. Make sure you received the keystore file and server.xml update from convio support.b. Make sure your keystore file ('convio-connector.yourcompanyname.org.ks) is in the directory: 'C:\Convio'c. Restart tomcat: navigate to: Start Menu Programs Convio Utilities RestartTomcatd. In a web browser address bar enter: ectorSOAPYou should see "ConvioConnectorSOAP" page.Note: all URLs listed above start with HTTPS if you have installed your keystore file, otherwise use HTTP to test theconnector setup until you receive your keystore.Convio Connector Installation Instructions.doc9
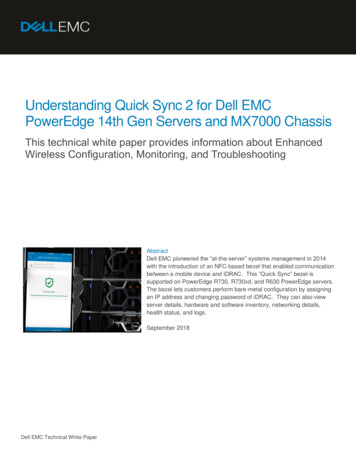
Start and Stop TomcatIf necessary you can restart tomcat using the „RestartTomcat‟ utility located in the „Start Menu‟:navigate to: Start Menu Programs Convio Utilities RestartTomcatConvio Connector Installation Instructions.doc10
Convio Connector Installation Instructions.doc 4 Installing the Pervasive Data Integrator (If you will not be using the Pervasive Data Integrator Engine you can skip this step.) NOTE: The Pervasive Data Integration Engine MUST be installed prior to running the Convio Connector 3 Setup.exe 1. Backup and uninstall a