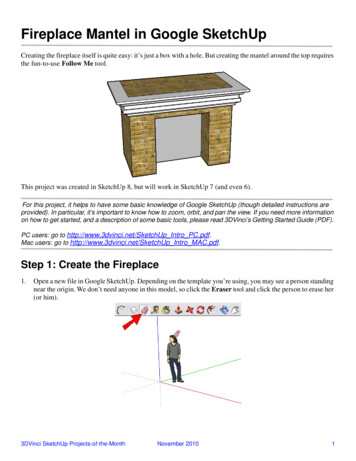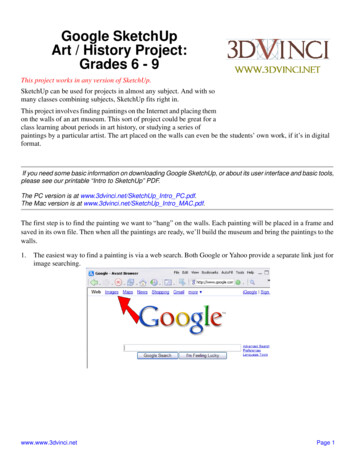
Transcription
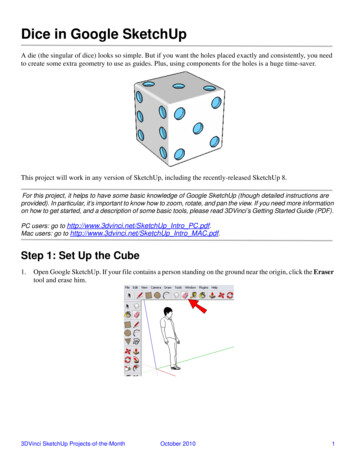
Dice in Google SketchUpA die (the singular of dice) looks so simple. But if you want the holes placed exactly and consistently, you needto create some extra geometry to use as guides. Plus, using components for the holes is a huge time-saver.This project will work in any version of SketchUp, including the recently-released SketchUp 8.For this project, it helps to have some basic knowledge of Google SketchUp (though detailed instructions areprovided). In particular, it’s important to know how to zoom, rotate, and pan the view. If you need more informationon how to get started, and a description of some basic tools, please read 3DVinci’s Getting Started Guide (PDF).PC users: go to http://www.3dvinci.net/SketchUp Intro PC.pdf.Mac users: go to http://www.3dvinci.net/SketchUp Intro MAC.pdf.Step 1: Set Up the Cube1.Open Google SketchUp. If your file contains a person standing on the ground near the origin, click the Erasertool and erase him.3DVinci SketchUp Projects-of-the-MonthOctober 20101
Dice in Google SketchUp2.Switch to Top view (from the main menu, choose Camera / Standard Views / Top). You should see the word“Top” at the top left corner.3.To make the basic die shape (a cube), we’ll start with a square. Click the Rectangle tool, click the first cornerof the rectangle, and click the second corner when you see the “Square” popup. In the lower right corner ofthe SketchUp window, the Dimensions field shows the square’s width and height.4.We want to change the dimensions of the square to something easy to remember, so we can use that samenumber when we pull the square up to make the cube. So type something easy like 100,100 (don’t forget thecomma between the two numbers), and those numbers appear in the Dimensions field. (Don’t click in thisfield, just type and the numbers will appear.)5.Press Enter, and the square resizes to fit the new dimensions. (If your square becomes too large or too small,you can always get it back in view by choosing Camera / Zoom Extents from the main menu.)3DVinci SketchUp Projects-of-the-MonthOctober 20102
Dice in Google SketchUp6.Now click the Push/Pull tool, click the square face, and move the cursor up. Type 100 and press Enter (orwhatever number you used for the square dimensions), and you’ll get a perfect cube with all edges the samelength.7.To set the locations for the holes on each face, we’ll create identical offset squares. Click the Offset tool, andmove your cursor to any of the cube faces. The entire face highlights, and you’ll see a point along one of theedges marked in red.8.Click once to select the face, then move the mouse inward until you see a square within the square, as shownbelow. Make sure the new square is well inside the face, not too close to the edge. Click again to finish.3DVinci SketchUp Projects-of-the-MonthOctober 20103
Dice in Google SketchUp9.We want the same offset square to appear on five faces of the cube (all faces but one). So with the Offset toolstill active, double-click on four more faces. This creates offset squares that use the same offset distance youused before.Step 2: Make a Hole ComponentWe’ll start with one hole, then make that hole into a component to use on the other faces.1.Click the Circle tool.2.This first hole will go on the face that contains only one hole, so the hole must be at the center. We’ll use thesquare that has no offset square inside it. To find the center of this face, place your mouse (don’t click) andhover for a second each on the two midpoints shown below.3DVinci SketchUp Projects-of-the-MonthOctober 20104
Dice in Google SketchUp3.The move your mouse to where the center should be, and click when you see helper lines coming from the twomidpoints you hovered on. This places the center of the circle.4.Click again to make the circle the size you want. Don’t make it too large, since some faces will have five orsix holes.5.If you want all holes to have a different color than the cube itself, click the Paint Bucket tool and paint thecircle. Then use the Push/Pull tool to push the circle in just a bit.3DVinci SketchUp Projects-of-the-MonthOctober 20105
Dice in Google SketchUp6.We’ll now make this hole into a component. First, activate the Select tool. Then place your mouse somewhereto the left of the hole, and drag a selection window that goes just around the hole itself, enclosing the entirehole but nothing else.7.The entire hole should now be selected. Right-click on any selected face, and choose Make Component.3DVinci SketchUp Projects-of-the-MonthOctober 20106
Dice in Google SketchUp8.In the Create Component window, assign a name (such as “Dot”), and make sure Cut Opening is checked(it should be by default). Before completing the component, click Set Component Axes.9.We want the origin of the component to coincide with the center of the hole, but right now the origin is belowand to the left of the center. So the first click should be at the center of the hole, which isn’t easy to find justyet. To “remind” SketchUp of the hole’s geometry, first hover over any point of the front of the hole.10. Then move your cursor to the hole’s center, and click when you see the “Center” popup.3DVinci SketchUp Projects-of-the-MonthOctober 20107
Dice in Google SketchUp11. The next click sets the red direction of the component. Set the red to match the current red direction.12. The Create Component window returns. Make sure Replace selection with component is selected, andclick Create.13. The hole is now a component, and is surrounded by a blue bounding box. This means it’s selected; you canright-click in blank space to unselect it.3DVinci SketchUp Projects-of-the-MonthOctober 20108
Dice in Google SketchUp14. To see where the component is “stored” in your model, go to the main menu and choose Window /Components, which opens the Components window. Click the house icon, which displays all componentsin your model. Your hole component should be listed there.Step 3: Add the Remaining Holes1.Next we’ll complete the two-hole face. First, click the component thumbnail (small picture) in theComponents window. Then, click the corner point shown below, on the offset square. Because the hole’scenter point coincides with its origin, you can place its center right at the corner.3DVinci SketchUp Projects-of-the-MonthOctober 20109
Dice in Google SketchUp2.Then place another hole at the opposite corner of the offset square.3.That face is done - all that’s left to do is erase the offset square.3DVinci SketchUp Projects-of-the-MonthOctober 201010
Dice in Google SketchUp4.Next comes the three-hole face. For the hole at the center, we could either use the midpoint-hovering method,or to make things easier we can add a temporary line whose midpoint we can use. Click the Line tool and drawa line between opposite corners of the offset square.5.Now bring in three holes from the Components window, one at a time, placing them at the ends and midpointof that diagonal line.Of course, if you’re good at using the Move tool to make copies, you only need to place one hole, then makecopies for the rest.3DVinci SketchUp Projects-of-the-MonthOctober 201011
Dice in Google SketchUp6.Then erase the offset square.7.If you pay attention to a die, you’ll notice that the number of holes on opposite faces add up to seven. So forthe four-hole face, be sure you’re placing the holes directly opposite the three-hole face. This one is easy:place one hole at each corner of the offset square. Then erase the offset square.3DVinci SketchUp Projects-of-the-MonthOctober 201012
Dice in Google SketchUp8.For the six-hole face, which should be opposite the one-hole face, place a hole at each square corner and twomore at midpoints.9.For the final face, with five holes, use all four square corners plus the midpoint of an added diagonal line.Try ThisIf you read my blog, you might have seen my write-up on the Round Corner plugin. er-plugin.html or go to www.3dvinci.blogspot.com and find theentry dated October 14, 2010.) Here’s how my die looks like with smooth, round corners:If you try this project with your children or students, and have an interesting die, or other game piece model you’dlike to share, please let me know! I will be happy to blog about it, and possibly mention it in an upcomingnewsletter. Contact me at bonnie@3dvinci.net. Thanks!3DVinci SketchUp Projects-of-the-MonthOctober 201013
Dice in Google SketchUp A die (the singular of dice) looks so simple. But if you want the holes placed exactly and consistently, you need to create some extra geometry to use as guides. Plus, using components for the holes is a huge time-saver. This project will work in any version of SketchUp, including the recently-released SketchUp 8.

