Transcription
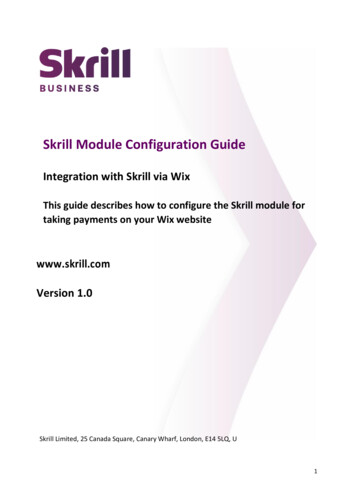
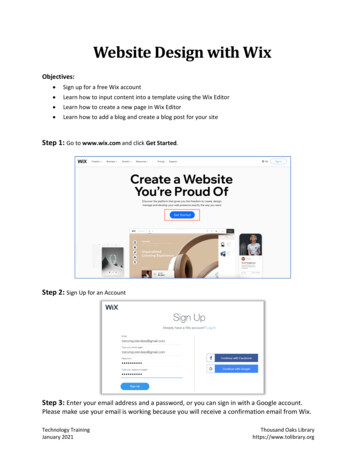
Website Design with WixObjectives: Sign up for a free Wix account Learn how to input content into a template using the Wix Editor Learn how to create a new page in Wix Editor Learn how to add a blog and create a blog post for your siteStep 1: Go to www.wix.com and click Get Started.Step 2: Sign Up for an AccountStep 3: Enter your email address and a password, or you can sign in with a Google account.Please make use your email is working because you will receive a confirmation email from Wix.Technology TrainingJanuary 2021Thousand Oaks Libraryhttps://www.tolibrary.org
Step 4: After clicking on “Confirm EmailNow’ in your email, go back to wix.comStep 5: Create your first site by clicking “Create Site”. Choose a Type of WIX Website. Blog is selectedbecause it is mainly for outlining your experiences with reading books. Other types can also be selectedbased on the nature of the business.Step 6: Choose a Template Using Wix Editor for this class.Option1: Wix ADI - Website is created automatically based on few questions answered based on your needs.Option2: Wix Editor - You can select a template manually and drag/drop all contents.Technology TrainingJanuary 2021Thousand Oaks Libraryhttps://www.tolibrary.org
Step 7: For this class click “Art & Culture” on the left menu. Select the “Literature Blog” and click “Edit”button.Step 8: Click, add text, drag and dropStep 9: Click “Manage Posts” button. You can change the photo and text.Technology TrainingJanuary 2021Thousand Oaks Libraryhttps://www.tolibrary.org
Step 10: After clicking “Manage Posts”, you will get this page in which you can edit existing post or createnew post. Click “edit” button to edit the blog.Step 11: After clicking “Edit” button, we can do all the editing of the text and photos here. Youcan also create a hyperlink.Step 12: Add an image to a post is shown in the following slide. Click asign to add an image fromyour PC and update post. Click “Upload Media” and click “Computer” to choose your image.Technology TrainingJanuary 2021Thousand Oaks Libraryhttps://www.tolibrary.org
Step 13: Click Publish Changes to go back to the Dashboard.Step 14: Click the profile image to replace with your own image for your blog. Change the authorname. Wix will automatically save the changes for you. Close the dashboard to preview it.Technology TrainingJanuary 2021Thousand Oaks Libraryhttps://www.tolibrary.org
Step 15: Click on the page name to see all the pages and switch between them.Step 16: Click the arrow and the Mange Pages to edit or add pages. You can also delete page.Step 17: Add a new page called CONTACTTechnology TrainingJanuary 2021Thousand Oaks Libraryhttps://www.tolibrary.org
Step 18: Click on the left menu to add a contact formStep 19: Publish Your SiteTechnology TrainingJanuary 2021Thousand Oaks Libraryhttps://www.tolibrary.org
When you’re happy with every part of your website, it’s time to publish. You can preview your siteby clicking the button in the top right corner, just to make sure everything looks and works like it’ssupposed to. Then just click “publish” in the top right corner and your site will go live. You can seeyour domain in the popup that appears. Or you can choose to connect your WIX site to your ownbranded domain.Step 20: Rename Your SiteTechnology TrainingJanuary 2021Thousand Oaks Libraryhttps://www.tolibrary.org
When you’re done, the result should be a website that effectively represents your business andthat you’ll be proud to promote through social media and other channels.Technology TrainingJanuary 2021Thousand Oaks Libraryhttps://www.tolibrary.org
Now' in your email, go back to wix.com Step 5: Create your first site by clicking "Create Site". Choose a Type of WIX Website. Blog is selected because it is mainly for outlining your experiences with reading books. Other types can also be selected based on the nature of the business. Step 6: Choose a Template Using Wix Editor for this class.