Transcription
AW-RP50 Simple Manual
Getting started Camera control has 2 kinds of protocol.– Serial(RS422)– IP(Ethernet) Both cables are CAT5. But CAT5 has 2 kinds ofinterconnections.– RS422(Serial): Cross Cable because direct connection.– IP(Ethernet): Straight Cable because it is connectedto HUB. Don’t forget menu setting of RP50.– [SYSTEM] – [CAMERA CTL] – [CAM1] to [CAM100] Select Serial or Network
Note for Serial ConnectionHE50: CAT5 cable must be cross type.And You need Multi-Interface CableAW-CA20T6G and RJ-45 relay adapterHE120:CAT5 cable only. There isno need to use special cable.
Auto Setup of IP Address IP Address Auto Setting– If you cannot connect to a camera, try to do autosetup.– [MENU] --[SYSTEM] -- [AUTO SET IP] -- [AUTO SET UP]– [RENEW IP ADR] and press the F2 dial.– Turn the F2 to select YES and press the F2 dial
Manual Setup of IP Address IP Address Manual Setting– [MENU] -- [SYSTEM] -- [NETWORK]– Press F1 dial and turn F1.– Select [IP ADDRESS] and Press the F2 dial.– Turn F2 dial.– Select IP address and press F2 Dial.
Factory Setting Initialize– [MENU] -- [SYSTEM] -- [INITIALIZE]– Turn F2 dial and select [ALL] or [SETUP] and press F2.
Outlook
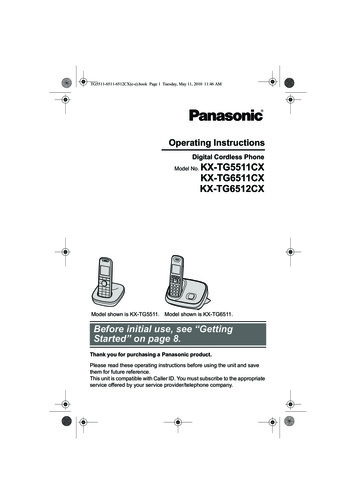
Power ON/OFF of camerasPower ON/OFF one camera1.Select the camera.Hold down the numberbutton.2.Turn the F2 dial to select[ON] and Press the F2 dial.Power ON/OFF all camerasMenu – 8 (CAMERA)Power All OffSelect POWER by F1Press F1Note: Hold down the numberbutton during setting.Power All OnSelect ALL ON by F2Press F2
Basic Operation1. How to adjust a camera.1. Press MENU button and select a function.2. How to control Pan/Tilt, Iris and Zoom.1. Press PC ACTIVE button, AdjustPTZ/SPEED dial, and use PAN/TILT lever,ZOOM lever, FOCUS dial and IRIS dial.3. How to preset a camera position.1. Select a camera (CAMERA STATUS /SELECTION), move to the specific position,press STORE button, press PAGE button,and hold down Number button.
Advanced Operation1. Camera Detailed Setting by OSD1. Hold down the [CAMERA OSD]2. Use F1/F2 to select an item.3. Top Menu1. Camera Scene2. System3. Maintenance
MENU (Camera Adjustment)1. Press [Menu]– If [PAGE] button lights on, you cannot switch [ON].2. Press number button of PRESET MEMORY/MENU area.– 1: GAIN/PED, 2: R/B GAIN, 3: R/B PED, 4: AWB/ABB, 5:SHUTTE, 6: DETAIL, 7: SCENE/MODE, 8: CAMERA, 9: SETUP,10: SYSTEM3. Turn F1/F2 to change mode or adjust.4. Some settings (AWB,ABB,MODE and so on) require toexecute. At that time press F1 or F2 to execute.
Control Pan/Tilt Hold down the [PT ACTIVE] Select a Camera (SELECTION) Adjust IRIS Auto button lights on: Auto irisAuto button lights off: Manual iris ZOOM lever Adjust FOCUS Auto button lights on: Auto focusing.Auto button lights off: Manual focusing––OTAF: One-touch autofocusPress focusing dial and autofocusing works. Adjust PTZ/SPEED dial Clockwise: Speed increases. Counter-clockwise: Speed decreases. Make a camera move by PAN/TILT lever
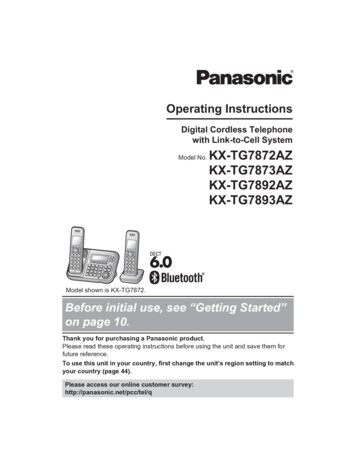
PRESET (Camera Position Store) How to store the camera position.1.2.3.4.Select a camera. (1 5)Adjust the camera position.Press the [STORE] button.Press the[PAGE] button and then press thenumber button.1. This is page number.5. Hold down the number button.1. This is number of the page.2. If you press 2 and 5, preset number becomes 25.
PRESET (Camera Position Recall) Executing the preset data.1. Select a camera. (1 5)2. Press the [PAGE] button and then press numberbutton.1. This is page number.3. Press the number button.1. This is number of the page.4. The camera moves to the preset number position.1. If you press 2 and 5, the camera moves to the presetnumber 25.
Delete PRESET (Camera Position) Deleting the preset data.1. Select a camera. (1 5)2. Press the [DELETE]3. Press the [PAGE] button and then press thenumber button.1. This is page number.4. Hold down the number button.1. This is number of the page.5. If you press 2 and 5, the data of the presetnumber 25 is deleted.
Setting the USER buttons
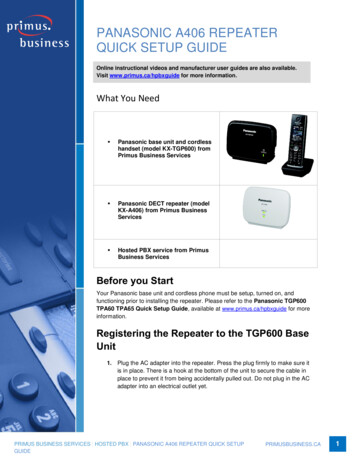
The Movement Range of the Remote Camera(Limiter Function)Note: Move the camera to the position where you want to limit at first. Limitposition becomes the position where you turn on.
AppendixCamera OSD
CAMERA OSD (HE120)1. Hold down the [CAMERA OSD]2. Use F1/F2 to select an item.3. Top MenuCamera Scene: Scene1 herMaintenanceFirmware VersionIP NetworkInitialize4.Press Return to return to upper menu.
Camera Scene (HE120) Scene : Scene1 4– Picture LevelIris ModeShutter Mode Gain Frame MixND FilterReturn–––––R Gain: -150 150B Gain: -150 150R Pedestal [#]B Pedestal [#]ReturnMatrix Matrix Type : Normal/EBU/NTSC/UserAGC Max GainPedestal–– Chroma Level: -3 3White Balance Mode : AWB A/AWB B/3200K/5600K–– MatrixStep/SynchroPicture Scene–Brightness– Matrix Type : Normal/EBU/NTSC/User–––[Linear Matrix][Color Correction ½][Color Correction 2/2]–[Linear Matrix]»Saturation» R-G» R-B» G-R» G-B» B-R» B-G[Color Correction 1/2]»Saturation» B Mg» Mg R» R» R Yl» Yl[Color Correction 2/2]»Saturation» Yl G» G» G Cy» Cy» Cy B» BPhasePhasePhase
System (HE120) Genlock– Horizontal Phase:-206 49– Horizontal Phase Step:1 10 Output––––––Format: 1080/59.94i/720/59.94p/1080/29.97PsF/Down CONV. Mode: Squeeze/SideCut/LetterBoxHDMI Color: RGB-NOR/RGB-ENH/YCbCr422/YCbCr444Component: Y/Pb/Pr, RGBFrequency: 59.94Hz/50HzColor Bars Setup: Off/On Other (Next Page)– Other 1/3– Other 2/3– Other 3/3
Other (HE120) Other 1/3––Install Position: Desktop/HangingSmart Picture Flip: Off/Auto ––––– Preset Speed: 1 30Preset Scope: Mode A/Mode B/Mode CDigital Zoom: Enable/DisableSpeed With Zoom POS.ReturnOther 2/3–Focus Mode:Auto/Manual ––––Focus ADJ With PTZ.: On/OffDigital Zoom: Enable/Disable Flip Detect Angle: 60 120Max Digital Zoom:x2 x10Tally Enable :Enable/DisableWireless Control :Enable/DisableReturnOther 3/3–OSD Mix –––SDI Out: On/OffHDMI Out: On/OffComponent Out: On/OffVideo Out: On/OffOSD Off With Tally: On/OffOSD Status: On/OffReturn
CAMERA OSD (HE50)1. Hold down the [CAMERA OSD]2. Use F1/F2 to select an item.3. Top MenuCamera Scene: FullAuto/Manual1 3SceneContrastPictureColor MatrixSystemGenlockOutputOtherMaintenanceFirmware VersionIP NetworkInitialize4.Press Return to return to upper menu.
Camera Scene (HE50) Scene : FullAuto, Manual1 3–Contrast Contrast Mode–– –Chroma Level: -3 3AWB Mode : AWB A/AWB B/ATWDetail: Off/Low/HighFlesh Tone Mode: Off/Low/HighDNR: Off/Low/HighDRS: Off/Low/High–– – Matrix (You can change at USER.) Matrix Select : Normal/EBU/NTSC/User––Gamma Type: Normal/Cinema//OffGamma Level: Low/Mid/High @NormalBack Light Comp.: Off/OnjReturnMatrix SceneGain: Auto,0dB,3dB,6dB,9dB,12dB,15dB,18dBAGC Max Gain: 6dB,12dB,18dBReturnPicture –Contrast Level: -5 5Shutter Mode» Step/Synchro» Frame Mix» AutoF.Mix Max Gain :0,6,12,18dB Matrix Select : xis14Axis15Axis16
System (HE50) Genlock– Horizontal Phase:-206 49– Subcarrier Phase Coarse: 0.45,90,135,180225,270,315 Fine: 127 127– H Phase, SC Fine Step:1 10 Output– Format: 1080/59.94i/720/59.94p/1080/29.97PsF/– Down CONV. Mode: Squeeze/SideCut/LetterBox– HDMI Color: Other (Next Page)– Other 1/2– Other 2/2
Other (HE50) Other ½– Install Position: Desktop/Hanging– Preset Speed: 1 30– Preset Scope: Mode A/ModeB/Mode C– Digital Zoom: Enable/Disable– Speed With Zoom POS.– Focus Mode: Manual/Auto Focus ADJ With PTZ.: Off/On– Return Other 2/2––––Tally Enable: Enable/DisableOSD Off With Tally: Off/OnOSD Status: Off/OnWireless Control :Enable/Disable
What is SCOPE?
–Speed With Zoom POS. –Focus Mode: Manual/Auto Focus ADJ With PTZ.: Off/On –Return Other