Transcription
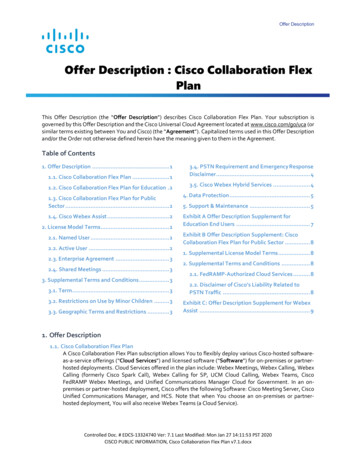
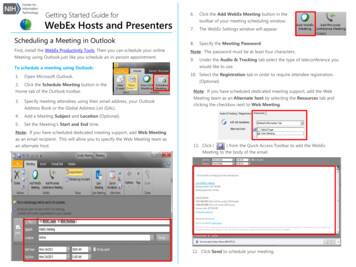
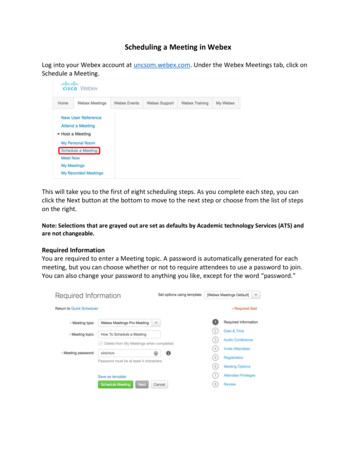
Scheduling a Meeting in WebexLog into your Webex account at uncsom.webex.com. Under the Webex Meetings tab, click onSchedule a Meeting.This will take you to the first of eight scheduling steps. As you complete each step, you canclick the Next button at the bottom to move to the next step or choose from the list of stepson the right.Note: Selections that are grayed out are set as defaults by Academic technology Services (ATS) andare not changeable.Required InformationYou are required to enter a Meeting topic. A password is automatically generated for eachmeeting, but you can choose whether or not to require attendees to use a password to join.You can also change your password to anything you like, except for the word “password.”
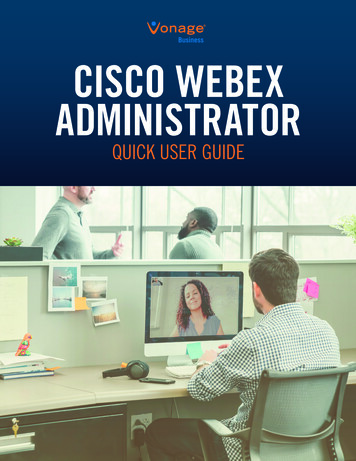
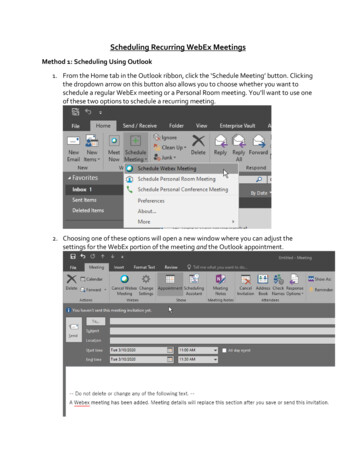
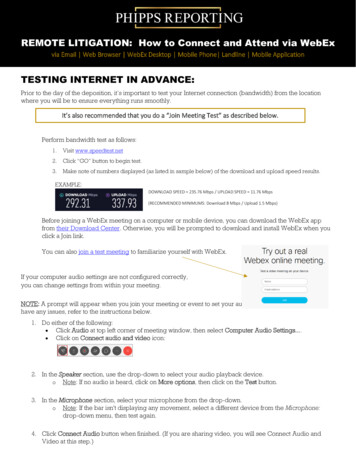
Date & TimeSelect your Meeting date and start time. You can allow attendees to join 5 to 15 minutes earlyif desired. For Estimated duration, we recommend adding an extra 10 to 15 minutes to yourscheduled meeting end time, to prevent your Webex conference from ending if your meetingruns long. You can schedule recurring meetings by selecting one of the Recurrence options andentering the information in the additional fields that will appear.Audio Conference SettingsWebex Audio is selected by default and should not be changed. Display global call-in numbersif any attendees are joining from international phones. We recommend selecting No Tone forEntry and exit tone, to prevent tones from disrupting your meetings as attendees join or leave.Invite AttendeesWe recommend inviting attendees using the Outlook Scheduler (see separate Instructions), sothat you can customize your invitations with additional information required for your meeting.Adding email addresses to the Attendees field here will generate a generic Webex invitation.
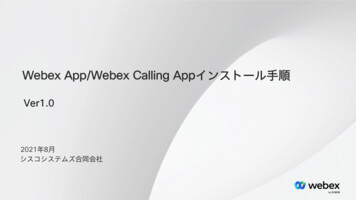
RegistrationYou can require attendees to register prior to joining. First and last names and email addressesare automatically selected, but you can select from additional options if needed.Note: Meetings requiring registration are not limited to registered attendees and can still be joinedby anyone with the link and password.Meeting Options and Attendee PrivilegesThese two pages determine what options and functions are available to participants andattendees during your meeting, including chat functions, notes, annotation, and file sharing.
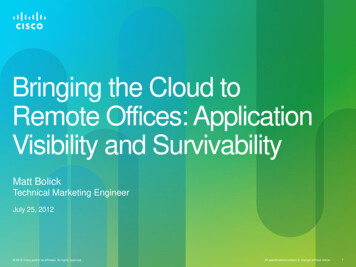
ReviewYou can perform a quick review of your selections on this page. If no changes need to bemade, click the green Schedule Meeting button to schedule your Webex Meeting. TheSchedule Meeting button is available on every page and can be selected at any point.After clicking the Schedule Meeting button, the page will change to your meeting informationpage. You can also start your meeting early by clicking the green Start button.If you click the blue More Information button, you will see all the details of your meeting.
Save As TemplateIf you plan to schedule the same type meeting over and over, you can save your settings as atemplate by clicking the blue Save as template button, always located on every page above theSchedule Meeting button. This is especially helpful when you are unable to schedule recurringmeetings because of inconsistent times or days. Once saved, your template will appear as aselection in the template dropdown in the upper right.My MeetingsYou can review your scheduled meetings anytime by clicking on My Meetings under theWebex Meetings tab. Clicking on the meeting title will take you back to meeting informationpage shown above.
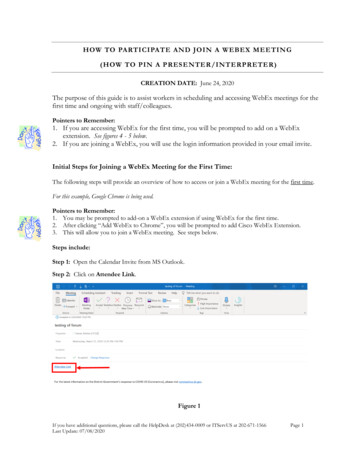
Scheduling a Meeting in Webex Log into your Webex account at uncsom.webex.com. Under the Webex Meetings tab, click on Schedule a Meeting. This will take you to the first of eight scheduling steps. As you complete each step, you can click the Next button at the bottom to move to the next step or choose from the list of steps on the right.