Transcription
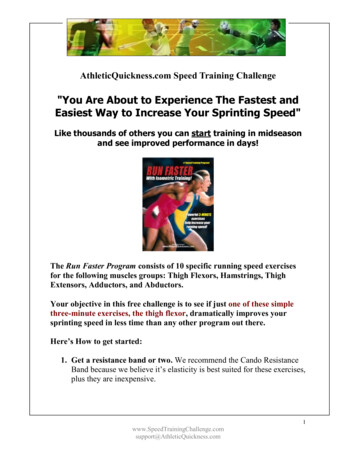
AthleticQuickness.com Speed Training Challenge"You Are About to Experience The Fastest andEasiest Way to Increase Your Sprinting Speed"Like thousands of others you can start training in midseasonand see improved performance in days!The Run Faster Program consists of 10 specific running speed exercisesfor the following muscles groups: Thigh Flexors, Hamstrings, ThighExtensors, Adductors, and Abductors.Your objective in this free challenge is to see if just one of these simplethree-minute exercises, the thigh flexor, dramatically improves yoursprinting speed in less time than any other program out there.Here’s How to get started:1. Get a resistance band or two. We recommend the Cando ResistanceBand because we believe it’s elasticity is best suited for these exercises,plus they are @AthleticQuickness.com
Check Target, Walmart or a local sporting goods store or order onlineat www.AthleticQuickness.com/order.asp . Go towards the bottom ofthe page and click on the link that says “Order the resistance bands”.Select a red for light resistance, green for medium resistance or blue forheavy resistance. If you get two bands you can combine them foradditional resistance. It will cost about 4.50 per band and there is noshipping charge for bands. Delivery is about 3 days.2. Review the material in this document.3. Time yourself in the 40, 60 or 100 and record your time on theProgress Chart on page 5.4. Do the exercise as demonstrated in the video for 2 weeks accordingto the schedule provided. You will exercise only 6 times for just afew minutes each session.5. Time yourself again in the 40, 60, or 100 and record your new timeon the Progress Chart.6. Send in your times and your story. Go toSpeedTrainingChallenge.com/results to send in your times.7. Start feeling really great about how much faster you are now thenyou were 2 weeks ago.To get a free copy of any one of our speed training programs: Create a video telling us about your experience with perhapsa shot of you in your sport or in training. - Or - Create an mp3 audio recording of your experience. Upload your media file and a photo when you report yourtimes.That’s all there is to it. Remember you are only doing 1 exercise out ofthe 10 in the Run Faster program. Those 10 exercises target all 5 musclegroups involved in the running process and lateral quickness. So, imaginegetting even better results if you did all 10 thleticQuickness.com
HOW TO GET THE MOST FROM THIS PROGRAM.The isometric training exercises are very fast and easy to do. So before you begin, keep inmind the following helpful tips:Tip #1: Perform approximately five minutes of light stretching for the muscles in yourthighs and legs before starting these exercises.Tip #2: Use a watch or clock with a clearly visible second hand so that you can accuratelytime your isometric exercises.Tip #3: Do not strain. Only 60-70 % of your strength is all that is required to achievemaximum results. Hold the position for 10 – 15 seconds. If you can hold the position forup 25 – 30 seconds you need more resistance.Tip #4: Isometric exercises are to be done with normal breathing. Do not hold your breathduring the exercises as this may cause a sudden increase in blood pressure and/or lightheadedness.Tip #5: If you experience any discomfort during these exercises, ease off just a little bit. Ifthe discomfort persists, consult with your physician before continuing.Tip #6: It doesn’t matter what time of day you exercise. However, your body will respondthe best if you choose the same time each day to train.Tip #7: Do not over-train. Only do what is recommended here in this program.Tip #8: If at all possible, do not do any other exercises (weights, plyometrics etc.) duringthe first fourteen days of training. Note: If you happen to be currently involved with weight trainingand/or plyometric training for your legs, such as squats, leg extensions, hamstring curls etc., performing ourexercises for just two weeks may not yield the results you are looking for. This is usually due to the intensefatiguing of the muscles caused by these routines, which is counter-productive to muscle contraction speed.Therefore, we encourage those involved in weights and plyometrics to allow an additional two weeks oftraining before drawing any conclusions relative to our program.Tip #9: Pay close attention to the way your body position is described as the correctpositioning is needed to isolate specific muscle groups during each exercise.Tip #10: The best way to increase your resistance for these exercises is to add more bandsor use a heavier band. The best ones to use are the red, green and blue colored bands. Byusing any one or more of these, you can increment upwards to the proper resistance levelthat is specific to your strengthOne final tip - have fun with this program. You might not even break a ticQuickness.com
IMPORTANT REMINDERS: Under ideal circumstances, all of theAthleticQuickness.com speed training programs recommend that you do not participate inany other types of training (weights, plyos, etc.) during the initial 14-day period. This isdone to maximize your speed results quickly and will help eliminate any potential outsideinterference from strength training that might negatively affect your speed performance. Itwill also allow you to accurately assess the value of our programs.If you are currently involved in a weight training or plyometrics training program andcannot put that on hold for 2 weeks then read the tips on this web page:www.athleticquickness.com/page.asp?page id 91IMPORTANT NOTICE: As with any exercise program, before performingthis exercise, consult with your physician.CAUTION: Make absolutely certain that the object you tie your exerciseband around is really immovable. Also make sure that the immovable objectdoes not have any rough or sharp edges as this will cause your exercise bandto tear. Serious injury may result if the object gives way and/or the resistanceband snaps back and hits you.Dr. Larry Van Such (the Author and Publisher), the Sales Agents and the Distributors ofthis program individually and collectively disclaim any personal liability, loss or riskincurred as a consequence of the use and applications, either directly or indirectly, of anyadvice, information or methods presented herein.Though the methods of this program have been proven to be effective, the Publisher, theAuthor, the Sales Agents and the Distributors further disclaim the expectation of anyspecific result, for any person, under any circumstance.“With your newly conditioned leg muscles, especially yourthigh flexors, you should feel your legs springing effortlessly forward whenyou go for that extra burst of hleticQuickness.com
PROGRESS CHARTName Date StartedSTEP 1: Record your fastest time in one or more of the following before starting thisprogram:40 yard dash seconds.60 yard dash seconds.100 meter dash seconds.400 meter dash seconds.Other seconds.STEP 2: Complete the 14-day program for your thigh flexor muscles only (see thetraining schedule on the following page). Remember, your thigh flexor muscles makeup only 1/5 of the complete Run Faster Speed Training Program, however, ourexperience has shown that even this one exercise delivers more speed trainingpotential than a lot of other programs combined!STEP 3: Perform the same sprint(s) as in STEP 1. When you are finished, recordyour fastest time and note the improvement.40 yard dash seconds, Improvement seconds.60 yard dash seconds, Improvement seconds.100 meter dash seconds, Improvement seconds.400 meter dash seconds, Improvement seconds.Other seconds, Improvement seconds.Date CompletedOptional: To gain as much speed as possible, include all of the exercises in the Run FasterProgram and continue to train three times a week for the next several months or until yourspeed levels off. Then watch the Afterburner Video which will show you how to modifythe exercises for additional improvements in your @AthleticQuickness.com
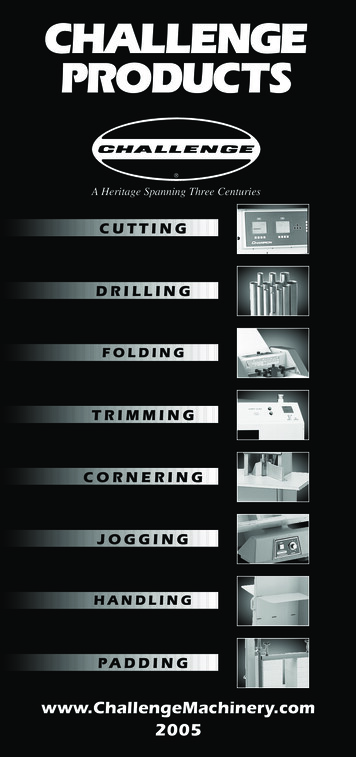
Use the Checklist and Schedule Below to DocumentYour Daily Isometric Speed Training Exercises:For each scheduled day, exercise each thigh flexor muscle 3 times as follows:1. Right thigh flexors exercise; Hold position as shown for 10-15 seconds. Rest 15 seconds.2. Left thigh flexors exercise; Hold position as shown for 10-15 seconds. Rest 15 seconds.3. Right thigh flexors exercise; Hold position as shown for 10-15 seconds. Rest 15 seconds.4. Left thigh flexors exercise; Hold position as shown for 10-15 seconds. Rest 15 seconds.5. Right thigh flexors exercise; Hold position as shown for 10-15 seconds. Rest 15 seconds.6. Left thigh flexors exercise; Hold position as shown for 10-15 seconds. Rest 15 seconds.Note: You will be exercising your right and left thigh flexor muscles three times eachper day. That’s it. No more, no less. And do them on the days numbered 1, 3, 5, 8,10 and 12 as shown on the chart below:The Thigh Flexor Exercise from the icQuickness.com
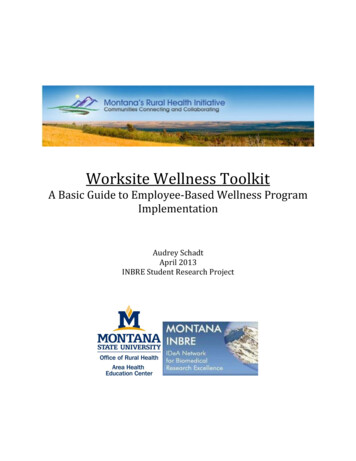
Training Schedule for the Thigh Flexor ExercisePlace a P onthe line whenfinished.ThighFlexorsTable 1Day #1Day #2REST DAYDay #3Day #4REST DAYDay #5Day #6REST DAYDay #7REST DAYEnd Training Week #1Day #8Day #9REST DAYDay #10Day #11REST DAYDay #12Day #13REST DAYDay #14REST DAYEnd Training Week #2Now Time Yourself and Record Your Fastest Times
the page and click on the link that says "Order the resistance bands". Select a red for light resistance, green for medium resistance or blue for heavy resistance. If you get two bands you can combine them for additional resistance. It will cost about 4.50 per band and there is no shipping charge for bands. Delivery is about 3 days. 2.