Transcription
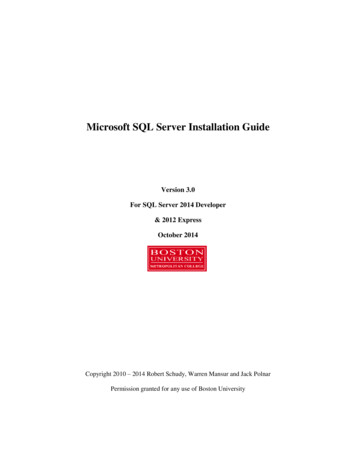
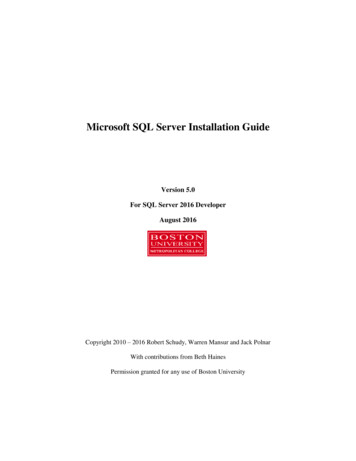
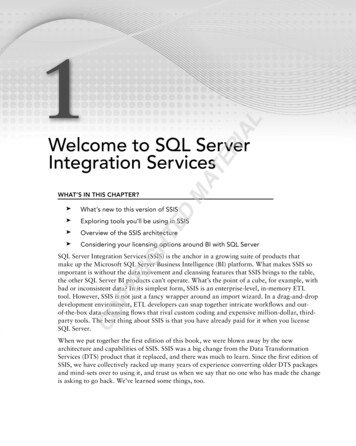
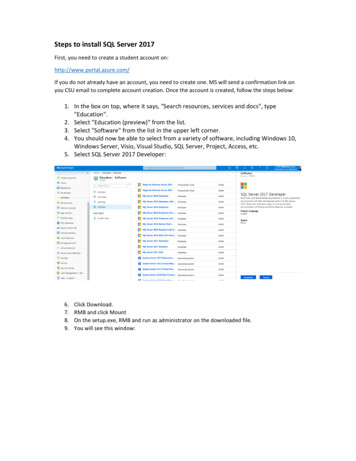
Steps to install SQL Server 2017First, you need to create a student account on:http://www.portal.azure.com/If you do not already have an account, you need to create one. MS will send a confirmation link onyou CSU email to complete account creation. Once the account is created, follow the steps below:1. In the box on top, where it says, "Search resources, services and docs", type"Education".2. Select "Education (preview)" from the list.3. Select "Software" from the list in the upper left corner.4. You should now be able to select from a variety of software, including Windows 10,Windows Server, Visio, Visual Studio, SQL Server, Project, Access, etc.5. Select SQL Server 2017 Developer:6.7.8.9.Click Download.RMB and click MountOn the setup.exe, RMB and run as administrator on the downloaded file.You will see this window:
Select installation option from left sideSelect new sql server stand-alone installationIf you downloaded the SQL server from Microsoft it will automatically take product key
Click next and click next again on ‘installation type’ page
Accept the License T&C
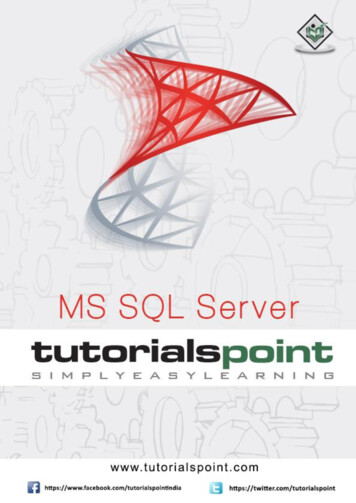
You can create a named instance. I rather choose default instance. Go to Instance configuration:Go next up to server feature selection screen:
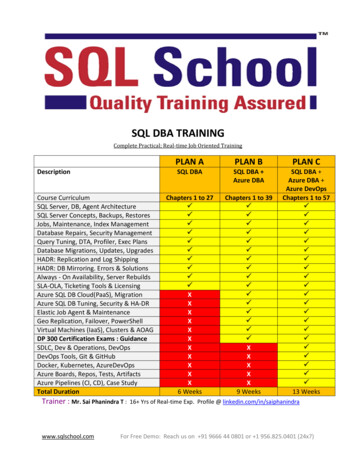
Select the features as shown. Go to server configuration. Change account name to yousystem(laptop) login account user name using Browse option under username column:
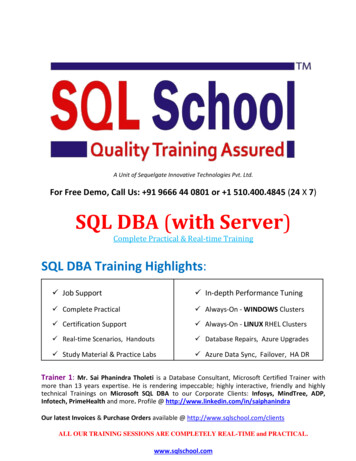
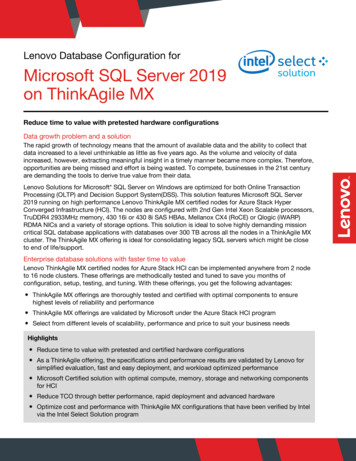
Go to Database engine configuration:When you add analysis services (required for graduate level courses), specify the admin and servermode as multidimensional and data mining mode. Next to install all the installation configurationand finish setup.
Next, let’s install SQL Server Management Studio (SSMS)Install SQL Server Management Studio (SSMS):Below page will open in your browser when you search SQL Server Management Studio and click the1st link:When you click on ‘Download SQL Server Management Studio 18.2’ link, exe file will be downloaded.RMB on the file and run as administrator
Once the installation is complete, system will restart. After restarting the system, open SQL ServerManagement Studio from start menu options.Fill in the server details on the SQL Server Management Studio:
RMB on Server name and create new database:Give it any name:
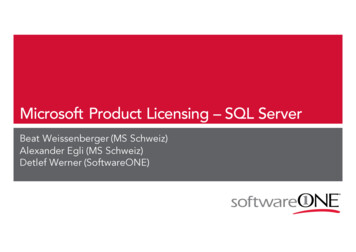
Let us test these steps by creating a new table and inserting a record into it. RMB on new DB andselect ‘New Query’A new query window will open. Type the following command in it:create table test1 (name1 varchar(50))select this command and click execute.Then, typeinsert into test1 values ('Success')select this command and click execute.RMB on the DB name and click refresh. You should get the below screen:Now let’s query the table and see if we have the new data available:RMB on dbo.test1 and choose ‘Select top 1000 rows’ or type the following in the query box:SELECT TOP (1000) [name1] FROM [CIS430].[dbo].[test1]ORSELECT * FROM test1
You’re all set to attempt Lab 1 now!
Windows Server, Visio, Visual Studio, SQL Server, Project, Access, etc. 5. Select SQL Server 2017 Developer: 6. Click Download. 7. RMB and click Mount 8. On the setup.exe, RMB and run as administr