Transcription
University of Alaska SystemsGeneral RedactedInstructionsTraining ManualOnBase 11 Redaction Training ManualPage 1
ContentsDisclaimer. 3Part 1: Setting up for Redaction. 3Part 2: Retrieve A Document for Redaction . 5Part 3: Redacting the Document. 6Part 4: Delete/Reorder Pages . 10OnBase 11 Redaction Training ManualPage 2
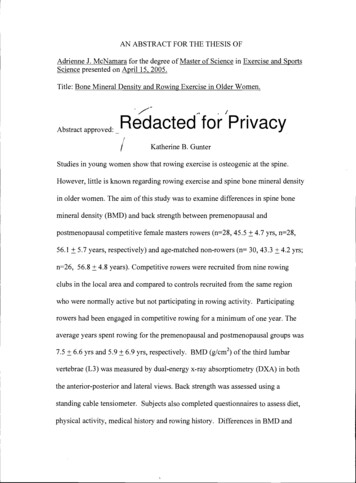
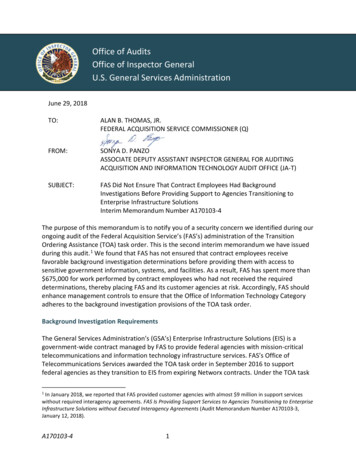
DisclaimerDisclaimer: This training will assume that you have access to OnBase, have had training in OnBase andhave been assigned to the Redaction security class.Part 1: Setting up for Redaction1. Go to User Toolbars Annotation Toolbar. Make sure you have annotation toolbar with a checkmark.OnBase 11 Redaction Training ManualPage 3
2. Pick the appropriate redaction.3. Then click on the pen next to the redaction type and make sure it is down.4. Next go to the appropriate doc type you want to redact. To do this either use custom query orDocument Retrieval. Example, I put AD redaction, so I will be using AD doc types.OnBase 11 Redaction Training ManualPage 4
Part 2: Retrieve A Document for Redaction5. Pick the document you want to Redact.OnBase 11 Redaction Training ManualPage 5
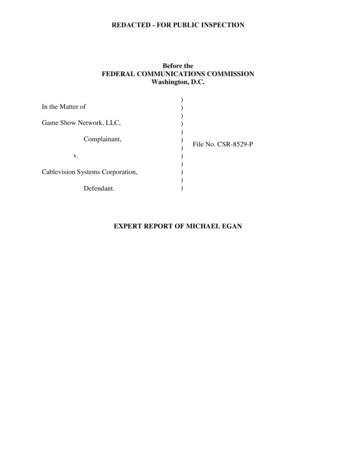
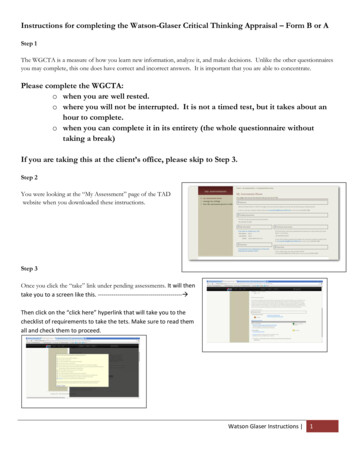
Part 3: Redacting the Document6. LEFT click with your mouse and make a box around an area to redact the appropriate section.You will get “notes” and a black redacted piece on the document.7. Minimize the notes. (As a side note: You could delete ‘Notes’.)OnBase 11 Redaction Training ManualPage 6
8. Right click on your mouse then go to Redacted Image “Create Redacted Image”9. A box will pop up and will ask to delete redaction notes after creating the redacted document. Click yes if you want to delete the redacted note from the previous non-redactedwindow. Click no, if you do not want to delete the note from the non-redacted window.10. Important: Your Redacted document will have barely any history. This is not a good thing. Youwill have the original document and Redacted document when the redacted document iscreated.OnBase 11 Redaction Training ManualPage 7
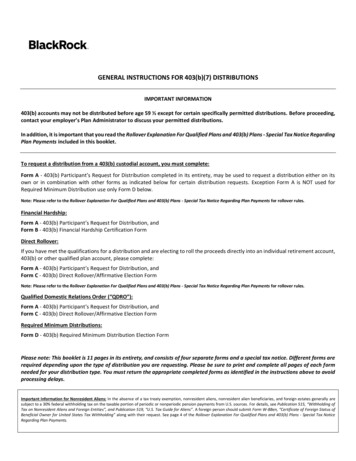
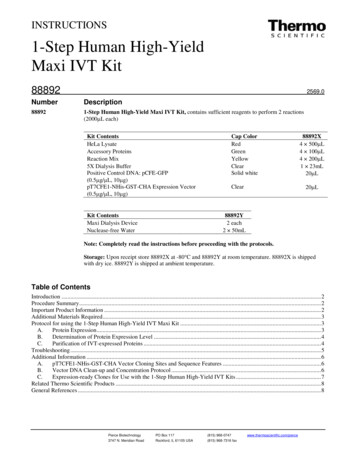
11. Right click on the thumbnail on the Redacted document.12. The picture below shows the redacted page in red bordered thumbnail on the redacteddocument. Drag the redacted page into the Original Document.13. The redacted document does not have all the history, but moving the redacted page onto theOriginal Document will keep all the history together.OnBase 11 Redaction Training ManualPage 8
14. Once you dragged the Redacted page into the original document. It should look similar to screenbelow.15. Delete the redacted document and keep the original document open. If you want, Please checkthe history before deleting the redacted document.OnBase 11 Redaction Training ManualPage 9
Part 4: Delete/Reorder Pages16. Right click on your mouse and go to Delete/Reorder Pages17. You will get the Delete/Reorder Pages GUI. Double click on the original page to delete it. Thereshould be a big red x on the original page. Keep the redacted page in the original document.18. Click on the “DB” and it will ask you to save and close changes. Click yes.19. After this step, you will have the complete history and a complete document.OnBase 11 Redaction Training ManualPage 10
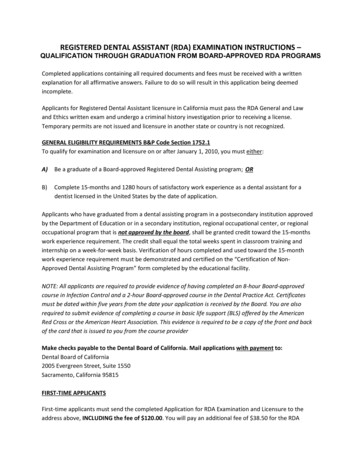
20. The picture below has a redacted page in the original document.21. The red box shows that the window is not the redacted version and is in fact the originaldocument.OnBase 11 Redaction Training ManualPage 11
OnBase 11 Redaction Training Manual Page 6 Part 3: Redacting the Document 6. LEFT click with your mouse and make a box around an area to redact the appropriate section. You wil