Transcription
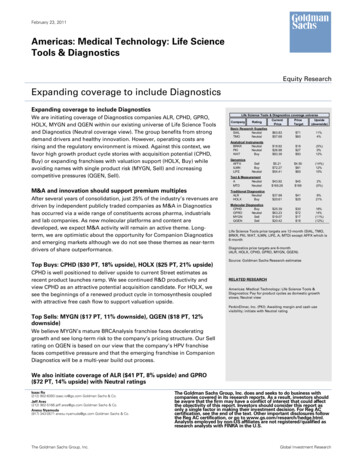
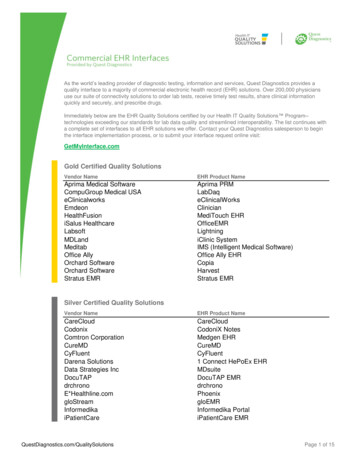
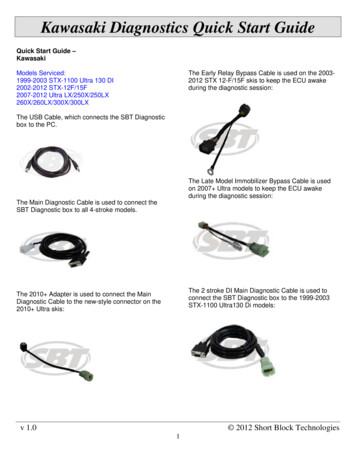
Kawasaki Diagnostics Quick Start GuideQuick Start Guide –KawasakiModels Serviced:1999-2003 STX-1100 Ultra 130 DI2002-2012 STX-12F/15F2007-2012 Ultra LX/250X/250LX260X/260LX/300X/300LXThe Early Relay Bypass Cable is used on the 20032012 STX 12-F/15F skis to keep the ECU awakeduring the diagnostic session:The USB Cable, which connects the SBT Diagnosticbox to the PC.The Late Model Immobilizer Bypass Cable is usedon 2007 Ultra models to keep the ECU awakeduring the diagnostic session:The Main Diagnostic Cable is used to connect theSBT Diagnostic box to all 4-stroke models.The 2 stroke DI Main Diagnostic Cable is used toconnect the SBT Diagnostic box to the 1999-2003STX-1100 Ultra130 Di models:The 2010 Adapter is used to connect the MainDiagnostic Cable to the new-style connector on the2010 Ultra skis:v 1.0 2012 Short Block Technologies1
Kawasaki Diagnostics Quick Start GuideConnect SBT Diagnostic System to the PC with the provided USB Cord.Start SBT Diagnostics 102 by going to start menu and launching SBT Diagnostics 102.Choose Kawasaki from the listed OE manufactures.Connect the SBT Diagnostic System to the Jet Ski Connector.For all 4-stroke models, attach the appropriate bypass cable to keep the ECU powered up.Ensure the safety lanyard/tether is attached to the stop switch.For the DI and 12F/15F models, turn the key switch to ON.For the Ultra models, insert a FAST or SLO key into the ignition switch.2.Remove the dust cap and plug inthe SBT Kawasaki Main Diagnosticcable into this connector.3.Locate the Main Relay connectornear the battery. It is a light gray 8-pinconnector. (showndisconnected)Vehicle Connection:Note: Before connecting to a ski, please readthe service manual for that particular model ofJet Ski!In general, starting a diagnostic sessionincludes two steps:1.Connecting the SBT Diagnostic 102system to the Jet Ski Diagnosticconnector.2.“Waking up” the engine ECU toenable the SBT Diagnostic 102 systemto talk to the ECU. In addition, the 4stroke models need an additionalbypass cable attached to keep theECU powered up during the diagnosticsession.4.Disconnect the Main Relayconnector and connect the Early RelayBypass cable in line between the twohalves of the Main Relay connector.Fasten the ring terminal of the EarlyRelay Bypass cable to thenegative/ground (-) post of thebattery.5.Ensure the emergency stop tether isattached to the stop switch and attachthe ignition key to the switch and turnto the ON position. You are now readyto start the diagnostic session.2003-2012 STX-12F/15F 4-stroke Models:Connecting the Diagnostic Cable to the Jet Ski:Steps to connect:1.Locate the 4-pin DiagnosticConnector, which is located in theengine compartment adjacent to thevoltage regulator assembly. Theconnector is black and has a cap on itwith yellow sealed inserts (connectorshown with dust cap removed.v 1.0 2012 Short Block Technologies2
Kawasaki Diagnostics Quick Start Guide2007-2012 Ultra 4-stroke Models (LX/250 (l) X/260(l)X/300 (l)X):Connecting the Diagnostic Cable to the Jet Ski:Steps to connect:1. Locate the 4-pin Diagnostic Connector,which is located next to the battery inthe front storage compartment. Theconnector is black on the 2007-2009models, and white on the 2010-2012models:3. To keep the ECU powered up for thediagnostic session, you must attachthe Immobilizer Bypass cable. Theconnector for the immobilizer islocated behind the ECU, so you needto first remove the ECU cover panel inthe front storagecompartment:2. Remove the dust cap from theconnector, and attach the MainDiagnostic cable to the diagnosticconnector. NOTE: On 2007-2009models, the Main cable connectsdirectly to the connector on the ski.On 2010 models, you must first attachthe 2010 Adapter cable to the Maincable, then connect the 2010 Adaptercable to the diagnostic connector onthe ski.v 1.0 2012 Short Block Technologies3
Kawasaki Diagnostics Quick Start Guidesession.4. Once you move the ECU out of theway, you now have access to theimmobilizer connector. It is a naturalnylon colored 6-pinconnector.1999-2003 STX-1100 DI 2-Stroke model:Connecting the Diagnostic Cabel to the Jet Ski:Steps to connect:1.Remove the seat, and look for the Yellow6-pin diagnostic connector at the rear of theengine bay, just under the seat. It will havea dust cap on it with a looped single wire onthe end of it:2.Remove the dust cap from the diagnosticconnector, attach the STX-100 Di MainDiagnostic cable to the yellow diagnosticconnector on theski.3.Ensure the Safety Lanyard is installed onthe stop switch, and turn the key to the ONposition. You are now ready to start thedignostic session.5. Disconnect this connector and connectthe Late Immobilizer Bypass cable inline:6. Once the Immobilizer Bypass cable isinstalled, connect he two small whiteone-pin connectors together on thiscable:7. Insert a Kawasaki key (either Fast orSLO) into the key switch to power upthe ski, ensure the emergeny lanyardis attached to the stop switch, any youare now ready to start the diagnosticv 1.0 2012 Short Block Technologies4
Kawasaki Diagnostics Quick Start GuideGeneral FAQ’s:Starting the Diagnostic Session:When the SBT application is running and the ECUhas been powered up, you are ready to start thediagnostic session.SBT Scanner Tool 102 checks forupdates on startup, if there is an activeinternet connection.The hardware box must always beconnected to the PC when you start up theprogram to enable the system to check fornew updates.If you are using wireless and get outof range it can cause the SBT Diagnostic102 to freeze up while trying to connect tothe website on startup. We suggestdisabling the wireless on your laptop if youare moving out of wireless range.Make sure you have a fully chargedbattery, failure to do so can cause datacorruption!When you are finished, always closethe program first before disconnecting theUSB cable to the SBT box. If youdisconnect the USB cable before closingthe program, the program will freeze andyou may need to stop the programmanually via the Task Manager to exit theprogram.Once the ECU is powered up, the SBT applicationshould detect the Kawasaki ECU, indicated by the skiicon on the lower left of the screen changing from redto green, and the status should change from “lookingfor Vehicle” to “Early Kawasaki” for the STX-12F/15F,“Late Kawasaki” for the Ultra series skis, orthe”Kawasaki DI Detected” for the STX-1100 DIskis.Once the Kawasaki ECU indication appears, go to theupper left of the screen, select “Vehicle”, and then“Read Vehicle”.The SBT system will read the data from the ECU.You are now ready to read and clear faults, viewoperating history, and activate various functionsavailable for the particular model you are working on.v 1.0 2012 Short Block Technologies5
box to the PC. The Main Diagnostic Cable is used to connect the SBT Diagnostic box to all 4-stroke models. The 2010 Adapter is used to connect the Main Diagnostic Cable to the new-style connector on the 2010 Ultra skis: The Early Relay Bypass Cable is used on the 2003-2012 STX 12-F/15F