Transcription
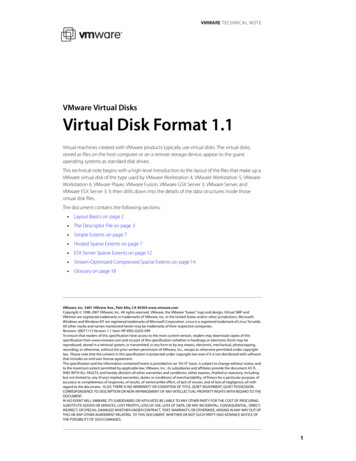
Virtual Classroom User Manual for Citrix OnlineGlobal Customer SupportLive Technical Support (24/7)Phone: 1-888-259-8414*To avoid long lines in the email queue, the most efficient method of contact is viatelephone.Email: support@citrixonline.comWeb: www.support.citrixonline.comPlease contact the Center for Teaching and Learning for UAB Faculty and Student (on campus)training. Citrix also offers free public training online.Welcome to the Citrix GoToMeeting/GoToTraining (Virtual Classroom) overview.Virtual Classroom allows the use of web conferencing from within Canvas courses.Virtual Classroom integrates with Citrix Online (GoToMeeting and GoToTraining).Virtual Classroom facilitates:1. Web Conferences directly from the LMS.2. Efficient scheduling of Web Conferencing sessions.3. Organization of attendance records and recordings.4. State-of-the-art encryption to ensure that account information is always stored securely.5. Use of multiple conferencing services from a single interface.1
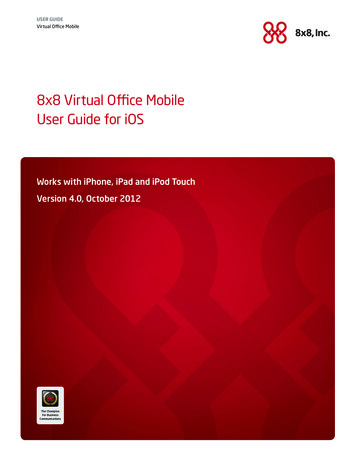
Let’s Begin.To enter the virtual classroom session, click the “Virtual Classroom” button in your course page.Entering Conferencing CredentialsPlease note that the first time you enter the Virtual Classroom, you are taken to the "EditCredentials" page.You can access the "Edit Credentials" by clicking on the wrench in the top left corner of theVirtual Classroom.Selecting "Edit Credentials" from the links menu2
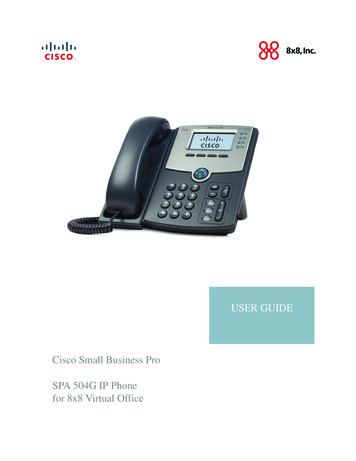
Then you will be prompted to set the account with your username and password forGoToMeeting and GoToTraining.Inputting credentialsNow you may return to the calendar page by selecting the “Back to Calendar” link.Select "Back to Calendar"3
Scheduling ClassesThe Virtual Classroom Scheduler is accessible to teachers and course administrators from the"Schedule more events" button on the top right of the calendar page.The "Schedule more events" buttonType name of the event, unless you would like the default to be the name of the event.Entering a more specific name (optional)4
Scheduling a Single Event1.Select "Single Event""Single" option selected2.Select the desired timezone.Selecting a timezone5
3. Select the date and time of the event. The minute selector will increment byfive minutes at a time. If you wish to enter a time which does not round to 5 minutes(such as "3:47"), you can type the desired amount directly into the box.Selecting a date and time6
4. Select the duration. The minute selector will increment by fifteen minutesat a time. If you wish to enter a duration which does not round to 15 minutes (suchas "1 hour and 10 minutes"), you can type the desired amount directly into the box.Selecting a duration5. If the course has more than one teacher, you will be asked to select which one willbe teaching this event.Selecting a host7
6. If there is more than one conferencing service account set up, you will beasked which account to use.Selecting an account7. Once all of the necessary information has been entered, click "Schedule" to addthe new event to the calendar.Selecting Schedule8
Scheduling a Daily EventThere may be times when you would like to schedule a daily event (repetitively).1.Select "Schedule More Events", then select "Daily".The "Schedule more events" button"Daily" option selected9
2. Select the timezone from the drop down menu as shown above in the"Single Event" schedule.3. Select the range of dates and day/s of the week on which to create events.Selecting the "To" date10
4. Set the days of the week for the repeating event.Selecting the days11
5. Select the time, duration, host and account as shown above in the “SingleEvent” and then click on “Schedule”"Time, Duration, Host, Account" options selectedScheduling a Weekly EventThere may be times when you would like to schedule a recurring weekly event.1. Select the "Weekly" option."Weekly" option selected12
2. Select the timezone, dates, days, host and account as above and click on “Schedule”13
CalendarThe Virtual Classroom Calendar allows you to join, prepare, and host sessions with one click.The Virtual Classroom CalendarSelecting TimezonesThe Virtual Classroom calendar makes use of the IANA Timezone Database to allow usersto view the event schedule in any timezone.14
To select a timezone, click on the "Display in timezone" dropdown and select the timezoneyou wish to view.A live display clock will appear next to your selected timezone with the current time in thattimezone as measured by the Virtual Classroom server.15
Virtual Classroom provides the ability to compare an event schedule across multipletimezones.To compare multiple timezones, click the "Compare other timezones" button, and add orremove timezones as needed.The "Compare other timezones" buttonChoose from a variety of timezones to compare by using the "Timezone 1, 2, 3, etc."dropdown menu.A comparison of two different timezones16
Joining ClassesThe countdown timer will show the amount of time remaining until an event.A disabled "Join" button with countdown timerAt 15 minutes before the event, a "Join" button will become accessible for students, and a"Host" button will become available for the instructor.The "Host" button for the instructorThe "Join" button for studentsPrior to 15 minute mark, an instructor may enter the session by selecting the "Prepare"button.The "Prepare" button for the instructor17
Deleting SessionsYou may delete one session or a series of sessions by clicking the gear icon to the left of anevent to bring up the edit menu.Edit Menu is featured as a gearEdit Menu showing Delete18
A pop-up will ask you to confirm your intention to delete, along with givingyou the option to delete past events or events currently in progress if applicable to the series.Viewing Attendance RecordsInstructors can view the records of who attended online by selecting "AttendanceRecords" from the wrench icon at the top left.19
To view the records for a specific event, simply click on the "View Records" button for thatevent to bring up the attendance list for that event.The list is available online and as a CSV file by clicking the "Download CSV" link on the bottomright.Returning to the Course PageTo return the course page in the LMS, simply select the wrench and the "Return to" linkfrom the dropdown menu.20
Uploading your recorded sessions to the Virtual Classroom platformGo to the “wrench” icon and click on “FilesClick on “Choose File”. A window will open, enabling you to choose a file from yourcomputer. Select “Upload”.If the computer turned off, the file upload resumes automatically. If it did not, or if youstopped the uploading in the middle, simply go to “Choose file” once again and when youclick on “Upload”, the uploading will resume from where it left off.21
Virtual Classroom integrates with Citrix Online (GoToMeeting and GoToTraining). Virtual Classroom facilitates: 1. Web Conferences directly from the LMS. 2. Efficient scheduling of Web Conferencing sessions. 3. Organization of attendance records and recordings. 4. State-of-the-art encryptio