Transcription
Creating a Poster using Microsoft Publisher 2010 Under File, Select the New After clicking and getting to the “More Blank Page Sizes” screen, click on“Create Custom page size” under Custom. The “Custom Page Size” should be set to Name: Poster Width: 34” Height 22”and make sure it is set to Layout/One page per sheet. Margins should all be setto .5”. Click OK at the bottom right of the Custom Page Size dialogue box.
Save the File – Under File select “Save As” – name the file and save it in desiredlocation. Save Early and Often!!Inserting Text – Click on the Home or Insert tab and select “Add Text Box”. Nextposition your mouse over your document and hold and drag out the text box to a desiredsize. Adjust font size appropriately for a poster. Font size 36 works well for commentsand 90 for the main title. Type desired text and highlight for special formatting likealignment, bold, italics, color, etc.You may also copy and paste selected text from other documents. Start by inserting a textbox, copy desired text from another document, select the text box in Publisher and paste.Adding a Graph or Chart – You may have a chart or graph that has been created usinganother program, like Microsoft Excel. Under Insert tab select “Object” and “Createfrom File” – Browse for the desired chart or graph, select “Open” and OK.To edit the file – select the chart or graph and using the right mouse button select“Microsoft Office Excel Worksheet Object” and “Open”.This will open the graph or chart in Microsoft Excel. You can then make any changes tothe actual graph like Chart Type, Source Data, Chart Options, etc.
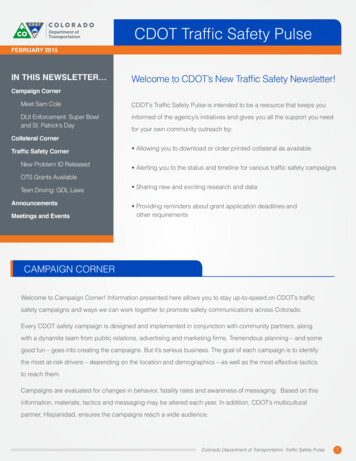
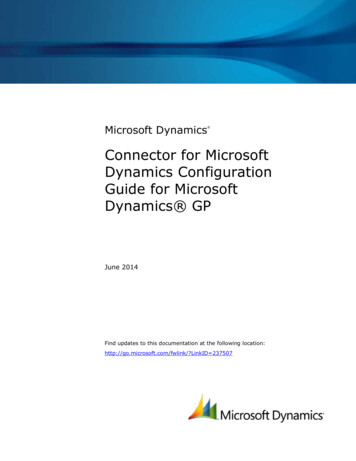
Inserting an image – Under the Insert tab select “Picture” from file – browse for thedesired image, select it and click “Insert”. You may resize the picture retaining properproportionsResize the image while retaining proper proportions –Hold down SHIFT then Position the mouse pointer over one of the corners. Drag to desired size then release themouse button before you release SHIFTTo crop a picture Select the picture.When you select a picture, the Picture tools is visible above the top menu bar. Clickon Format to see the section below.On the Picture menu, click Crop.Position the Cropping tool over a cropping handle.
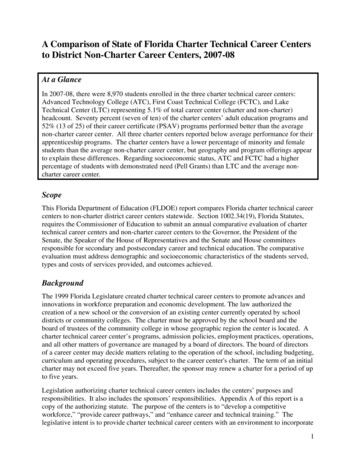
Cropping handleDo one of the following:To crop one side, drag the center handle on that side.To crop evenly on two sides at once, hold down CTRL as you drag a center handle.To crop all four sides at once while maintaining the proportions of your picture, holddown CTRL SHIFT as you drag a corner handle.On the Picture menu, click Cropto turn off the Crop Picture command.Inserting an Image into a ShapeStep 1: Select and insert the shape you want your picture to have1. Open or create the publication you want to add the picture to.2. Do one of the following:o To insert a predefined shape such as a star or diamond, click the Inserttab then the Shapes. Select an appropriate shape from one of thecategories.3. Drag the mouse diagonally until the shape is the size that you want in your poster.Step 2: Insert your picture into the Shape1. With the shape selected, click Drawing tools/Format2. In the list, select Shade Fill.
3. In the Shade Fill drop down select Picture.4. In the Picture dialog box, locate the folder that contains the picture you want toinsert, and then click the picture file.5. Click Insert.Step 3: Change the size of your picture To change the size of your picture, select the shape, position the mouse pointerover one of the corners and then drag the mouse and drag the size handle.Inserting Word ArtOn Insert tab click WordArt.In the WordArt Gallery, click the WordArt effect you want, and then click OK.In the Edit WordArt Text dialog box, type the text you want, and then select anyoptions you want.You may change the color of the WordArt once it has been inserted into your poster byselecting the object then using the right mouse button select “Format WordArt”.
Inserting Clip ArtUnder Insert tab click on Clip ArtIn the Search Bar type in the type of Clip Art you would like to use in your posterWhen you find a clip you like simply double click and it will be inserted into your poster.You can also resize and format with the Picture menu or with a Right Click and Formatshape option.Add a color or pattern behind an entire pageClick on the Page Design tab then on the right side click Background.In the Background task pane, select the options that you want. Please consider a lightcolor as the printer is just a big ink jet printer. Darker colors will use lots of ink that maycause the paper to “wave” and crinkle.By selecting any option, you can RIGHT CLICK to Formatany text box, image or shapeCreating/printing small (8.5”x11”) versionUse “Save as” and save the document as a .jpgSave the .jpg file to the desktopRight click on the .jpg file and Open With .Windows Picture and fax viewerClick on the printer icon at the bottomClick Next then Select the .jpg file by checking the box on the upper left hand corner ofthe fileIn the next step, Select the printer you would like to print to then select NextSelect the Full Page fax Print then indicate the number of copies you want of the fileClick Next and the file will be sent to the printer you selected Click Finish**The jpg file can also be sent via email. Make sure you are turning in this “small”version as directed by your professor.Submission of your poster for printing-submit the .pub version
CD USB Memory Stick Email it to helpdesker@knox.eduPlease allow a minimum of 36 hours for printing
3. In the Shade Fill drop down select Picture. 4. In the Picture dialog box, locate the folder that contains the picture you want to insert, and then click the picture file. 5. Click Insert. Step 3: Change the size of your picture To change the size of your picture, select the shape, position the mouse pointer over one of the corners and then drag the mouse and drag the size handle.