Transcription
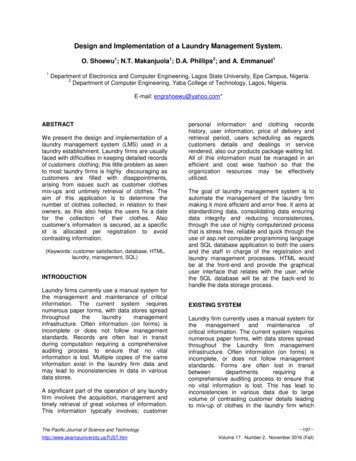
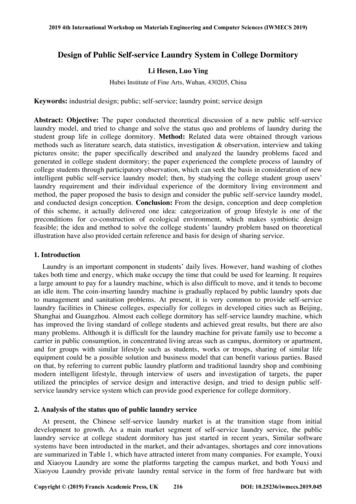
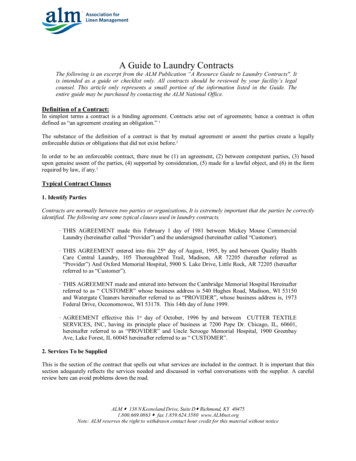
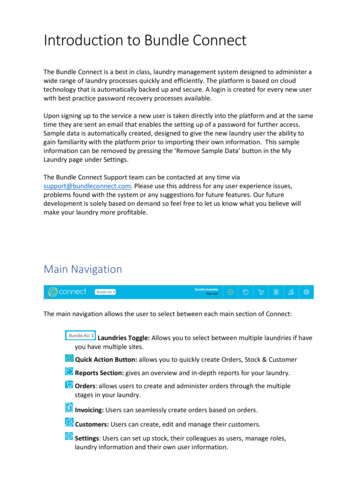
Introduction to Bundle ConnectThe Bundle Connect is a best in class, laundry management system designed to administer awide range of laundry processes quickly and efficiently. The platform is based on cloudtechnology that is automatically backed up and secure. A login is created for every new userwith best practice password recovery processes available.Upon signing up to the service a new user is taken directly into the platform and at the sametime they are sent an email that enables the setting up of a password for further access.Sample data is automatically created, designed to give the new laundry user the ability togain familiarity with the platform prior to importing their own information. This sampleinformation can be removed by pressing the ‘Remove Sample Data’ button in the MyLaundry page under Settings.The Bundle Connect Support team can be contacted at any time viasupport@bundleconnect.com. Please use this address for any user experience issues,problems found with the system or any suggestions for future features. Our futuredevelopment is solely based on demand so feel free to let us know what you believe willmake your laundry more profitable.Main NavigationThe main navigation allows the user to select between each main section of Connect:Laundries Toggle: Allows you to select between multiple laundries if haveyou have multiple sites.Quick Action Button: allows you to quickly create Orders, Stock & CustomerReports Section: gives an overview and in-depth reports for your laundry.Orders: allows users to create and administer orders through the multiplestages in your laundry.Invoicing: Users can seamlessly create orders based on orders.Customers: Users can create, edit and manage their customers.Settings: Users can set up stock, their colleagues as users, manage roles,laundry information and their own user information.
Orders SectionThe orders section is made up of filters and three tabs that allow the user to administer theentire order to dispatch process. Orders are sorted into the three tabs based on their status.After the order is created it sits in the pending tab. Here the order can be packed. Once theorder has been packed it sits in the Packed tab ready for dispatch. After the packed tab theorder cannot be deleted so it is important the order is only dispatched once it is completeand being sent out.Orders - FiltersIn each of the orders tabs the filters provide a way for the laundry to filter the orders.Customer Selection – DropdownRoute Selection - DropdownDate Range Selection - Overlay
Orders – Quantity ReportIn each of the orders tabs the Quantity Report provides a way for the laundry to report onthe stock of a number of orders to view upcoming stock requirements of the days orders orreconcile dispatched orders.To use the Quantity Report simply tick the box to the right of the orders you want tocombine for the report. Then press the QTY REPORT button on the bottom left of the page.More than one order needs to be selected to use the report.Orders - Pending TabThe Pending Tab holds all orders that are created and not packed or dispatched. Orders thatare current being packed are also shown here. If an order is being packed a yellow box iconwill appear to the left of the customer name. Orders that are set up as reoccurring aredisplayed with a green circle. To create a new order simply press the New Order button.
Orders - New OrderThe New Order page allows the creation of New Orders. Simply select a customer, deliverydate and enter a purchase order number if applicable. After a customer is selected theirstock will show. If no stock has been linked to the customer yet you will see a link stockbutton in the stock section. The user can then add stock by pressing the button next to theitem or entering an amount directly. To change the date or to set up a reoccurring orderpress on the date field to bring up the Date Selection Overlay.Single Date SelectionReoccurring Day SelectionPress the quick filters on the left to quicklyselect one of the next 4 available days.Press the reoccurring icon to change theoverlay to a reoccurring order selection.Or select a day in the future that is not anavailable day.Reoccurring orders repeat the same orderon the day selected.Role based: Orders Roles can select beyondthe cut off time up until todays date, whilstAdmin Roles can select any date, even inthe past.Reoccurring orders can only be set up onavailable days.
Orders - New Order – Action BarThe new order action bar allows the cancelling of orders. The bar allows the quick LINKINGOF STOCK items to the customers, SUBMITTING the new order or moving the order directlyto the Packing Stage by pressing the PACKING BUTTON.Orders - Edit Order Page & Action BarThe edit order page is the same as the new order page except for the action bar allows thedeleting of orders. The user can also save any changes to an order by pressing the updatebutton.SAME AS NEW ORDER PAGEOrders - Pack OrderThe pack order page allows the packing of orders. Here the user can enter any varyingamounts packed than what was ordered. When the order is packed they press SAVE & PACKand the order is sent to the packed tab and the dispatch docket is displayed.
Orders – Dispatch DocketAfter pressing PACK the dispatch docket is displayed for printing.Orders - Packed TabThe Packed Tab holds all packed orders waiting to be dispatched. To dispatch one ormultiple orders, simply tick the box to the right of the line and press the Dispatch button.You will then see the Dispatch Manifest overlay.
Orders - Packed TabThe Dispatch Manifest displays all the dispatched orders on the quickest route usingGoogle Maps. This can also be sent to the driver’s phone.Orders - Dispatched TabThe Dispatched tab displays all the orders that have been dispatched. This tab provides ahistorical reference for all orders fulfilled to date. Orders at this point can also be viewed inthe Invoice Section, inside the Pending tab.
Invoice SectionInvoices - Pending TabOnce an order has been dispatched the order will appear in the Pending invoices tab.Here users can filter the pending invoices by customer, date range or billing categoryand either export the order data or do an invoice run. The invoice run generates invoicesfor all the selected orders. The order export downloads the order data in a CSV.Invoices – Orders Export & Invoice Run Overlays
Invoices – Orders Export (CSV)Invoices - Invoiced TabThe Invoiced Tab displays all the invoices generated by Connect. The user can eitherpress the line to view the Invoice or tick the box to the right to Export, Email or Printeach Invoice.Invoices – Invoices (Export CSV)
Customers SectionThe Customers section is where all the customers data is managed. There are four main tabsin this section; Details, Stock, Contacts and Levels.Customers – Details TabThe details page stores all the customer information used for ordering and invoicing.Google is used to look up their address to make it quick and precise for the map routing.In the assign category section categories are managed and assigned to each customer.These categories cover Billing Periods, Delivery Routes and Delivery Days.
Customers – Stock TabThe Stock Tab controls the allocation of stock to each customer. To allocate stock theuser presses the Link Stock button and uses the overlay. Once linked the user can setcustom stock pricing for each item or retain the default from the master stock list.Customers – Stock TabTo allocate stock to customers users simply tick the box next to the items and then presssave changes.
Customers - Contacts & Invite Customer TabYour customers contacts can be managed in the Contacts Tab. This tab is also whereyour customers are invited from, so they can place orders and view invoices. To invite acustomer user, enter their contact details and press INVITE. They will then receive anemail at which point they can set up a password and start ordering.Customers - Levels (BETA)The Levels tab allows customers to set up sub levels within their customer sites so theycan order different stock items to different addresses. This is also used to manage theRFID individual allocation of items to employees.
Settings SectionThe setting section is where all the settings are managed.Settings – Master StockThe master stock section allows the setup of all laundry stock items. Here they set upthe Name, Pack Size, Default Price, Stock Code, GL Code, Stock Weight and allocate thestock categories. Users can also import stock from other systems.
Settings – Users & RolesThe Users and Roles page manages the laundries users. Here they can set up differentroles for each user within the business, allowing for the specialty nature of employees.Admin users have access to the whole system. Orders users can only see the orderssection, Accounts users can only see the invoice section, and back office users can onlysee the customers and orders sections.
Settings – My LaundryThe My Laundry page is where the Laundry information is setup and managed. This pageconsists of two tabs; Details and Financial. In the details tab the Laundry sets up theircompany information that is used by the platform for various tasks.The financial tab controls the invoicing, tax and currency information. This tab automaticallysets up this information based on the location of the user registering the laundry. Howeverit is important that the laundry checks this information is correct.
Settings – My DetailsThe manage details page allows users to manage their details and view their allocatedrole.
Customer’s PortalPlease see the below video to view what the customers see and how they get started afterthe invite message is sent to tomerOnboarding.mov?dl 0
The Bundle Connect is a best in class, laundry management system designed to administer a wide range of laundry processes quickly and efficiently. The platform is based on cloud technology that is automatically backed up and secure. A login is created for every new user with best practice password recovery processes available.
