Transcription
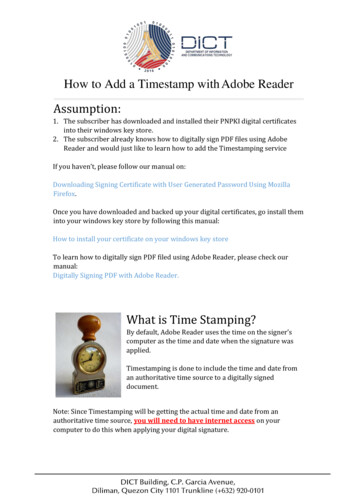
How to Add a Timestamp with Adobe ReaderAssumption:1. The subscriber has downloaded and installed their PNPKI digital certificatesinto their windows key store.2. The subscriber already knows how to digitally sign PDF files using AdobeReader and would just like to learn how to add the Timestamping serviceIf you haven’t, please follow our manual on:Downloading Signing Certificate with User Generated Password Using MozillaFirefox.Once you have downloaded and backed up your digital certificates, go install theminto your windows key store by following this manual:How to install your certificate on your windows key storeTo learn how to digitally sign PDF filed using Adobe Reader, please check ourmanual:Digitally Signing PDF with Adobe Reader.What is Time Stamping?By default, Adobe Reader uses the time on the signer’scomputer as the time and date when the signature wasapplied.Timestamping is done to include the time and date froman authoritative time source to a digitally signeddocument.Note: Since Timestamping will be getting the actual time and date from anauthoritative time source, you will need to have internet access on yourcomputer to do this when applying your digital signature.
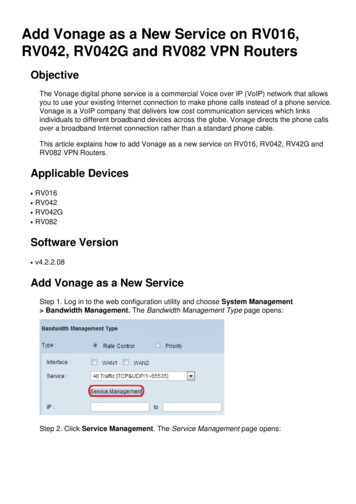
Adding the PNPKI Timestamping informationto Adobe Reader1. Once installed, open a PDF document using Adobe Reader. Next, click on theTools menu on the upper left hand corner.2. Next select the Certificates option
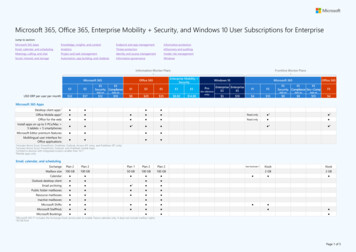
3. Click on the Time Stamp Menu4. The Choose Default Timestamp Server window will come up. Click on theNew menu5. Enter PNPKI Timestamp Server for the Name. For the Server URL, workerName TimeStampSigner. Lastly, click on OK
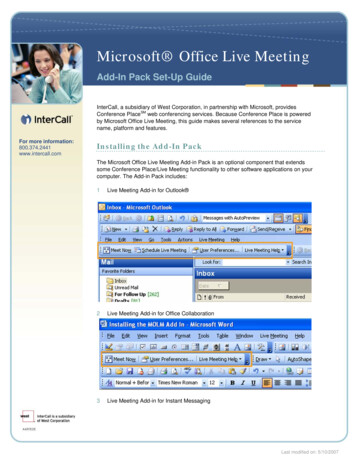
6. It will bring you back to the Choose Default Timestamp Server windowwhere you should see the PNPKI Timestamp Server. Click on the Set Defaultmenu to make this the default Timestamp server.7. The Adobe Security popup window will appear. Just click on the OK button.
8. It will once again bring you back to the Choose Default Timestamp Serverwindow where you should now see a star icon next to the PNPKI TimestampServer.9. You can now just close this window by clicking on the X at the upper rightcorner. And that’s it! The next time you digitally sign a document shouldalready have timestamping included.
Adobe Reader Assumption: 1. The subscriber has downloaded and installed their PNPKI digital certificates into their windows key store. 2. The subscriber already knows how to digitally sign PDF files using Adobe Reader and would just like to learn how to add the Timestamping service If you haven't, please follow our manual on: