Transcription
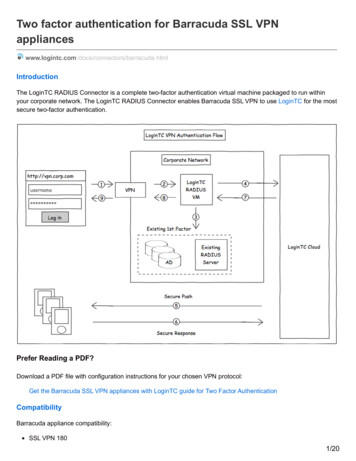
Setting up VPN and Remote Desktop for Home UseContentsI.II.III.IV.V.VI.Prepare Your Work Computer . 1Prepare Your Home Computer. 2Run the VPN Client . 3-4Remote Connect to Your Work Computer. 4-5Remote Connect Options and Tips . 6-9Windows Vista Instructions . 10I. Prepare Your Work Computer1.) When you are ready to connect to your Friends University computer, youwill need to know the name of your computer. To do this, left click theStart button, and then right click on Computer.2.) Left click on the Properties button. Look halfway down on the dialog boxfor Computer name.Note: Typically, the computer name will be associated with the buildingabbreviation and room number of the computer. Eg. CAP-109B-D4.) Click the Remote Settings link on the left panel. The System PropertiesWindow will popup. Make sure to select Allow connections from computersRunning any version of Remote Desktop (less secure). Click Ok.1
II. Prepare Your Home Computer1) Before starting this process save and close any information youhave (word, excel, email, etc.). This installation will require youto reboot at the end of the installation. Open Internet Explorerand go to www.friends.edu/technology.2) Scroll down to either Windows VPN Client or Macintosh VPNclient, depending on what type of computer you are installing thesoftware on. Click link to download the software.3) The first dialog box will ask you for your username and password.Type it in.4.) Once the username and password have been typed in left click theok button or hit the enter key. The next dialog box will ask to savethe file or to run the file. Left click the run button (you will notneed to run it again after you have installed it so, you do not need tosave it).5.) Next it will say “The publisher could not be verified. Are you sureyou want to run this software?” Left click the run button and thatwill start the install.6.) The installation will go through several screens and eventuallycome to this screen. This may actually take a while, so let it gountil it says InstallShield Wizard Complete.7.) Click “Ok” to reboot your computer after the installation is complete.8.) The installation will run for several minutes and will reboot yourcomputer when it has completed.2
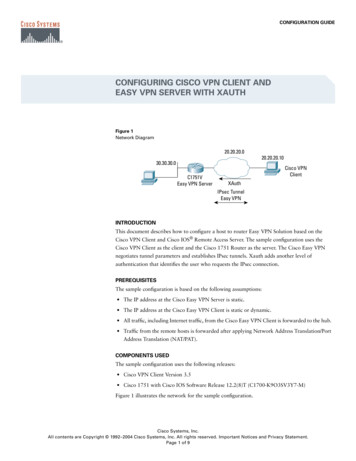
III. Run the VPN Client1.) Once the computer has rebooted left click the start button, then AllPrograms, and then the Cisco Systems VPN Client should be in thelist. Move the mouse over Cisco Systems VPN Client and anotherbox will appear. Left click on VPN Client. It will then look like this.2.) Left click the Connect button.3.) Once this box appears, enter in the username and password and thenleft click the ok button or press the enter key. If the username andpassword are not entered correctly the box will reappear with theusername already there. Re-enter the password correctly.4.) The screen stating “Unauthorized Use Strictly Prohibited” willno longer appear when using the most recent version of theCisco VPN client. Look for the secured padlock at the bottomright of the screen in the taskbar.5.) Once you have verified a secure VPN connection, select the Start menu,then All Programs, then Accessories, and then click Remote DesktopConnection. Login by typing friends\yourNetworkUsername and yournetwork password. If a login box pops up with your home computer’susername, click the option to user another account and type your Friendnetwork login information.Note: Typing friends\ needs to be put in front of the network usernamesince the connect to the network is being made from and off campuspersonal computer and the domain must be changed to FRIENDS inorder for the login to be successful.3
6.) Click Yes if this message pops up: The identity of the remotecomputer cannot be verified. Do you want to connect anyway?By clicking Yes, you will be connected to your work computer.7.) After disconnecting from your work computer, disconnect the VPNclient in the same way as previous versions of Windows. Right-click on thePadlock icon in the taskbar and, click Disconnect.V. Remote Connect to Your Work Computer1.) Left click the Start button, then All Programs, then Accessories, thenCommunications and then Remote Desktop Connection. This should bethe screen you are at now.2.) At this point you can enter in your computer name into the textbox and press Connect to work remotely, or you can go a couplesteps further to put a shortcut on your home desktop for future use.3.) To create a shortcut, left click the options button. Enter the computer name inthe first box. Then enter the username (leave the password blank so that it doesnot save it). Type Friends in the Domain box.4
4.) After this has been done left click the Save As button and save it to thedesktop. Type in the name of your computer for the name to save as instead ofdefault.rdp. This will give it a better description on the desktop.5.) Once this is done left click the Save button. Then you can connect using theConnect button in the lower left corner of the Remote Desktop Connection box.After left clicking Connect the screen will change and will look like the logon screen at work. From here on outyou are actually working on your computer at work. If something needs to be printed at home, click the printbutton and it will automatically print to the computer at your home.If there are any problems or questions,please call 316-295-5767 for assistance.5
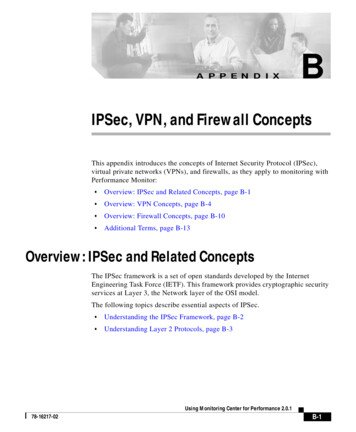
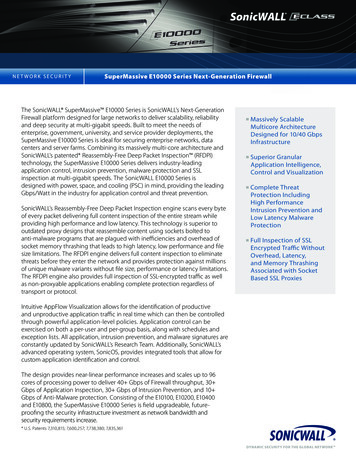
V. Remote Connect Options and TipsExperienceTabUnless you have a slow connection or have a need to have highgraphics, keep your experience tab on Modem (56 Kbps). This speedoffers very good performance for most networks. Use the faster speedsettings to enable richer graphical features, such as desktop wallpaperor menu sliding and fading. To select a combination of individualeffects, use the Custom setting.When using virtual private networking (VPN) over a high speedbroadband connection or over a wireless 802.11b connection like at yourlocal Starbucks, you can use all the features of remote desktop as if youwere sitting at your desk.Tune the features of Remote Desktop Connection to takeadvantage of limited bandwidth available1. Connect to the Internet and open the VPN connection to the office.2. On the Start menu, point to All Programs, point to Accessories, point toCommunications, and then clicked Remote Desktop Connection.3. ClickOptions.4. Fill in the information to connect to my remote computer, andbefore making the actual connection, click the Experience tab asshown.5. The connection speed list lets you choose the connection speed andautomatically selects the best options for the available bandwidth. Forthe slow connection, choose Modem (28.8 Kbps) to minimize theinformation being passed.6. To further optimize the connection, click the Local Resources tab andturn off the computer sound and connection to local devices such asprinters and disk drives. Although these are useful when you can afford thebandwidth, they slow the remote connection experience.6
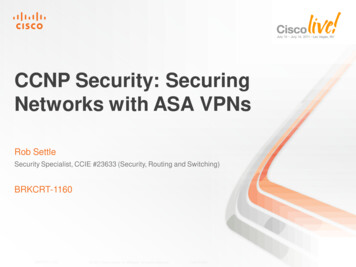
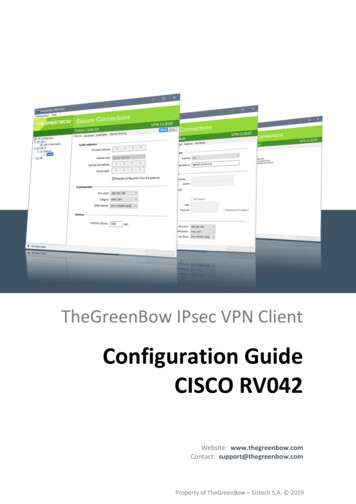
Remember the more options you are using the slower the Remote Desktop connection willrun.Leave the Display Tab at 256 ColorsSelecting 16-bit will significantly hamper the performance of the connection(even when using a broadband connection it is possible to saturate theconnection it by trying to raise these options too high).Un-checking the Display the connection bar when in full screen mode willpermanently hide the connection bar and you will not be able to minimize yourconnection.Instead of un-checking this option, use the Push Pin on the left side of yourconnection bar to only show when you go to the connection bar area with yourcursor.Enabling localresources1. On the Local Resourcestab.2. Choose options you would like to use.These are various resources that you can choose to make available to yourremote computer, or allow you to use resources on your home computer.The keyboard setting can be left as the default (in full screen mode only).Remote computer sound: allows sounds from your remotecomputer to be played through your home computer. Not suggested forslow connections such as 56K dialup.Local devices: allows you to use your hard drives, printer, or serialports (not frequently used) on the remote computer.Select the local devices (on your remote pc) you wish to be able to connectto. It is suggested that you select printers and hard drives to maximize theamount of data that can be manipulated without requiring everything becopied to your connecting PC. While the Remote Desktop can be minimizedyou will not be able to copy files between computers in that manner.Checking the Disk Drive and Printers option will allow these resources tobe mapped to your workstation during your session so that remote datamay be accessed during your session.Only Select Disk Drives you trust to prevent file corruption due to viruses.7
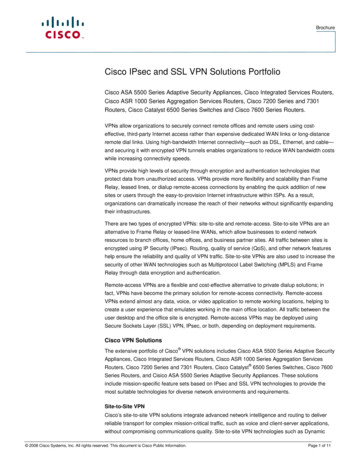
No need to adjust this setting.To save your connection settings to a file1. ClickOptions2. On the General tab click Save As.3. Enter a location (desktop) and file name and then click Save.Connections are saved as Remote Desktop file (.rdp) files. An .rdp filecontains all of the information for a remote connection, including theOptions settings that were configured when the file was saved. You cancustomize any number of .rdp files, including files for connecting to thesame computer with different settings. To edit an .rdp file and changethe connections settings it contains, right-click the file and then clickEdit.8
Remote Desktop Connection – Frequently Asked QuestionsQ. How do I turn on Remote Desktop?A. Right-click My Computer, click Properties, and then click the Remote tab. Turn on Remote Desktop by selectingthe check box Allow users to remotely connect to this computer.Q. Is Remote Desktop available on Windows XP Home Edition?A. No, however you can upgrade from Windows XP Home Edition to Windows XP Professional to get Remote Desktop.You can use Windows XP Home Edition as the client for accessing your Windows XP Professional computer runningRemote Desktop.Q. Where can I get the latest Remote Desktop Connection Client?A. The Remote Desktop Client software is available for 32-bit Windows platforms: Windows 95, Windows 98 and Windows98 Second Edition, Windows Me, and Windows 2000. There are several ways to get it: You can download it at /rdclientdl.mspx.Q. Does Remote Desktop work with Windows Firewall?A. If you're running Windows XP Service Pack 2 (SP2) and you enable Remote Desktop, Windows Firewall will beautomatically configured to allow Remote Desktop connections to your computer.Tip If you or someone else has configured Windows Firewall to allow no exceptions, Remote Desktop will not work. Toallow exceptions in Windows Firewall, in the control panel open the Security Center, click Windows Firewall and clear thecheck box next to Don't allow exceptions.If you're using the Internet Connection Firewall on Windows XP SP 1 or earlier, in the Network Connections window,right-click the connection through which you will use Remote Desktop, and then click Properties. Click the Advanced tab,and then select the checkbox for Protect my computer and network by limiting or preventing access to this computerfrom the Internet. Click the Settings button. In the Services list, select the checkbox for Remote Desktop.Q. Is Remote Assistance the same thing as Remote Desktop?A. No, it isn't. Remote Assistance uses Remote Desktop technology to allow an expert to provide assistance to a noviceuser on a computer running Windows XP.Q. The local computer screen locks when a user is connected remotely. How can I get more than one connection to acomputer running Windows XP Professional?A. If you want to have more than one person simultaneously use a computer running Windows XP Professional, you couldtry Remote Assistance for collaboration and support scenarios. Windows 2000 Server with Terminal Services allowsmultiple users, as will Windows Server 2003.Q. Do I need a terminal server license server for Remote Desktop?A. No, a terminal server license server is not required for Remote Desktop. Remote Desktop is designed for a single user,local or remote.Q. What protocol does Remote Desktop in Windows XP support?A. Remote Desktop in Windows XP Professional uses Remote Desktop Protocol (RDP) 5.1. Some of the new featuresadded to RDP 5.1 are support for 24-bit color, audio redirection, smart card redirection, COM port redirection, localnetwork printer redirection and disk drive redirection. Additionally, RDP 5.1 has better compression, improvedperformance, and virtual channel compression.Q. Is the Remote Desktop Connection client compatible with Windows 2000 Terminal Services and Windows NT 4.0Terminal Server Edition?A. Yes, the Remote Desktop Connection client supports Remote Desktop Protocol 5.1. The client is backwards compatiblewith Windows 2000 and Windows NT 4.0 Terminal Server Edition. When using the client against older servers, you willget the features of the older protocol.Q. Why don't MIDI files play over Remote Desktop?A. This is a known issue. MIDI files are not currently supported over Remote Desktop.9
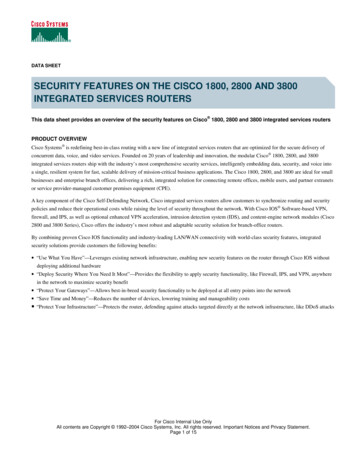
VI. Windows 7 VPN Login InstructionsWe are going to assume that you have already created a valid, stableconnection to the remote network via VPN or other secure connection. Theproblem to be solved is completing the remote desktop connection. We arealso assuming the remote Windows XP PC is configured to accept a remotedesktop connection as shown in the Remote tab under System Properties.Remote tab (System Properties)After establishing your VPN connection you should start the Vista RemoteDesktop Connection application. For some reason, the shortcut in Vista isburied deep in the menus.Start Remote Desktop ConnectionThe Vista version of the remote connection software is very similarto the application found in Windows XP. The key to getting theconnection to work is you need to type in the full name of theremote PC. It should look something like this:yourworkstationname.domain.serverUnlike Windows XP, the Vista remote connection software will askfor credentials when you click the connect button, which bringsyou to the dialog shown.Enter your credentialsAfter clicking OK, you will reach the warning screen which canbe quite intimidating for users the first time they see it. Vista isinforming you that some of its security features will be lostbecause we are attempting to remote connect to a Windows XPmachine. There is nothing you can really do about this exceptsay Yes, I want to connect anyway.Yes, I want to connect anywayFrom here you should be looking at the familiar desktop of your remote PC.10
remote computer, or allow you to use resources on your home computer. The keyboard setting can be left as the default (in full screen mode only). Remote computer sound: allows sounds from your remote computer to be played through your home compute