Transcription
2018Amazon AppStream 2.0: ESRI ArcGIS Pro DeploymentGuideBuild an Amazon AppStream 2.0 environment to stream ESRI ArcGIS Pro toyour usersSeptember 2018https://aws.amazon.com/appstream2/1
WelcomeThis guide describes how to deploy and stream ESRI ArcGIS Pro desktop applicationfor your company (in this example, DemoCo) by using Amazon AppStream 2.0, a fullymanaged, secure application streaming service that runs in the AWS Cloud.What you’ll accomplish: Provision an Amazon virtual private cloud (Amazon VPC) to provide an isolatedvirtual network infrastructure within the AWS Cloud. Your AppStream 2.0resources will use this environment. Use the AWS Management Console to perform the basic administrative tasksrequired to build an AppStream 2.0 environment. Specifically, you’ll:1. Install and configure ArcGIS Pro for streaming using an image builder.2. Provision a fleet of instances to stream your applications. The fleet will usethe Graphics Design instance type and adhere to scaling policies to matchthe number of users that you want to be able to stream concurrently.3. Provision a stack to create a web portal from which users can stream yourapplications.4. Configure persistent storage that users can access across applicationstreaming sessions.5. Create a user pool to manage users who access your streamingapplications.What you need before starting: An AWS account: You need an AWS account to use AppStream 2.0 and otherAWS services. For information about how to sign up for and activate an AWSaccount, see Appendix A. A current email address: During the user configuration process for yourAppStream 2.0 environment, AWS sends you two emails. You must use theseemails to complete the process.2
Skill level: You do not need prior experience with AWS to complete theseexercises. A basic understanding of desktop computing is helpful but notrequired. An active ArcGIS Pro license. ArcGIS Pro is available as GIS ProfessionalUser Type, as part of ArcGIS Desktop, or you can sign up for the ArcGIS Protrial. An active ArcGIS Online license. This license is required for the ArcGIS Proproducts that you want to import into AppStream 2.0. ArcGIS Pro includes anentitlement for ArcGIS Online. ArcGIS Pro System Requirements: The hardware and software requirementsneeded for smoothly running ArcGIS Pro is available on ESRI website. Werecommend using the following instance types for deploying ArcGIS Pro.ArcGIS 2D Workloads – stream.compute.large, stream.memory.large.Compute and Memory optimized instances are perfectly suited for ArcGISworkloads that does not require a GPU. To learn more about the numberof vCPU cores, RAM memory specifications of these instance families,see Amazon AppStream 2.0 pricing.ArcGIS 3D Workloads (Normal) – stream.graphics-design.xlarge.Graphics Design instances are ideal for delivering applications such asAdobe Premiere Pro, Autodesk Revit, ESRI ArcGIS Pro and Siemens NXthat rely on hardware acceleration of DirectX, OpenGL, or OpenCL.Powered by AMD FirePro S7150x2 Server GPUs and equipped with AMDMultiuser GPU technology, instances start from 2 vCPU, 7.5 GiB systemmemory, and 1 GiB graphics memory, to 16 vCPUs, 61 GiB systemmemory, and 8 GiB graphics memory. To learn more about the GraphicsDesign instances, refer Amazon AppStream 2.0 pricing.ArcGIS 3D Workloads (High res) – stream.graphics-design.2xlarge orstream.graphics-pro.4xlarge. The Graphics Pro instance family offersthree different instance types to support the most demanding graphicsapplications. Powered by NVIDIA Tesla M60 GPUs with 2048 parallelprocessing cores, there are three Graphics Pro instances types starting3
from 16 vCPUs, 122 GiB system memory, and 8 GiB graphics memory, to64 vCPUs, 488 GiB system memory, and 32 GiB graphics memory. Theseinstance types are ideal for graphic workloads that need a massiveamount of parallel processing power for 3D rendering, visualization, andvideo encoding, including applications such as Petrel from SchlumbergerSoftware, Landmark's DecisionSpace, or MotionDSP's Ikena. To learnmore about Graphics Pro instances, refer Amazon AppStream 2.0 pricing. End user client recommendations: To use ArcGIS Pro delivered throughAppStream, your user would need a modern HTML browser such as GoogleChrome, Mozilla Firefox, Microsoft Edge or Internet Explorer 11 . Your localcomputer should support a minimum display resolution of 1024x768. End user network recommendations: AppStream 2.0 uses an adaptivestreaming protocol (NICE DCV) to deliver an interactive streaming session tousers. The protocol encodes pixels on a remote host, securely transmits themover the network, and renders them on a client device. It also accepts userkeyboard and mouse input, enables file transfer between client and remote host,and provides clipboard support to provide an interactive experience for a userwhen using streamed applications. While the streaming protocol adapts tochanges on the screen and only transmits pixels when required, it will use theavailable bandwidth on the network. Also, since the streaming session isinteractive, and the application on the remote host needs to respond to userinputs on a client device, the round-trip latency will influence the responsivenessthat a user will experience.The amount of bandwidth used when transmitting pixels is proportional to thechanges on the screen and the resolution of the display monitor(s) used by theclient device. The changes on the screen and the resolution are determined bythe type of application (3D versus business application) and usage pattern(switching between windows and menus quickly). A 3D application may require ahigh-resolution monitor and trigger large changes to the screen when a user isinteracting with complex hi-fidelity models. To transmit these changes on thescreen quickly and provide a responsive experience to the user, the protocol willuse a large amount of bandwidth momentarily. On the other hand, a business4
application may only involve text input. While changes to text on screen can betransmitted with very small amount of bandwidth, switching quickly betweenwindows or menus within even a text-based application will result in largechanges to the screen and hence drive momentary increases in bandwidth used.The round-trip network latency influences the responsiveness that a userperceives when entering input and viewing changes on the screen. While otherfactors such as quality of network, client device performance, and remote hostinstance selection can also influence the responsiveness, latency should beconsidered as one of the primary factors. In general, lower latency connectionswill deliver more responsive and performant streaming experience. Below are therecommendations for sample ArcGIS use-cases.Use caseArcGIS Pro (2D)Recommendedbandwidth availableper userRecommendedmaximum roundtriplatency1-2 mbps 150 ms5-6 mbps 100 ms10-12 mbps 50 msArcGIS Pro (3D) –Streaming with lowfidelity datasets or mapswith 2K monitorsArcGIS Pro (3D –Streaming high fidelitydatasets or maps with4K monitors5
ContentsWelcome . 2Step 1. Sign in to the AWS Management Console and select an AWS Region . 7Step 2: Create network resources . 8Step 3: Create an AppStream 2.0 image builder . 10Deploy an image builder instance to install applications . 10Step 4: Connect to the image builder and install applications . 13Connect to the image builder instance . 13Install and configure ArcGIS Pro application . 14Step 5: Use Image Assistant to create an AppStream 2.0 image . 15Create your AppStream 2.0 application catalog . 15Disable Internet Explorer Enhanced Security Configuration . 17Test your applications by using a local user account . 18Optimize the launch performance of your applications . 19Configure the image . 19Finish creating the image. 20Step 6: Provision a fleet . 21Provide fleet details . 21Choose an image. 22Configure the fleet . 22Configure the network. 23Step 7: Create an AppStream 2.0 stack and a streaming URL . 25Provide stack details and associate the stack with a fleet . 25Enable persistent storage for the stack . 26Step 8: Manage user access with an AppStream 2.0 user pool. 26Create a user . 27Assign a stack to the user . 28Step 9: Test the end user authentication and application streaming experience . 29Step 10: Advanced Topics for ArcGIS Deployment . 30Step 11: Take the next step with AppStream 2.0 . 31Appendix A: Create and activate an AWS account . 34Create your AWS account . 34Add a payment method . 356
Verify your phone number . 35Choose an AWS Support plan . 35Watch for three AWS account confirmation emails . 36Appendix B. Manually create and configure network resources . 36AppStream VPC requirements . 37Allocate an Elastic IP address . 38Create a VPC by using the VPC Wizard . 38Add a second private subnet . 40Modify the subnet route tables . 41Appendix C. Clean up your AppStream 2.0 resources . 44Stop and delete your image builder . 44Revoke stack permissions for users in the user pool . 44Disassociate your fleets from your stack and delete your stack . 44Stop and delete your fleet . 44Appendix D. Additional resources . 46Step 1. Sign in to the AWS Management Console andselect an AWS RegionIf you do not have an AWS account, you must first complete the steps in Appendix A.1. Sign in to the AppStream 2.0 console athttp://console.aws.amazon.com/appstream2.2. Type your email address or your AWS account ID, and choose Next.3. Type your AWS account password, and choose Sign In.4. In the menu in the upper right corner of the console, select the AWS Region foryour environment. AWS currently hosts services in 18 different geographical areas.7
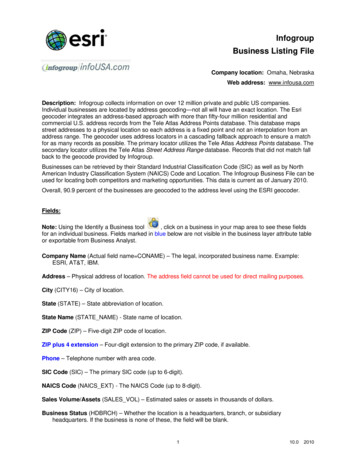
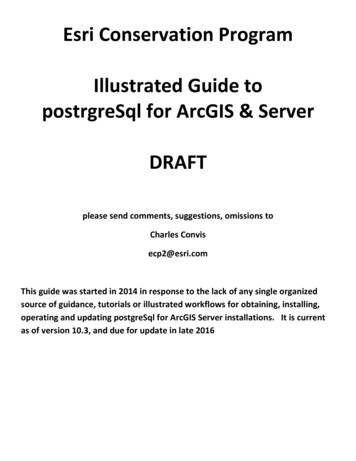
5. Select one of the following seven Regions in which AppStream 2.0 is available:Choose the AWS region that is closest to your end users who will be streamingArcGIS Pro for best performance and user experience.Figure 1: Available AWS Regions for AppStream 2.0.Step 2: Create network resourcesIn this section, you will create an Amazon virtual private cloud (VPC) and other networkresources required for your AppStream 2.0 environment. The following steps use atemplate in AWS CloudFormation to automatically create and configure the necessarynetwork resources. To manually create and configure network resources, seeAppendix B.1. Make sure that you are signed in to the AWS Management Console.2. In the following list of regional choices, open the link associated with the AWSRegion in which you want to build your AppStream 2.0 environment. US East (N. Virginia) US West (Oregon) EU (Frankfurt) EU (Ireland)8
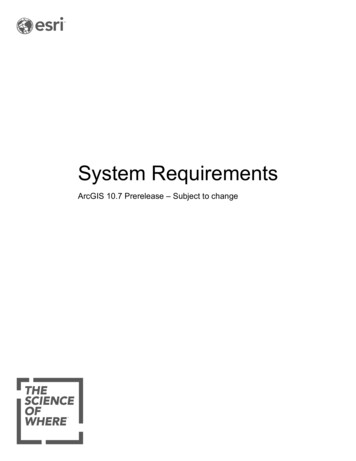
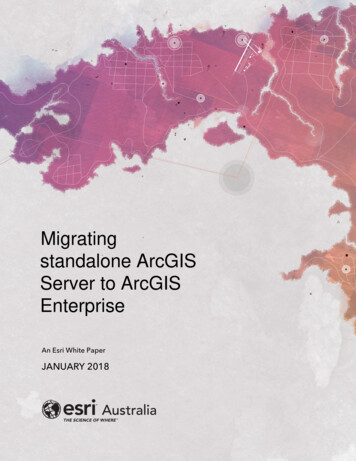
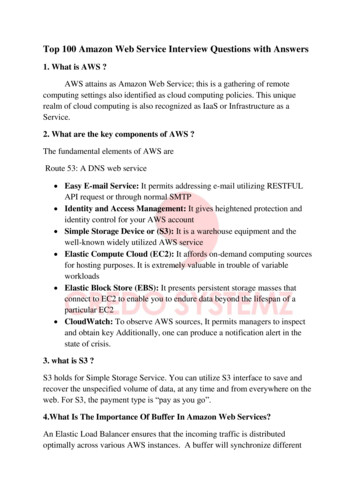
Asia Pacific (Singapore) Asia Pacific (Sydney) Asia Pacific (Tokyo)The AWS CloudFormation console displays the URL of a template that is used tocreate your network resources and the name of the resulting AWS CloudFormationstack.3. In the bottom right corner of the window, choose Create. AWS CloudFormationstarts creating the resources and displays a status message to indicate progress.Figure 2: Using a template in AWS CloudFormation to create network resources.4. When the creation process completes, usually within five minutes, the AWSCloudFormation console displays the status CREATE COMPLETE.5. Navigate to the Amazon VPC console at https://console.aws.amazon.com/vpc/.6. In the navigation pane, under Virtual Private Cloud, choose Your VPCs. In thelist of VPCs, you should see the following VPC that was automatically created:Figure 3: VPC created by AWS CloudFormation.9
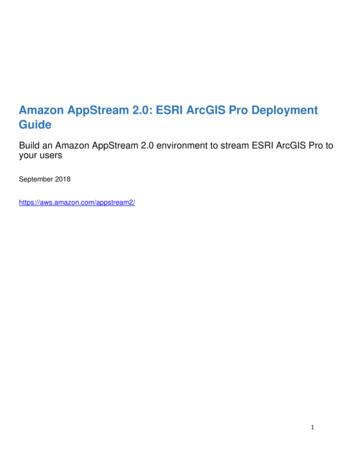
Note: The VPC ID value will differ for your VPC.7. In the navigation pane, under Virtual Private Cloud, choose Subnets. In the list ofsubnets, you should see the following subnets that were automatically created:Figure 4: Subnets created by AWS CloudFormation.Note: The Subnet ID and VPC values will differ for your subnets.8. You have now successfully created your network resources by using AWSCloudFormation. You can proceed to Step 3.Step 3: Create an AppStream 2.0 image builderAppStream 2.0 uses EC2 instances to stream applications. You launch instances, calledimage builders, from base images that AppStream 2.0 provides. To create your owncustom image, you connect to an image builder instance, install and configure yourapplications for streaming, and then create your image by creating a snapshot of theimage builder instance.To install and configure applications to stream to your users, you must create an imagebuilder instance as described in the following procedure.Deploy an image builder instance to install applications1. Open the AppStream 2.0 console at https://console.aws.amazon.com/appstream2.2. If you have not previously configured any AppStream 2.0 settings, the followingpage appears:10
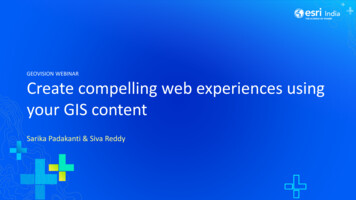
Figure 5: The AppStream 2.0 first experience page.Note: If the AppStream 2.0 navigation page appears instead, skip to step 5.3. Choose Get started.4. In the lower right corner of the page, choose Skip (this guide walks you through adifferent process for getting started with AppStream 2.0).Figure 6: AppStream 2.0 getting started options.5. In the navigation pane, choose Images, Image Builder, Launch Image Builder.6. In the Step 1: Choose Image window, in the list of images, select the imagebuilder with the name Graphics-Design-Image-Builder-mm-dd-yyyy, where mmddyyyy represents the most recent date. Base images include the latest updates to11
Microsoft Windows and the AppStream 2.0 agent software. You use this baseimage to create a custom image that includes your own applications.7. At the bottom of the page, choose Next.8. In Step 2: Configure Image Builder, the following image builder configurationoptions are displayed:9. Type the following information and then choose Review.Configure image builder fields10. Choose Review, and confirm the details for the image builder. To change theconfiguration for any section, choose Edit and make your changes.12
11. After you finish reviewing the configuration details, choose Launch. If an errormessage notifies you that you don’t have sufficient limits to create the imagebuilder, submit a limit increase request through the AWS Support Center. For moreinformation, see AWS Service Limits.12. The image builder creation process takes about 15 minutes to complete. Duringthis process, the status of the image builder displays as Pending while AppStream2.0 provisions the necessary resources.13. Click the Refresh icon periodically to update the image builder status. After thestatus changes to Running, the image builder is ready to use and you can create acustom image.Note: Charges accrue for an image builder instance while it is running, even if nouser is actively connected. You can stop or delete the image builder at any time.No user fees are incurred when users connect to an image builder. For moreinformation, see AppStream 2.0 Pricing.Step 4: Connect to the image builder and install applicationsNow that you have provisioned an image builder, you can use it to install and configureth
This guide describes how to deploy and stream ESRI ArcGIS Pro desktop application for your company (in this example, DemoCo) by using Amazon AppStream 2.0, a fully managed, secure application streaming service that runs in the AWS Cloud. What you’ll accomplish: Provision an Amazon virtual private