Transcription
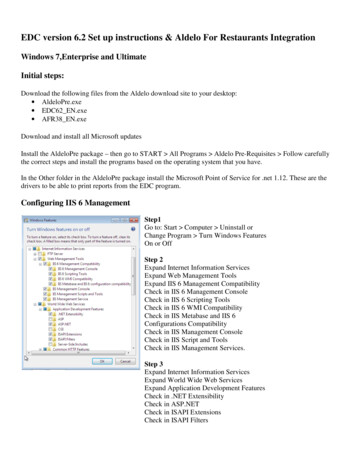
EDC version 6.2 Set up instructions & Aldelo For Restaurants IntegrationWindows 7,Enterprise and UltimateInitial steps:Download the following files from the Aldelo download site to your desktop: AldeloPre.exe EDC62 EN.exe AFR38 EN.exeDownload and install all Microsoft updatesInstall the AldeloPre package – then go to START All Programs Aldelo Pre-Requisites Follow carefullythe correct steps and install the programs based on the operating system that you have.In the Other folder in the AldeloPre package install the Microsoft Point of Service for .net 1.12. These are thedrivers to be able to print reports from the EDC program.Configuring IIS 6 ManagementStep1Go to: Start Computer Uninstall orChange Program Turn Windows FeaturesOn or OffStep 2Expand Internet Information ServicesExpand Web Management ToolsExpand IIS 6 Management CompatibilityCheck in IIS 6 Management ConsoleCheck in IIS 6 Scripting ToolsCheck in IIS 6 WMI CompatibilityCheck in IIS Metabase and IIS 6Configurations CompatibilityCheck in IIS Management ConsoleCheck in IIS Script and ToolsCheck in IIS Management Services.Step 3Expand Internet Information ServicesExpand World Wide Web ServicesExpand Application Development FeaturesCheck in .NET ExtensibilityCheck in ASP.NETCheck in ISAPI ExtensionsCheck in ISAPI Filters
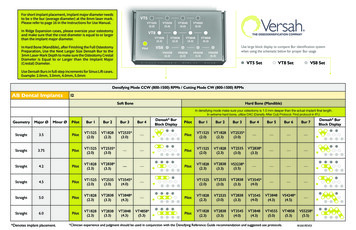
This will take several minutes to installonce you click ok. Once this is done youneed to reboot the computer.1. Launch EDC and select yourcorrect processor. At this point youneed to call Aldelo Tech support on209-338-5481 and activate thesoftware.2. When the EDC is successfullyactivated the new data base needsto be created. The name of yourlocal computer will be populatedautomatically, to say:YOURCOMPUTERNAME\ALDELO3. Press the User Accounts andPasswords tab, and create apassword with at least 7characters and at least one letter,number and a special character.You can use the same for all threeaccounts for the default accountsAdministrator, Batch User andPOS User. Leave the dots in thefield for the Encryption password.4. Press the Finish tab and you willbe taken to the screen to finallycreate the data base. Click theCreate Database button5. You can set up Emails Notificationslater, as you will require moreinformation to do this. Say No to thisoption:
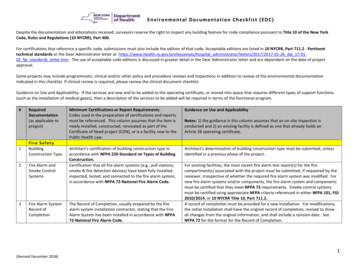
6.When the database iscreated, log into EDC withthe user nameAdministrator and thepassword that you justcreated.7. When you log in – you will beasked to create 3 security questions:8. Once you have created the answersto these 3 challenge questions youwill get the warning:
With these 3 questions you will be able to RESET YOUR OWN PASSWORD for the first time in EDC.Aldelo Tech Support will not reset the passwords anymore in the EDC version 6.2. The Administratorwill be the one responsible to reset the passwords if you are locked out or if they expire.If the Administrator forgets the 3 challenge questions you will end up having to create a new database.9. Next step is to set up yourMerchant account with yourprocessor. Click thecomputer icon in the top leftcorner and then MerchantAccounts.
Click the Merchant Account Editor tab and you will get a warning message:You have to agree to the following:The merchant account settings must be entered accurately in order for transaction authorization, settlement, and funds depositto succeed against the live payment processor.Please ensure that your payment processor (Bank, ISO, or Merchant Service Provider) has provided all information requiredto setup this merchant account properly.Improper setup of merchant account settings may cause transaction authorization, settlement, and/or funds deposit to fail.If the merchant account settings provides any additional extended settings, such settings must be filled in its entirety.Additionally, improper or incomplete setup of merchant account settings may still result in successful transactionauthorization and settlement, but may fail on funds deposit.For example, in First Data South, the Qual Code and extended settings are required in order for non bank card funds depositto occur but does not affect authorization nor settlement. Therefore, if such information is not setup, merchant willexperience funds deposit issues.Whenever a merchant encounters funds deposit issues (not being paid by the processor), the issue is almost always related toimproper merchant account setup if such account was properly provisioned on the processor's platform.When such funds deposit issue occurs, you MUST CONTACT your payment processor (Bank, ISO, or Merchant ServiceProvider) directly to retrieve any unpaid funds. Such funds deposit issues IS NOT a software issue and only the processorhas the ability to retrieve the unpaid funds.“I, the merchant or merchant's authorized agent, do hereby acknowledge the above warning statements and understandsthat I am completely responsible in setting up the merchant account settings properly and that I will work with mypayment processor in order to enter the correct settings.I understand that if funds deposit issues do occur, I will need to contact my payment processor directly in order to retrievethe unpaid funds.I understand that Aldelo Systems does not have any ability to assist in the discovery of any unpaid funds, and I also agreethat I am responsible to work with my processor in order to verify if my merchant account is properly provisioned on theprocessor platform and the merchant account settings in this software is also properly configured.I hereby indemnify Aldelo Systems Inc., its employees, directors and shareholders of any liability as a result ofmisconfigured merchant account settings in this software, that results in operational or funds deposit failures or loss ofsuch funds.”
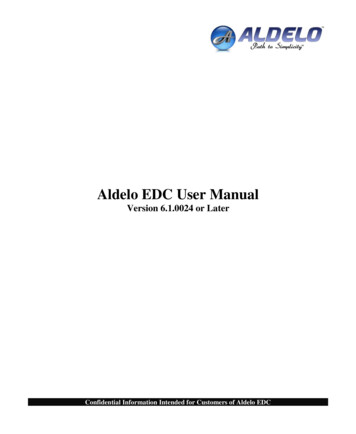
10. Enter the Merchant account information provided by your processor. In the example below the processoris Mercury Payment systems11. The next step is to integrate the EDC program with your Aldelo For Restaurants. Go to the Backoffice Store Settings Revenue tabNOTE: You must have Aldelo For Restaurants version 3.8.B19 installed and activated or the integrationwill not work with the EDC version 6.2Click Configure EDC Integration Settings
To set up the Aldelo EDC integration to Aldelo ForRestaurants you will need the followinginformation.EDC Administrator User Name and PasswordEDC POS User Name and TokenEDC Batch User Name and TokenThe IP or computer Name of the EDC Web Servicehost computerFrom the Back Office of the EDC Software Go to Store Settings RevenueIn the Revenue Tab Click Configure EDCIntegration Settings. This may take a momentto bring up the integration screens.You will need to input the EDC Server Host Nameor TCP/IP Address. The EDC Server ApplicationName will be AldeloEDC Unless otherwiseconfigured. Then Click Update.
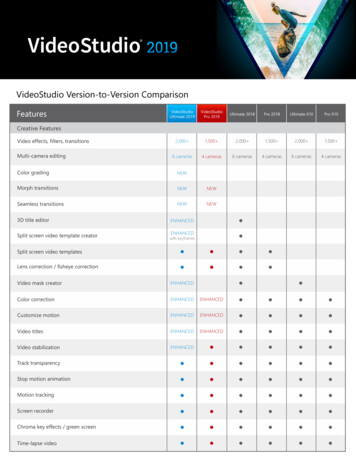
You will then need to put in the EDCAdministrators User name and password and ClickLoginYou will need to fill in the EDC POS User Name andToken as well as the EDC Batch User Name andToken. Then Click Verify Users. This will check tomake sure the users are Match what is in the EDCSoftware.
Depending on the accounts you have set up in EDC you will have once of the following screens in the USIf you are Processing Credit cards only (Screen on the left) You will only need to set up the Port number for the Aldelofor Restaurants to communicated to the local Service on. Then Click Update. Then Install AFR Service.If you have set up accounts for US Debit, You will need to also set the com port the pin pad is connected and select thedevice type. Once this is done you can select Update. Then Install AFR Service.Next step is to integrate any additional client stations that are used to take credit cards on:Client stations will be required to have Windows XP PRO SP3, Vista Business SP1 or Windows 7 Ultimate with DotNet 3.5installed. The will need to be part of the same workgroup or domain and the Aldelo for Restaurants will need to be setup with Simple File Sharing as stated in the Aldelo For Restaurants Manual.You will then install the Aldelo For Restaurants 3.8.BXX and Begin at Step 11
need to call Aldelo Tech support on 209-338-5481 and activate the software. 2. When the EDC is successfully activated the new data base needs to be created. The name of your local computer will be populated automatically, to say: YOURCOMPUTERNAME\ALDELO 3. Press the User Accounts