Transcription
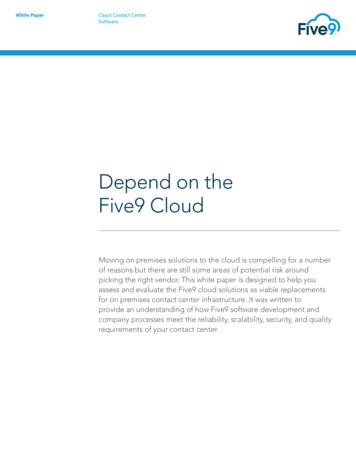
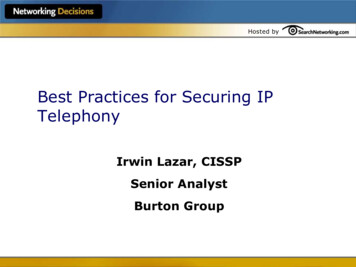
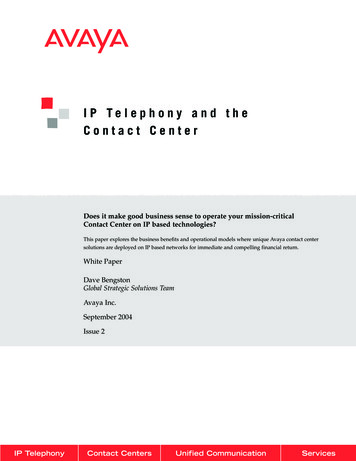
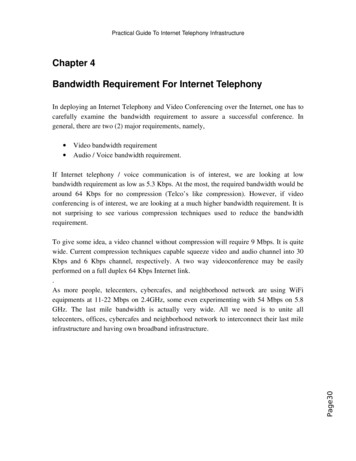
Logging into Five9 TelephonyVOICE AUTHENTICATE BEFORE ATTEMPTING TO LOG INGo to the Citrix Home Page at /Home.aspxSelect the Citrix Login link next to your projectLog in using your Wins# as your User Name and your Citrix password, click Log On.The first time you log in on your PC, you will should be automatically prompted to download thenew Citrix Receiver Client software. Refer to the Installation Guide for more details.If you have problems loading the receiver, reference the Troubleshooting Guide.1 Page
Click on the TRC Desktop IconThe Citrix Receiver should load, you might need to click on theicon in your tray.You will receive our Warning page. Click OK2 Page
Once on the TRC Desktop, Wait for the Data Collection Website to load.Once the site loads, scroll down to view the list of Project Pages. Click on your project.3 Page
Click on the Telephony Login Link for your project. For this example, we will be logging in toFive9. (Other projects may log in to the Five9 MTM or Voxco telephony system).Take note of the Telephony Username you will use to login to your project’s telephony system.4 Page
FOR RP TRAINING ONLY – log in using the trainee username andpassword from your role play email.PLEASE BE PATIENT WHILE THE TELEPHONY SYSTEM LOADS!You will only see the applications that you are assigned to. On the Five9 Applications screen, clickon the AGENT application. Again, BE PATIENT WHILE THE SYSTEM LOADS.5 Page
If you receive this Java message, click “Later.”Java will load the agent applicationThe Five9 Agent Application will start.6 Page
Select RunYou will be prompted to log in. FOR RP TRAINING ONLY – log in using thetrainee username and password from your role play email. Station – Enter your phone numberMake sure that Station Type is PSTN7 Page
You will receive this Alert telling you that it is starting your application.Click Yes to Would you like to connect your station?Your telephone will ring, pick up the receiver and keep it off the hook while working. You will nothang up the phone unless you are going on a break, or logging out for your shift.When you pick up your telephone, you will hear 3 beeps. This tells you that you are logged intothe telephony system.If you did not hear the connection tones, you can retry on this screen. If you heard them, clickOK.8 Page
You will now need to select the Skill you will be working on. On this list are all of the projectsthat you are assigned to.By default, all of the projects you are assigned to will be checked. Make sure that only theproject you are working at the time of your scheduled shift is checked.THE FOLLOWING SCREEN IS AN EXAMPLE ONLY. YOUR WILL NEED TO SELECTYOUR PROJECT SPECIFIC TRAINING FROM THIS MENU.Click OK(This screenshot is an example only. You should select your specific project.)If you are having trouble seeing the entire project’s name, you can expand the box by hoveringnear an edge until you see the arrow, then click and drag the box to open it more.9 Page
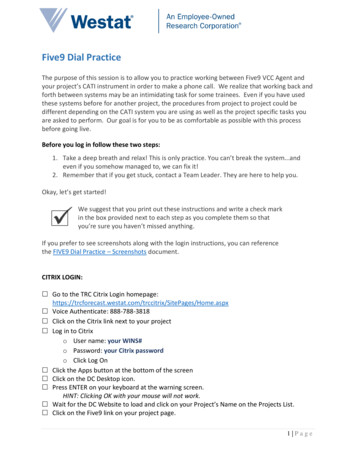
The Five9 VCC AGENTTHE FOLLOWING SCREENS ARE EXAMPLES ONLY. BE SURE THAT YOU SEE ANDSELECT OPTIONS SPECIFIC TO YOUR PROJECT.This is your telephony application Summary Screen. Most areas of this screen will not be used.Notice that there is an area labeled SKILL GROUP MESSAGES. Before you can log into your project,you must follow the instructions here. Make sure you follow these steps before launching yourproject instrument:1. Press Ctrl M2. On the manual dial screen, select speed dial 001 Manual Dial Connection Test3. Select your project from the Campaign dropdown menu (if you do not see a dropdown menu,click the “ Details” button)10 P a g e
4. Click “Make Call.” Your project's script will load. Continue following these steps on yourproject script.(Screenshots of these steps on the next page.)After you CTL/M, you receive the manual dial box. Make sure that Speed Dial number 001(Manual Dial Connect Test) is selected. It should be the first option on your list.Next, click the drop down arrow under the “Campaign” field and select your project.(This screenshot is an example only. You should select your specific project.)Then click Make Call.11 P a g e
If for any reason Ctrl/M does not bring up your dialer. Go to Actions on the menu at the top ofthe screen, and select Make Call12 P a g e
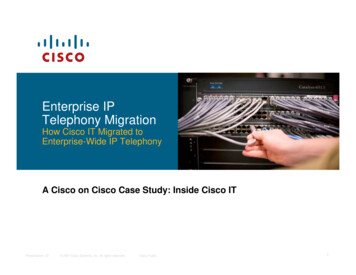
**You will need to follow these directions every time to log in to theVCC Agent. Following these steps ensures that you are logged in to thecorrect project (to receive inbound calls if you are a blended agent) andthat your outbound calls are charged to the correct project.**Every time a call is attempting to connect to your station, you will receive an “Incoming Call” popup notification box on your screen. You will see this box for both inbound and outbound calls.(Note that the title of the pop-up is Incoming Call for both types of calls because the call isincoming to your station. It is not describing the type of call eg: Inbound vs Outbound).Outbound Call “Incoming Call” pop-up – Notice that you will see the Call Type is listed as Agentmeaning that you initiated the call and the system is connecting the call to your station.Click ‘Close.’13 P a g e
After you have connected, make sure you are in the correct project. The “Script” tab should bedisplayed with your project’s name at the top.(This screenshot is an example only. You should see the script for your specific project.)14 P a g e
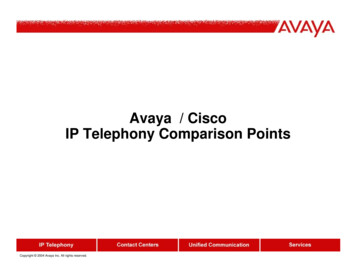
Once you are sure you are connected to your project page, click WrapUp Call. Wrap updisconnects the call, but does not close out the case. This allows you to complete any stepsneeded before making or accepting another call.You will not be able to make another call until you set a Voice Disposition. Click on the dropdown arrow on the Set Voice Disposition field and set the disposition to ALL DISPOSITIONS. Everycall will have this disposition regardless of the outcome of your call.15 P a g e
If you did not select your project from the Campaign menu before making the calland left the default Manual Dial Check, you will see the following error:Repeat the steps on the screen making sure that your Project’s script loads.16 P a g e
To Log into your CATI Project’s Instrument:THE NEXT SCREENS ARE EXAMPLES ONLY. DURING TRAINING AND PRODUCTION YOU WILL LOG IN TOYOUR PROJECT.Once you have made your initial call and are on your correct project script page, you will scrolldown through the script to the link for launching your project.The script may also contain other important links, such as your M3 system and your project’sFAQs.Click on the LAUNCH PROJECT LINK.17 P a g e
Log into your project as you normally do.At this point, you may want to move your windows around so that you can see both theInstrument screens and the VCC Agent window as you will be using both while working.18 P a g e
ROLE PLAYSRESPONDENT ROLE - You will set your status as “Ready Call&VM” in order to receive a callfrom a trainee acting as the Data Collector.You will wait on your script screen until an inbound call comes in. When you get a call, you willsee the Incoming Call pop-up screen and you will hear a voice prompt on your phone line thatsays ‘Your call is connected.’Be prepared to start talking immediately after hearing the prompt.DATA COLLECTOR ROLE - You will set your status as “outbound calling” in order to dial yourRole Play partner. Go to your project instrument and access a case.Click “Get Phone Number” when prompted.Press Ctrl/M to open the manual dial box.Click in the phone field and press Ctrl/V on your keyboard to paste in the number.Click ‘Make Call.’You will hear hold music with a hold prompt until another trainee is available to take your call.19 P a g e
Wrapping Up a CaseAfter the case is complete, you will need to wrap up the call. This will disconnect your partnerand you can proceed to code the screens in your project instrument without interruption untilyou are ready.(Note: If the caller hangs up before you WrapUp the call, you will not need to press this button.You will see a ‘Caller Disconnected’ prompt and you will automatically be in WrapUp mode.When you are completely done with the case, you need to set the Voice Disposition. You will notbe able to make a call or receive another inbound call until this done. Once you set thedisposition, your status will automatically be set to ‘Ready.’BOTH TRAINEES WILL NEED TO COMPLETE THIS STEP!20 P a g e
TAKING A BREAK - If you need to take a break you should click on the drop down arrow next toyour status indicator on the top left of the screen in the VCC Agent, and click the reason. Thebullet next to the reason should be RED. YOU SHOULD HANG UP YOUR PHONE DURING A BREAKbut do not log out of the VCC Agent.RECONNECTING PHONE - If you hang up your phone for a break or your phone line getsdisconnected from the VCC Agent for any reason, you can reconnect by going to Actions on themenu and selecting ‘Restart Station.’21 P a g e
Logging out of Five9 VCC AgentIn the VCC, go to Actions, Logout & ExitClick YES.When you get back to the Five9 login screen, click on Log Out. Then close all windows and log outof Citrix.22 P a g e
The first time you log in on your PC, you will should be automatically prompted to download the new Citrix Receiver Client software. Refer to the Installation Guide for more details. If you have problems loading the receiver, reference the Troubleshooting Guide. . The F