Transcription
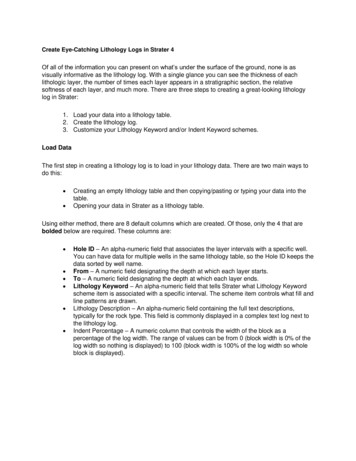
instructablesHow to Make a Table Saw Fence for Homemade Table Sawby Well Done TipsThis time I'll make a table saw fence for myhomemade table saw.2x7cm wood board for fence some plywoodCarriage boltsHow I did it - you can check by looking DIY video oryou can follow up instructions bellow.T nutsFor this project you will need:Tools:Materials:Table saw or hand sawAluminum rectangular profileDrill and bitsWood screws (50mm)HammerSquare 2.5x2.5cm wood piecesClampshttps://youtu.be/2bpfvXTmXKAHow to Make a Table Saw Fence for Homemade Table Saw: Page 1
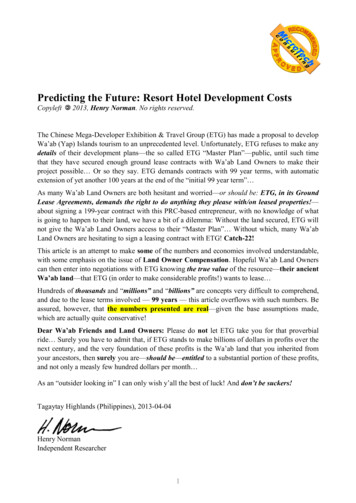
Step 1: Aluminum Rail FabricationI took this rectangular aluminum profile and made two passes with my home made table saw to get 9 mm groovein the middle. This will be a slot for sliding bolts. Drilled and counter sinked 5 holes for screws.Step 2: Installing RailEyeballed proper rail place at table top edge and used wood board to ensure, that rail will be flush with table top.Marked holes and later on predrilled to full depth. Used 50 mm wood screws to secure it in place.How to Make a Table Saw Fence for Homemade Table Saw: Page 2
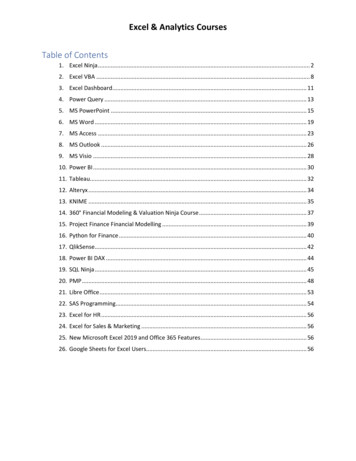
Step 3: Sliding MechanismeAdded square wood piece, eyeballed and marked a groove center.Drilled three holes all the way through. Align up second square wood piece and with drill bit marked hole places.This time only middle hole, was drilled all the way through, meanwhile side holes was drilled only half way.How to Make a Table Saw Fence for Homemade Table Saw: Page 3
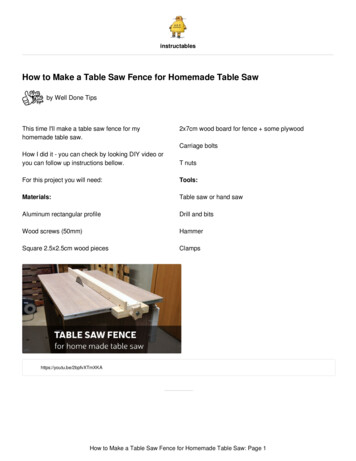
Step 4: AssemblingHammered two T nuts in side holes.With chisel remove few millimeters of wood to compensate on a back of a T nut. Glued, clamped and screwedboth piece to one solid unit.How to Make a Table Saw Fence for Homemade Table Saw: Page 4
Step 5: Carriage BoltsFor sliders I used carriage bolts. Side bolts will be acting as a sliders. Middle one - will tight all mechanism up.Carriage bolts had round bolt heads, so I grinded two sides to make them fit in my rail.How to Make a Table Saw Fence for Homemade Table Saw: Page 5
Step 6: FenceFor fence I used 2 by 7 cm wood board, plus glued and screwed a piece of plywood to get more solid fence.Checked blade squareness to the rail edge. Looks good! Align fence, double checked squareness, clamped andscrewed with 50 mm wood screws. Give some action to the fence, tighten up again and checked one more time does it still square. Looks it is, so removed wood screws, added wood glue and screwed everything back.How to Make a Table Saw Fence for Homemade Table Saw: Page 6
Step 7: TestingAfter wood glue dried, it is time for testing. Fenceunlocks, moves and locks very simple and freely.Also table saw fence could be easily removed ifthere’s need to use cross cut sled, for example.Made some test cuts. By only looking at the last cut,where I got thin wood strip, I could tell without anymeasurements that this fence is really accurate.When I was thinking about this fence design I wantedthat this fence will be simple and minimal as possible.And I think, I did it quite well.How to Make a Table Saw Fence for Homemade Table Saw: Page 7
Step 8:How to Make a Table Saw Fence for Homemade Table Saw: Page 8
homemade table saw. How I did it - you can check by looking DIY video or you can follow up instructions bellow. For this project you will need: Materials: Aluminum rectangular profile Wood screws (50mm) Square 2.5x2.5cm wood pieces 2x7cm wood board for fence some plywood Carriage bolts T nuts Tools: Table saw or hand saw Drill and bits Hammer