Transcription
Create Eye-Catching Lithology Logs in Strater 4Of all of the information you can present on what’s under the surface of the ground, none is asvisually informative as the lithology log. With a single glance you can see the thickness of eachlithologic layer, the number of times each layer appears in a stratigraphic section, the relativesoftness of each layer, and much more. There are three steps to creating a great-looking lithologylog in Strater:1. Load your data into a lithology table.2. Create the lithology log.3. Customize your Lithology Keyword and/or Indent Keyword schemes.Load DataThe first step in creating a lithology log is to load in your lithology data. There are two main ways todo this: Creating an empty lithology table and then copying/pasting or typing your data into thetable.Opening your data in Strater as a lithology table.Using either method, there are 8 default columns which are created. Of those, only the 4 that arebolded below are required. These columns are: Hole ID – An alpha-numeric field that associates the layer intervals with a specific well.You can have data for multiple wells in the same lithology table, so the Hole ID keeps thedata sorted by well name.From – A numeric field designating the depth at which each layer starts.To – A numeric field designating the depth at which each layer ends.Lithology Keyword – An alpha-numeric field that tells Strater what Lithology Keywordscheme item is associated with a specific interval. The scheme item controls what fill andline patterns are drawn.Lithology Description – An alpha-numeric field containing the full text descriptions,typically for the rock type. This field is commonly displayed in a complex text log next tothe lithology log.Indent Percentage – A numeric column that controls the width of the block as apercentage of the log width. The range of values can be from 0 (block width is 0% of thelog width so nothing is displayed) to 100 (block width is 100% of the log width so wholeblock is displayed).
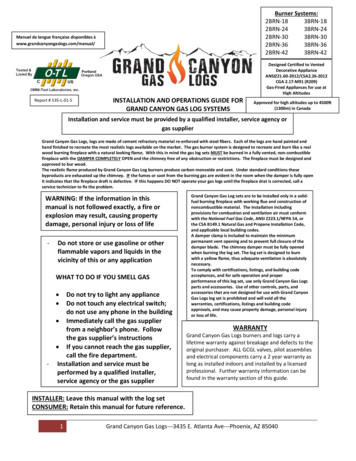
Indent Percentage controls the width of the block as a percentage ofthe log width. In this example, the top lock has an IndentPercentage of 50, the middle is 100, and the bottom block is 75. Indent Keyword – An alpha-numeric field that tells Strater what Indent Keyword schemeitem is associated with a specific interval. The scheme item controls the shape of the lineon the right side of the block (called the ‘indent line’).Indent Keyword specifies the keyword for the block. The keyword isused to determine the shape of the line on the right side of the block Indent Line Scale – A numeric column that controls the overall scaling width of the indentline. The range of values can be from 0 (flattens the indent line so it appears vertical) to100 (sets the width of the indent line to half the width of the log).
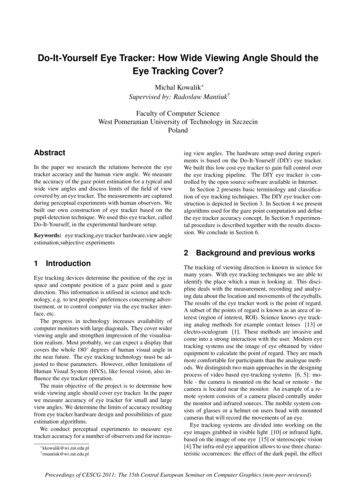
Indent Line Scale controls the width of the indent line. In thisexample, the blocks have an Indent Scale of 0, 100, and 50 from thetop down.To create an empty lithology table and then copy/paste or type in your data:1. Click File New Table, or click this buttonin the toolbar.2. In the Create New Table dialog change the Base Table Type to Lithology Table, giveyour table a name (like Lithology), and click Create. This opens the empty lithology table.3. This opens the empty lithology table containing 8 columns. Only the Hole ID, From, To,and Lithology Keyword columns are required, so either type in or copy and paste in thisinformation from some other source (like Surfer or Excel). If you have lithologydescription or indent information, you can add these into the other columns.To open your data as a lithology table:1. Click File Open, or click this buttonin the toolbar.2. In the Open dialog change select your data file and click Open.3. If your file has multiple sheets, an XLS Import Options dialog will appear. Select theappropriate sheet and click OK.4. In the Specify Worksheet Column Definitions dialog check the box next to SpecifyColumn Header Row if you have a header row in your data file, and then click Next .5. In the Specify Data Type and Column Positions dialog verify that Data type is set toLithology. Only the Hole ID, From, To, and Lithology Keyword columns are required, souse the dropdowns to set those table columns to the appropriate columns from your datafile. If you have any of the other columns, set those as well, but if not, choose[Unspecified] from the dropdowns. Click Finish when you’re done. This will load thelithology table with your data already filled in.Create Lithology LogTo create the lithology log:1. Go to Log Lithology, or click thebutton in the toolbar.
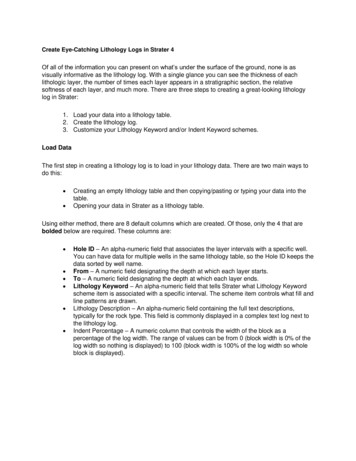
2. Click in the log pane where you want the log to be placed.3. At the bottom of the Open dialog, use the dropdown menu under Use Current Table toselect your lithology table and click Open. The log is created. Strater automaticallycreated a Lithology Keyword scheme with default colors, and the colors are applied tothe log. By default, no Indent Keyword scheme is applied.4. If you have the Indent Percentage, Indent Keyword, and Indent Line Scale columns inyour lithology table filled in:a. Select the lithology log and in the Lithology Log tab of the Property Manager,set the Indent Percentage Column to Indent Percentage, the Indent KeywordColumn to Indent Keyword, and the Indent Line Scale Column to Indent LineScale.b. Check the boxes next to Use Indent Percentage and Use Indent KeywordScheme.Although the lithology log is now created, it has default colors that likely do not reflect what you wantit to about the subsurface layers. Next you will learn how to customize schemes in order to give yourlithology log a polished final appearance.The lithology log is created with the default fill colors and theindent percentage is visibly applied.
Customize SchemesSchemes in Strater determine the appearance of your log. They contain line, symbol, label, and fillproperty information that links the data table to the log. When a scheme keyword or numeric range isfound in the data table, the borehole/cross section logs/layers display the properties of the scheme.When a lithology log is created, a default scheme is applied, which more often than not contains boldcolors and solid fill patterns that may not accurately represent the lithologic layers they’re meant todisplay. Because of this, it is useful to know how to customize existing schemes and create newones. These customized schemes can then be saved for use in future Strater projects.To customize your Lithology Keyword Scheme:1. Go to Draw Scheme Editor, or click thebutton in the toolbar to open the SchemeEditor dialog.2. In the Lithology Keyword folder expand your lithology keyword scheme by clicking thenext to its name. By default, the naming convention is tablename:Lithology Keyword.The Lithology Keyword scheme is comprised of multiple schemeitems that control the line, fill, and font properties for each lithologylayer (identified by the Lithology Keyword column in the lithologytable).3. Select one of the scheme items. On the right-hand side you can change the FontProperties, Line Properties, Contact Line Properties (the line at the bottom of each layerdividing it from the next layer), and Fill Properties.
To set a custom fill pattern, in the Fill Properties section click the Load File buttonat the bottom of the dropdown menu for Pattern. Select an image file (JPG, GIF,PNG, etc.) and click Open.Click Apply to see your changes but keep the Scheme Editor open, or OK to apply yourchanges and close the Scheme Editor dialog.If you have the Indent Percentage, Indent Keyword, and Indent Line Scale columns in your lithologytable filled in, you will want to create an Indent Keyword scheme that you can customize in the sameway you customized your Lithology Keyword scheme. To create and then customize your IndentKeyword Scheme:1. Go to Draw Scheme Editor, or click thebutton in the toolbar to open the SchemeEditor dialog.2. Click this buttonat the bottom of the Scheme Editor dialog to create a new scheme.3. In the New Scheme dialog toggle Base Scheme on Column Data, set your Table Nameto your lithology table and your Column Name to your Indent Keyword column. Give yourscheme a name, change the Scheme Type to Indent Keyword, and click OK.4. In the Indent Keyword folder expand your indent keyword scheme by clicking the nextto its name.5. Select one of the scheme items. On the right-hand side you can change the IndentKeyword Properties (keyword and lithology indent lines) and the Line Properties (style,color, opacity and width). To set a custom lithology indent line, in the Indent Keyword Properties section clickthe Lithology Indent Line, and then click the Modify button at the bottom of the dialog.Select an existing line or use thebutton to load in a BLN, BNA, or LLF file. ClickOpen.Click Apply to see your changes but keep the Scheme Editor open, or OK to apply yourchanges and close the Scheme Editor dialog.In general, for both schemes you’ll likely want to leave Keyword alone (in the Lithology KeywordProperties and Indent Keyword Properties sections). This is the word/phrase that links the scheme tothe appropriate interval in the table. If you change the keyword in the scheme, you will need tomodify your table to match or else the interval will be empty.
Customize your Lithology Keyword and Indent Keyword schemes tofinalize your visually-appealing lithology log.In just a few short minutes you’ve created a professional-looking lithology log that gives a clearimpression of everything the subsurface has to offer.
To create an empty lithology table and then copy/paste or type in your data: 1. Click File New Table, or click this button in the toolbar. 2. In the Create New Table dialog change the Base Table Type to Lithology Table, give your table a name (like Lithology), and click Create. This opens the empty lithology table. 3.