Transcription
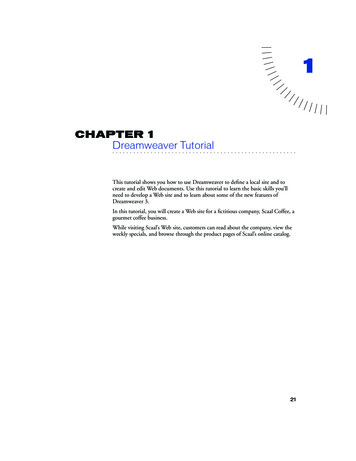
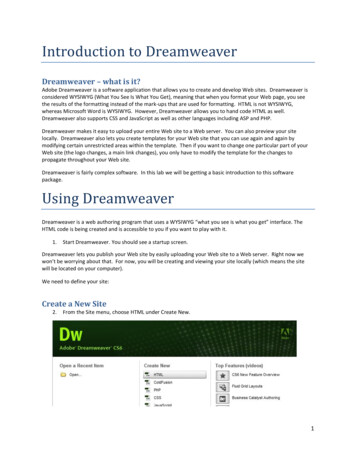
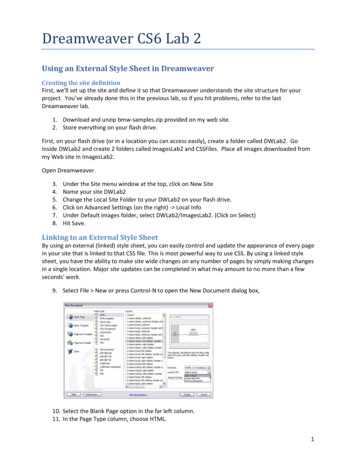
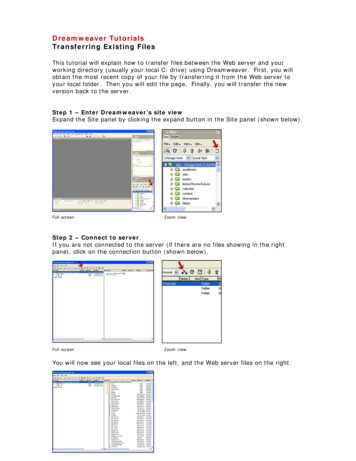
Dreamweaver TutorialsTransferring Existing FilesThis tutorial will explain how to transfer files between the Web server and yourworking directory (usually your local C: drive) using Dreamweaver. First, you willobtain the most recent copy of your file by transferring it from the Web server toyour local folder. Then you will edit the page. Finally, you will transfer the newversion back to the server.Step 1 – Enter Dreamweaver’s site viewExpand the Site panel by clicking the expand button in the Site panel (shown below).Full screenZoom viewStep 2 – Connect to serverIf you are not connected to the server (if there are no files showing in the rightpane), click on the connection button (shown below).Full screenZoom viewYou will now see your local files on the left, and the Web server files on the right.
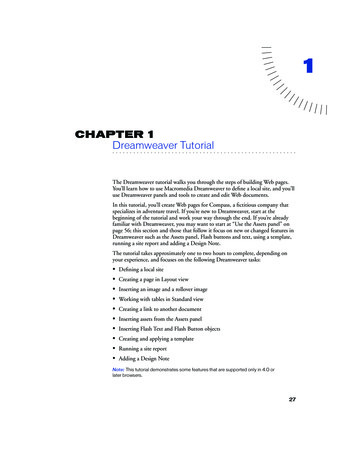
Chicago-Kent Dreamweaver TutorialTransferring Existing FilesStep 3 – Locate existing file on serverAt the top of the remote pane (right side), the file path on the Web server isdisplayed. Notice that you are already in the folder for your department.In this example, we are viewing the Career Services Office (cso folder).Your directory will be different.Remote file pathZoom view of remote file pathNavigate to the appropriate file in the remote pane (right side). You may need toexpand a folder and/or scroll down to locate the file you wish to update. In thisexample, we are going to the index.html page in the CSO folder.Scroll down and select remote fileRELATED INFO: See the Dreamweaver FAQ for more information on locating filesin Dreamweaver.2
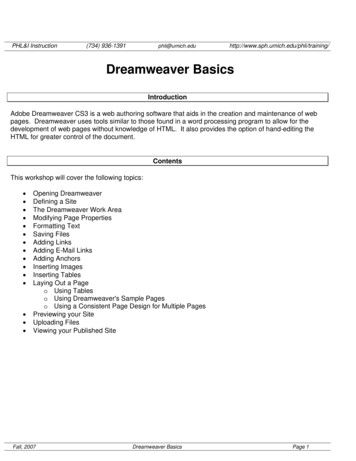
Chicago-Kent Dreamweaver TutorialTransferring Existing FilesStep 4 – Locate existing file (or proper directory) on local sideNavigate to the corresponding file or folder in your local pane (left side).To do this, expand your folder and scroll down to the appropriate file.The resulting local file path for this example is \depts\cso\index.html.Expand local folderScroll down and select local fileNotice the local root folder starts in a different place than your remote root folder.You will have to open your department’s folder on the local side, whereas you arealready in your department’s folder on the remote side from the beginning.Department folder on local sideDepartment folder on remote side3
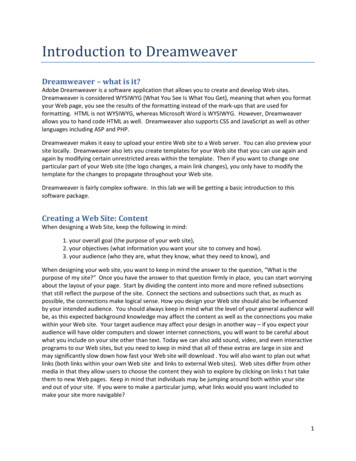
Chicago-Kent Dreamweaver TutorialTransferring Existing FilesStep 5 – Download file for editingCarefully drag the file from the right side (remote) to the left side (local).You are copying the Web server file to your local folder before you edit it to ensurethat you are working with the most recent version. The best way to do this is todrag the file exactly on top of the existing file on the left so that you know you are inthe correct location.*Do not use the “synchronize” feature or the Put or Get buttons. They will not workcorrectly with our configuration.Drag the file (index.html) from the remote side (right) directly on top of the same file (index.html) on the local side (left).If the file does not already exist on the local side, drag it into the folder where it will reside.Step 6 – Edit fileDouble-click the file name on your local side to open it for editing. Make yourchanges and save the file.You may wish to preview the page in an external browser, such as Internet Explorer,to make sure the updated page displays as you intended it to. To do this, chooseFile Preview in browser iexplorer, or press F12.4
Chicago-Kent Dreamweaver TutorialStep 7 – Expand the Site panelReturn to the Site panel by clicking the expand buttonTransferring Existing Files(see step 1).Step 8 – Upload the updated fileTo transfer the newly saved file from your local side (left) to the Web server (right),drag it directly on top of the existing file.Drag the file (index.html) from the local side (left) directly on top of the same file (index.html) on the remote side (right).Step 10 - ReviewOpen your browser window and review the page on the Web site to make sure thechanges appear as you expected. Don’t forget to test all hyperlinks, especially newor updated links!5
Chicago-Kent Dreamweaver TutorialTransferring Existing FilesIMPORTANT NOTES: Do not use Dreamweaver’s “synchronize” option. This will move your files to thewrong location because of the way our directories are set up. Do not use the Put/Get buttons for the same reason as above. Do not edit or copy anything in the main assets folder. For the purposes of these tutorials, a "folder" is the same as a "directory." Also,transferring a file from your local drive to the Web server is the same as"uploading" or "posting"; transferring a file from the Web server to your localdrive is the same as "downloading." Example of how to correlate the URL for a page on the Chicago-Kent Web site tothe Web server path in the remote pane of Dreamweaver's Site panel:Career Services Office URL as viewed in addressfield of a Web browser Corresponding server path for the CareerServices Office folder in DreamweaverDrop the file directly on top of the file you are replacing. This will ensure thatyou are copying it to the correct location. Also be aware that different foldersmay have files with the same names. Make sure you are in the correct folder.In the Site panel, your local side and remote side should have parallel folderstructures from the level of your main departmental folder (“/depts/cso” in thistutorial).Comparison of directory structure for local (left) and remote (right)1 & 2 departmental folders3 sub folder4 working file After creating and saving a brand new file, simply drag it from the local pane ofthe Site panel to the correct location (folder) in remote pane. (See step 8.) Inthis case you won't be dragging it on top of an existing file on the Web serverbecause it is new.6
Dreamweaver Tutorials Transferring Existing Files This tutorial will explain how to transfer files between the Web server and your working directory (usually your local C: drive) using Dreamweaver. First, you will obtain the most recent copy of your file by transferring it from the Web server to your local folder. Then you will edit the page.