Transcription
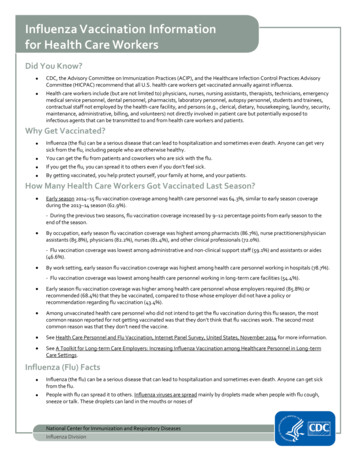
HTTP End User Screen ShotsGuidance OnlySome screens (i.e. mailbox) names will appear differently inproduction mode. For example, Marx or Plan enrollmentmailboxes will be configured by Contract Number.End User will only see mailboxes for which they have beengranted access.
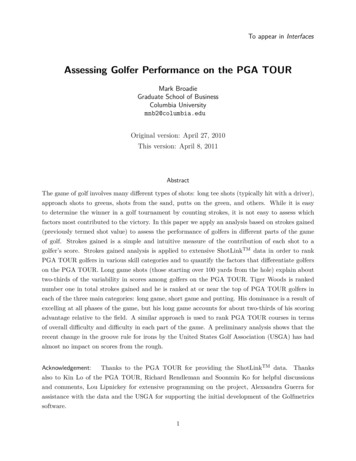
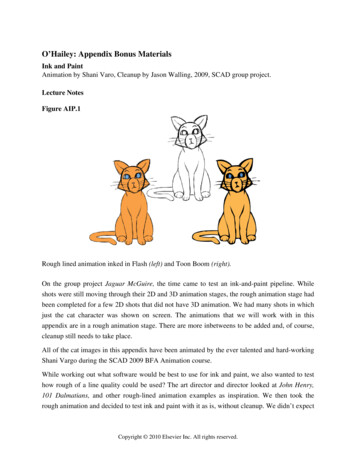
121 – Enter WEB site provided by CMSInternet – https://gis.cms.hhs.gov:3443/mailboxExtranet – https:gis.cmsnet:3443/mailbox2 – Click ‘GO’
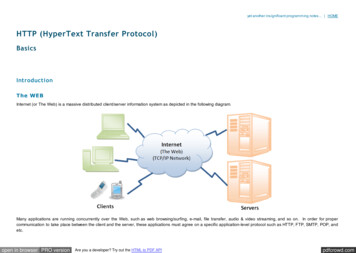
Review Warning Information, then click ‘OK’ button
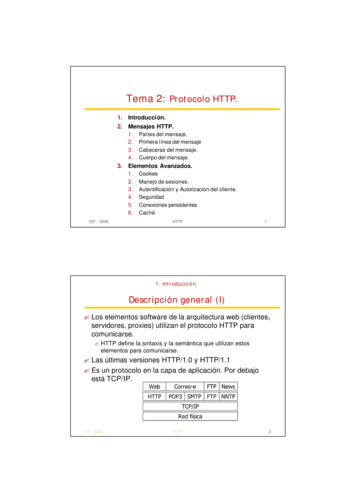
Certificate Example OnlyClick the ‘View Certificate’ button.
Certificate Example OnlyClick ‘Install Certificate ’ button
Click the ‘Next ’ button
1 – Verify that this option is selected, if not click in the circle.2 – Click the ‘Next ’ button
Click the ‘Finish’ button
Click the ‘OK’ button
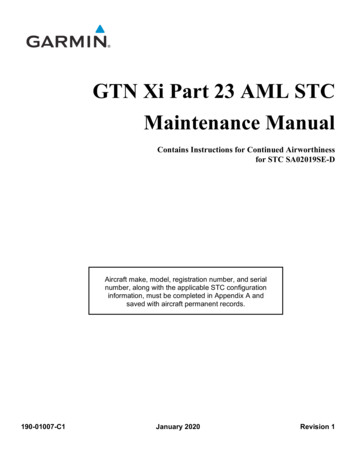
1231 – Enter ‘Unique Identifier’2 – Enter ‘Password’3 – Click ‘Sign In’
‘Mailbox Search’ screen allows you to view files in mailboxes that aredefined to your Unique Identifier’
Mailbox ViewProcedure to view all or individual mailboxes
12To View ‘All’ mailboxes accessible with your ID1 – Click ‘All’ from the mailbox drop down list2 – Click the ‘GO!’ button
‘All’ mailbox view
1234To view data ‘Inbound’ to your ‘Mailbox’1 – Select mailbox ‘/UniqueIdentifier/IN’2 – Select desired beginning date3 – Select desired ending date4 – Click the ‘OK’ button
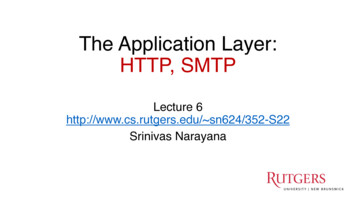
431 – Current ‘Mailbox’ (inbound)2 – Message ‘ID’213 – ‘MessageName’ (filename)4 – ‘Extract’ (download) button
Receive Inbound DataProcedure to extract data inbound to yourMailbox Identifier
211 – Locate desired ‘Message Name’ (filename)2 – Move Arrow over object in ‘Extract’ boxuntil it becomes a pointing hand, then click.
Click ‘Save’ button to download data
1321 – Select desired location2 – Enter desired filename3 – Click ‘Save’
‘Successful Download Message’Chose desired optionOpen – This will open file using software that edits .TXT filesOpen Folder – This will display file in folder that it was placedClose – This will close the Download box
Sending Data to CMSProcedure for sending data to CMS
Click ‘Mailbox Send’ option
121 – Click on the ‘Mailbox’ drop down menu2 – Click mailbox ‘/Mailbox ID/Out’
12431 – Select desired folder (path)2 – Click desired file OR3 – Entered desired file name(Files sent to CMS must adhere to the file naming convention provided by CMS)4 – Click ‘Open’
Click the ‘GO’ button
Click the ‘Refresh Mailboxes’ option
12To Verify Data (file) delivery1 – Click on the ‘Mailbox’ drop down menu2 – Click mailbox ‘/Unique Identifier/Out’
Transmitted File
Logging Out Of CMS WebSite
Click the ‘Log Out’ option
HTTP End User Screen Shots . Guidance Only . Some screens (i.e. mailbox) names will appear differently in production mode. For example, Marx or Plan enrollment