Transcription
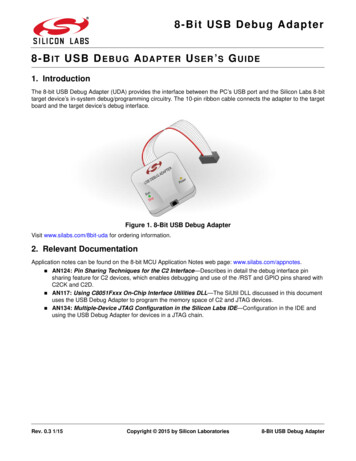
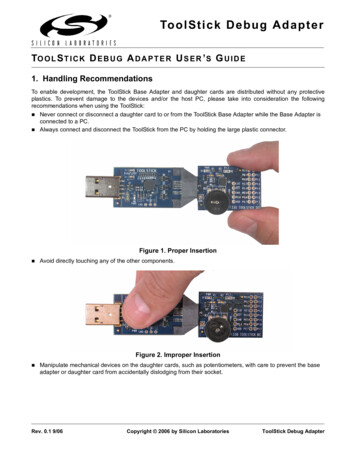
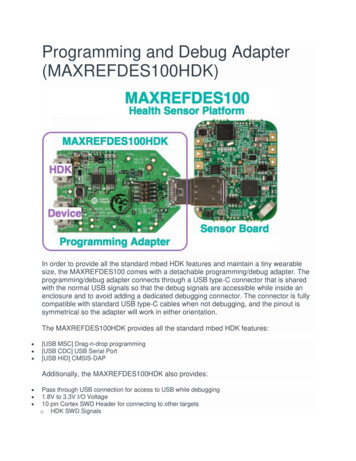
Programming and Debug Adapter(MAXREFDES100HDK)In order to provide all the standard mbed HDK features and maintain a tiny wearablesize, the MAXREFDES100 comes with a detachable programming/debug adapter. Theprogramming/debug adapter connects through a USB type-C connector that is sharedwith the normal USB signals so that the debug signals are accessible while inside anenclosure and to avoid adding a dedicated debugging connector. The connector is fullycompatible with standard USB type-C cables when not debugging, and the pinout issymmetrical so the adapter will work in either orientation.The MAXREFDES100HDK provides all the standard mbed HDK features: [USB MSC] Drag-n-drop programming[USB CDC] USB Serial Port[USB HID] CMSIS-DAPAdditionally, the MAXREFDES100HDK also provides: Pass through USB connection for access to USB while debugging1.8V to 3.3V I/O Voltage10 pin Cortex SWD Header for connecting to other targetso HDK SWD Signals
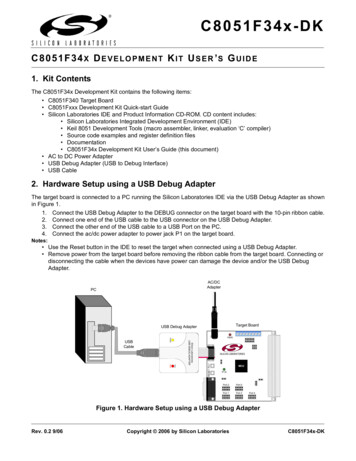
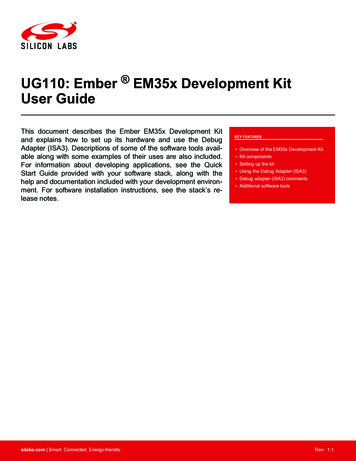
oHDK UART SignalsInformationCheck that you are using the latest MAXREFDES100HDK firmware for best results.Information on how to update the firmware can be found tting Started1. Connect the HDK to the sensor boardPlug the HDK programming adapter into the health sensor board at the USB type-Cconnector.2. Connect the HDK to a PCConnect your PC to the HDK board at the micro-USB connector marked HDK. After afew seconds of activity, the PC will recognize the mbed Microcontroller as a standardUSB drive.3. Press the button on the sensor boardPress and hold the only button on the sensor board for about half a second to wake thePMIC and turn on the board.4. Click the MBED.HTM link to getlogged inGo to the new USB Drive, and click MBED.HTM to open it in a web browser.If you do not have an mbed account, choose "Signup", and create your mbed Account.Otherwise, log in with your normal username and password.
This will give you access to the website, tools, libraries and documentation.PC ConfigurationYour mbed Microcontroller can appear on your computer as a serial port. On Mac andLinux, this will happen by default. For Windows, you need to install a driver:WindowsSee Windows-serial-configuration for full details about setting up Windows for serialcommunication with your mbed Microcontroller. Note: this is for the virtual serial portbuilt into the HDK programming adapterFrom a host PC to communicate with mbed you will need a terminal application . Thisallows the mbed Microcontroller to print to your PC screen, and for you to sendcharacters back to your mbed. Terminals - Using Terminal applications to communicate between the Host PC and the mbedMicrcontrollerSome terminal programs (e.g. TeraTerm) list the available serial ports by name. However,if you do need to know the identity of the serial port so that you can attach a terminalor an application to it:WindowsMacLinuxFind the identity of theCOM port by opening''Device Manager''. Todo this navigate ''Start- Control Panel - System - Hardware Device Manager''.To find the devicename under Mac OSX, use the command''ls/dev/tty.usbmodem*''To find the devicename under Linux, usethe command ''ls/dev/ttyACM*''
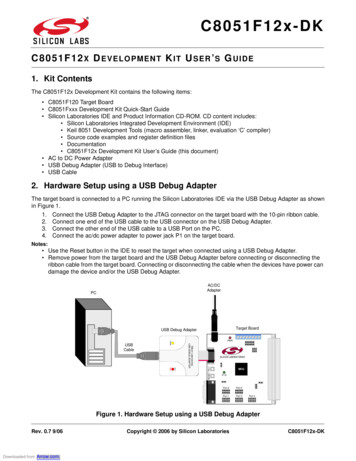
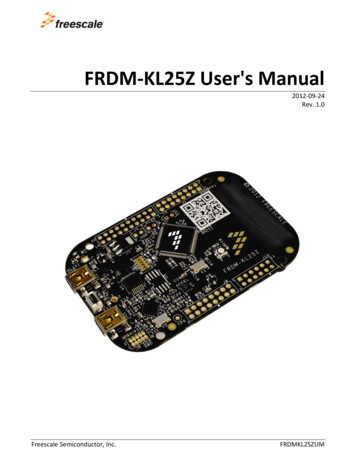
Downloading A program1. Connect sensor and programmingadapter to PC Connect the programming adapter to the sensor board as shown below.Connect the PC to the programming adapter through the micro USB connector marked "HDK"Press and hold the power button for at least a half second to turn the board on.
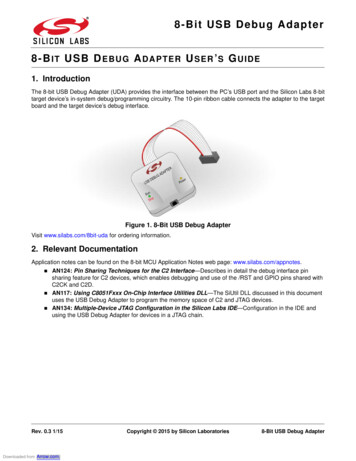
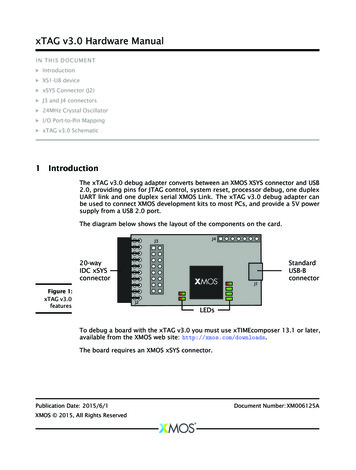
2. Save a program binary (.bin) to thePlatformDownload the demonstration program binary: MAX32620HSP:hsp pmic demo max32620hsp.binNote: the source code for this program will be seen in the next section.Save the program binary file to your mbed Microcontroller Disk, just like you would witha normal USB disk. The Status LED will flash as the PC writes the file to theMicrocontroller disk. The file is now consumed. Be sure that you turned the sensorboard on before saving the file.3. Hello World!The Microcontroller is now running the program; flashing LED1 forever! If you reset theMicrocontroller, or disconnect and reconnect the power, the program will simply restart.
size, the MAXREFDES100 comes with a detachable programming/debug adapter. The programming/debug adapter connects through a USB type-C connector that is shared with the normal USB signals so that the debug signals are accessible while inside an enclosure and to avoid adding a dedicated debugging connector. The connector is fully compatible with .