Transcription
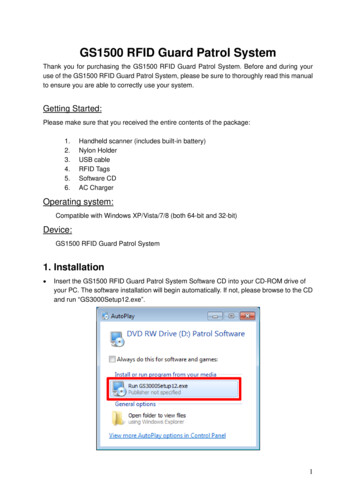
GS1500 RFID Guard Patrol SystemThank you for purchasing the GS1500 RFID Guard Patrol System. Before and during youruse of the GS1500 RFID Guard Patrol System, please be sure to thoroughly read this manualto ensure you are able to correctly use your system.Getting Started:Please make sure that you received the entire contents of the package:1.2.3.4.5.6.Handheld scanner (includes built-in battery)Nylon HolderUSB cableRFID TagsSoftware CDAC ChargerOperating system:Compatible with Windows XP/Vista/7/8 (both 64-bit and 32-bit)Device:GS1500 RFID Guard Patrol System1. Installation Insert the GS1500 RFID Guard Patrol System Software CD into your CD-ROM drive ofyour PC. The software installation will begin automatically. If not, please browse to the CDand run “GS3000Setup12.exe”.1
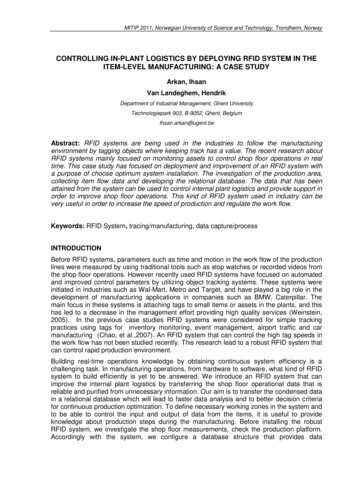
A Setup Wizard will guide you through the installation. Click on next to start. Enter your name and your company’s name. Click next to continue.2
Select where to install the software (if you are not sure, then leave it as it is), and click onnext to continue.3
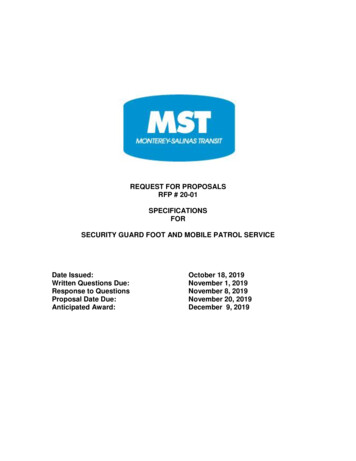
Choose whether or not to make the program visible to all users of the computer you areinstalling the software on (if you are unsure then leave it as is). Click on next to continue. You will be prompted to start the software installation. Make sure that the GS1500 RFIDGuard Patrol Scanner is not plugged into your computer at this time.4
The software will install the required files, please wait for it to finish. You will be asked to install a device driver, which is needed to make the GS1500 RFIDGuard Patrol System properly connect to your computer. Click Install to start. Wait for the driver to finish installing, and then click on OK to continue.5
You will be asked to install another driver. Select the location you wish to install the driverto (if you are unsure, then leave it as is), and click Install to start. Wait for the driver to finish installing, and then click on OK to continue. The installation should now be complete. Click on finish to close the installer.6
You will need to restart your computer to be able to use the software. Clicking on Yes willimmediately restart you computer! Make sure any work you have open is saved beforeclicking Yes.2. Initial Setup Now that the software is installed and your computer has restarted, plug the GS1500Scanner into your computer. There is a rubber flap covering the port for the cable in theback of the scanner. The end of the cable with the smaller connector goes inside thescanner; the other end goes to your computer.7
Your computer should inform you that it is installing drivers for the scanner.8
Wait until another message pops us informing you that it has finished installing. After you installed the software from the CD, you should have an icon on your desktopthat says “GS3000 Software”, you can double-click on that icon to start the software nowthat everything that needs to be installed for full operation of the GS1500 RFID GuardPatrol System is ready. If you cannot find this icon then you can click on the start button, click on All Programs,9
and find the “GS3000 Software V2.12” folder. Click on that folder and double click on“GS3000 Software”. When the GS3000 software is started the Login window will appear. The default passwordis blank. Click “OK” to login.10
The software will ask you which scanner you are going to use. Select the GS1500Scanner and click on OK to continue. The software will take you to a settings screen, but the software should automaticallyselect the correct settings, click on OK to continue.11
You should now see the main screen of the GS1500 Guard Patrol System Software. You can now change the password by clicking on File, and then Change Password.12
Leave the Old Password blank and enter your new password in the appropriate fields andclick on OK to confirm the change. If you left the old password blank and entered the new password correctly in both fields itwill be successful, otherwise it will error.13
3. Setting Date/Time With the GS1500 unit connected to your computer, click on Time/Date. A window with the current time and date (the software will copy the time and date on yourcomputer) should appear. If it is not accurate, then correct it first. Click OK to set the time.14
Wait a moment, and a message confirming that the time was properly set should appear.If it does not work, make sure the unit is properly connected and try again.15
4. Define Customer/TagThe GS1500 RFID Guard Patrol System allows you to quickly add customers and define tagsthrough the on-screen display. Each tag has a unique code, and this code cannot be changed.Customers must be added before you can assign a tag to a specific customer.Adding Customers To add a new customer, click on “Customers” in the main window of the software. Enter the customer data and click on Save. To add another customer click on New. Whenyou are done click on Exit to return to the main window.16
Adding Tags To add a new tag, click on “Tags” in the main window. Use the GS1500 Scanner to scan one (do not scan more than one or you may lose trackof which tag is which) RFID tag. Make sure the scanner is connected to the computer andclick download.17
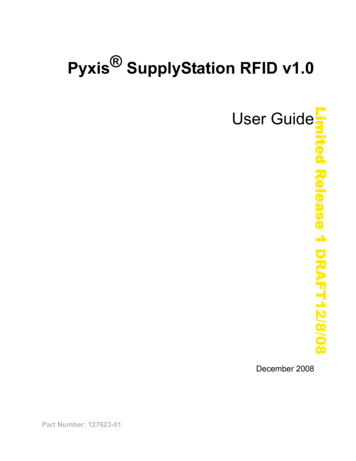
A window should pop up asking you to define the tag. Make sure to select a customer(you can add a new one from here if you like by clicking on Add), a tag type, and a namefor the tag. When you have entered all of your information, click on Apply to save thechanges. Repeat the last step and this step until all of your tags are defined. (Note: Yourtag numbers will be different than the one shown below.) Click “Close” to close thewindow after defining all tags.18
5. Recording DataNote: There is no on/off button for the GS1500 scanner. To scan move the scanner over the RFID tag you wish to scan (maximum range of 1.25”)for a second or two second. It will vibrate and a blue LED light will flash to confirm theoperation.Note: Metal will interfere with the RFID scanning. Make sure no metal is in-between thescanner and the tag. Also make sure that you do not have other RFID tags near the one youare trying to scan, as this will also make the scanner fail to scan.Note: If the scanner does not scan, and you are sure nothing is interfering with the scanning,the battery might be dead. Connect the scanner to your computer for a few hours to allow thebattery to recharge.19
6. Downloading the Data to a PC Connect the GS1500 scanner to your computer. In the main software window, click on “Download”. If the download is successful, theGS1500 software will read the data from the GS1500 scanner and display the results as areport on the screen. If the download is not successful, an error message will bedisplayed.20
The data will be saved automatically to the database and a report will be generated. Toprint the data, click on the “Print” button. The GS1500 software will print automatically tothe default printer.21
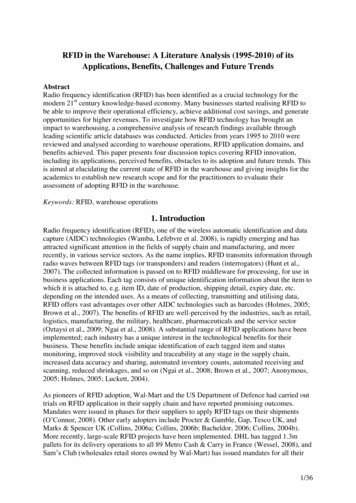
7. ReportsThe GS1500 software allows you view two types of reports, Data and Customer Reports. Click on “Reports” in the main window of the GS3000 software. The Data Report shows all the data saved for the selected Time/Date range. To changethe time/date, change the parameter to the desired range, and click “OK” to view thereport.22
The Customer Report shows all the data for the selected customer. Choose a customerfrom the Customer list and change the time/date to the desired range, and click “OK” toview the report. With both the Customer Report and the Data Report, a new window will open after youclick OK and you can click Print to print out a physical copy. You can also save the reportas a separate file by clicking on Export. Name the file, and select one of the software’s several available file formats.23
8. TroubleshootingData does not download from the scannerWhen downloading data from the scanner, the software claims that there is no data on thescanner when there should be:Please try the following: Make sure the USB cable is connected securely to the USB port on your computer, aswell to the back of the GS1500 scanner. Try unplugging the USB port from the back of the GS1500 scanner, and plugging it backin. Do the same with the USB port in the computer. Go to the main software and click “Settings” and then click “Choose Model”. Make surethat the GS1500 scanner is selected and not the GS3000. Test the GS1500 scanner is scanning and recording data properly by scanning a tag andverify that the blue LED light blinks. If the LED does not blink and the scanner does notvibrate, try recharging the battery. If the scanner fails to scan even after recharging the battery, please contact the store youpurchased from for additional support.24
Operating system: Compatible with Windows XP/Vista/7/8 (both 64-bit and 32-bit) Device: GS1500 RFID Guard Patrol System 1. Installation Insert the GS1500 RFID Guard Patrol System Software CD into your CD-ROM drive of your PC. The software installation will begin automatically. If not, please browse to the CD and run "GS3000Setup12.exe".