Transcription
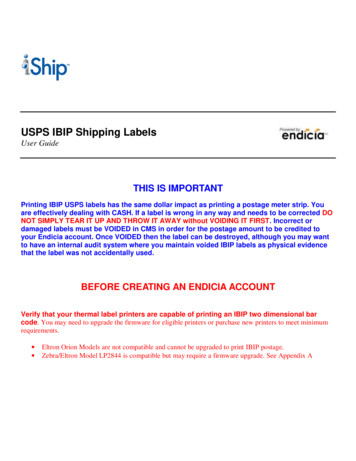
PostMaster PlusInstructions toObtain a USPS Mailer IDand Register for ElectronicReturn ReceiptOpen the USPS Business Customer Gateway using the following link:https://gateway.usps.com/bcg/login.htmNext, click the New User Registration link to get started.
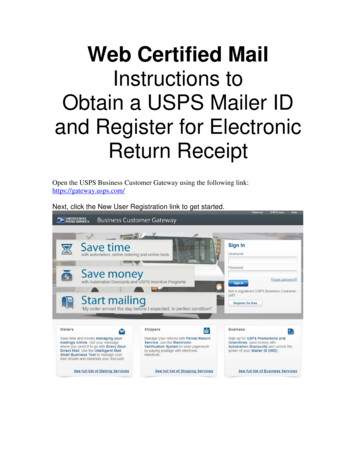
Complete the Registration form below and click Create Account when complete
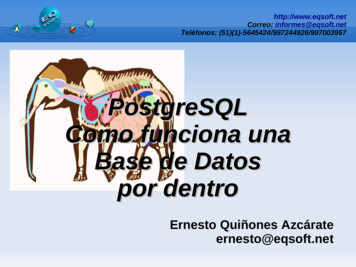
Select Manage Mailing Activity under Track & Report
Check the box to the left of your Business Name and click Next
Click the Confirm button
Check both boxes to the left and click the Yes button
Click the Add Location button
Click the Confirm button
Wait while the USPS processes your information
Click the Request Access link at the top of the screen
Click the Mailer ID link under Design & Prepare
Check the box to the left of the Business Name and click the Next button
Click the Confirm button
Check both boxes to the left and click the Yes button
Click the Continue button
Click the Request Access link at the top of the screen
Click Online Enrollment under Shipping Services
Check the box to the left of the Business Name and click the Next button
Click the Confirm button
Check both boxes and click the Yes button
Click the Continue button
Click the Online Enrollment link under Shipping Services
Click the link below that says “Click here to get started.”
Select Mail Owner and then click Save & Continue
Check the box for Domestic Packages and then click Save & Continue
Check the box for First-Class Mail and then click Save & Continue
Item #1: Check the box for Certified Mail and then click Save & ContinueItem #2: Select ‘Yes’ and then click Save & ContinueItem #3: Select ‘Yes’ and then click Save & ContinueItem #4: Select ‘No’ and then click Save & ContinueCheck the box for Postage Meter and then click Save & Continue
Click the Bulk Proof of Delivery link
Check the Begin Enrollment button on the right
Click the “Incomplete” hot link next to Item #1 below(Additional ContactInformation)
Enter the Technical Contact Information below and click the Save button
Click the “Incomplete” hot link next to Item #2 below(BPOD Agreement)
To download the digital signatures from the USPS every week, select SignatureExtract File.(Recommended)To have a CD ROM emailed to you every two weeks, select CD.Then, click Save & Continue
To receive your digital signatures in one Acrobat PDF file, select “Multiple BPODletters in one PDF”.(Recommended)To have a separate .tar file for each digital signature, select “One BPOD letterwith signature image per PDF”.Then, click Save & Continue
To include the Digital Signature fee when placing postage on the Certified Mailpieces, select Prepay.To omit the Digital Signature fee when placing postage on the Certified Mailpieces and pay for the Digital Signature fee via a Credit Card when thesignatures are compiled, select Pay as Compiled.Then, click Save & Continue
If you apply postage to your Certified Mail with a postage meter, select PostageMeter.If you apply postage to your Certified Mail with PC Postage, select PC Postage.Then, click Save & Continue
Check the box that says “I consent to BPOD participation” and then click Save &Continue.
Click the “Incomplete” hot link next to Item #3 below(Certification Questionnaire)
For Item #1, select ‘Yes’ and click Save & Continue.
For Item #2, select ‘Internet FTP’ and click Save & Continue.
For Item #1, select ‘Printing Your Own Labels’ and click Save & Continue.
For Item #1, select ‘Yes’ and click Save & Continue.
For Item #2, select ‘INHOUSE’ and click Save & Continue.
Select Electronic File Version 1.3 and click Save & Continue
Select Internet FTP and click Save & Continue
For Item #1, select ‘Report Format’ and click Save & Continue.
For Item #2, select ‘No – Uncompressed File’ and click Save & Continue.
Select Yes and click Save & Continue
Select No and click Save & Continue
Select No and click Save & Continue
Click the “Incomplete” hot link next to Item #5 below(Manage Shipping Locations)
Check both boxes to the left of the Company Name and click the Request NewMID button. The screen will refresh and the MID field will be populated with yourMailer ID.
Copy and paste the MID into the Mailer ID field on the Software Setup screen.From the Main Menu, click Software Setup on the left. Then, on the left underthe Sender Information, paste the Mailer ID into the Mailer ID field for eachSender in the software. If you obtained the MID for tracking purposes only, youare done. If you obtained the MID for use with Electronic Return Receipt, clickthe Register with USPS button. On the screen that opens, enter your phone, fax,and email. Next, click the button that says “Print USPS Electronic ReturnReceipt Apps” and then fax it to the fax number on the bottom of the application.If you have questions or need assistance, contact our technical supportdepartment at 561-998-9000.
the Sender Information, paste the Mailer ID into the Mailer ID field for each Sender in the software. If you obtained the MID for tracking purposes only, you are done. If you obtained the MID for use with Electronic Return Receipt, click the Register with USPS button. On the screen that opens, enter your phone, fax, and email.