Transcription
Wireless PendantManualUser ManualWireless PendantDocument Release 1.022 December 20171
Wireless PendantManualPublished by: Bert EdingEindhovenThe NetherlandsTitle:Author:Date:Manual Wireless PendantBert EdingFriday, 22 December 2017Document HistoryVersion1Date21-12-2017AuthorBert EdingCommentInitial version, derived from previouswireless pendant. Copyright Eding CNC B.V.All rights reserved. Reproduction in whole or in part prohibited without the prior writtenconsent of the copyright owner.22 December 20172
Wireless PendantManualTable of contentsTable of contents . 31Introduction and intended use . 42Operating instructions . 52.1Installing the wireless pendant . 52.2Obtaining the activation code . 62.3Using the pendant . 72.4the buttons . 82.5Example of how to use a macro button . 92.6Setup and behavior of the MPG . 1022 December 20173
Wireless PendantManual1 Introduction and intended useThe Wireless Pendant is really useful for positioning and zeroing and otherfunctions on the machine, it is not really suited for milling because there is nofeel of the force, the milling bit will break easily. The movement may not beentirely smooth. The pendant is easy to use, and of course wireless.It operates with batteries; the batteries will last about 1 month in normaloperation.Due to the resolution of the Pendant MPG, 100 pulses/revolution loweracceleration must be used to get smooth movement. The movement with thewired Pendant can so smooth motion with higher acceleration. The wiredPendant has 400 pulses/revolution.Please note, the rules for safety about using wireless pendants can vary percountry. The usage of this pendant is at your own risk.22 December 20174
Wireless PendantManual2 Operating instructions2.1 INSTALLING THE WIRELESS PENDANT1. Put 2 AA batteries in the Pendant. When the pendant is not used itrecommended to switch it off, so the batteries are saved.2. Connect USB RECEIVER to USB port of PC. The USB receiver must havefree sight to the pendant. This means, it will not work well if the USBreceiver is built into a metal cabinet and the pendant is outside.22 December 20175
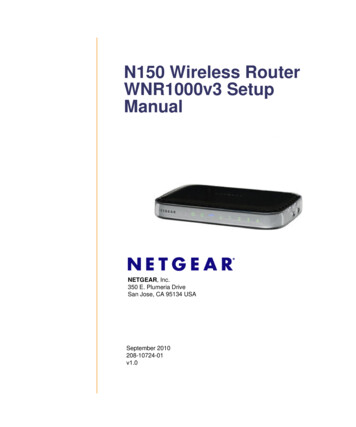
Wireless PendantManual2.2 OBTAINING THE ACTIVATION CODEOn the latest version of the pendant ist no activation required!To enable you CPU for the pendant you must obtain an activation code to be able touse it. This works as follows, press this button on the 2nd setup screen:In the next screen, enable the wireless pendant, put your name, press “Getrequest Code” button. Send the code to Eding CNC to obtain the activation code.You will receive an activation code by email. Put this code in the lower text boxand press “Activate”. You can now use the XHC Wireless Pendant(Note: this is only needed for the wireless pendant, not for the wired pendant fromEding CNC).22 December 20176
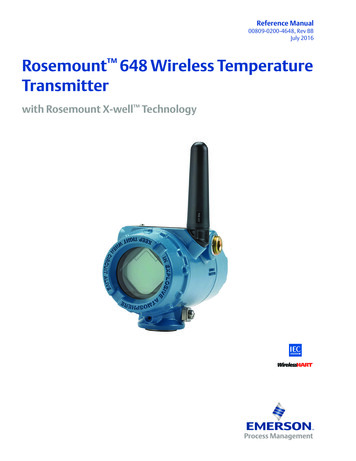
Wireless PendantManualThe activation code is free for pendants that are obtained from Eding CNCdirectly or one of it resellers. For externally bought pendants there is a fee to bepaid. Ask Eding CNC for the price.2.3 USING THE PENDANTOnce the use of the wireless pendant has been enabled, (re)start the software.An additional, program that communicates with the pendant is also started, itlooks like below and shows infoormation from the pendant:It shows “Pendant found” if everything is OK. You can leave this running on thebackground, it will perform the Pendant functionality for Eding CNC.22 December 20177
Wireless Pendant2.4ManualTHE BUTTONSResetStopStart/PauseFeed FeedSpindle SpindelM HOMESafe-ZSame function as Reset (F1) in Eding CNCPause running jobStart job or pause a running jobIncrease the FeedOverride percentageDecrease the FeedOverride percentageIncrease the SpeedOverride percentageDecrease the SpeedOverride percentagePerform the Homing Sequence, subroutine home all is called insidemacro.cnc. You can customize the order of homing and do extramovements thereZ to safe heightIf axis selector is off: G0 X0 Y0If axis selector is on X, Y, Z, A, B, C: Zero axis work position.W HOMES-ON/OFFProbe-ZContinuous / StepMacro-1 . Macro-10Axis selectorResolution selectorMPG22 December 2017Tool radius of actual tool in spindle is considered for X and Y. So, iflower left corner of material is touched in X or Y, the position is set to–Tool Radius, the result is that the material corner will be 0Switch Spindle ON/OFFExecutes sub routine xhc probe z, you are free to implement thisfunction inside macro.cnc or user macro.cncSwitch interpreter between single step and continuous runningmode.Executes macro function xhc macro 1 . xhc macro 10.Press ‘Fn’, then the required blue macro button.You are free to implement his function inside macro.cnc oruser macro.cncSelect axis for MPGIf Axis Selector is on X, Y, Z, A, B or C: select resolution for MPGIf Axis Selector is on OFF: change FeedOverrideMove the selected axis by MPG rotation8
Wireless PendantManual2.5 EXAMPLE OF HOW TO USE A MACRO BUTTONAdd a subroutine with the right name in the macro.cnc and execute what youwant there:Sub xhc macro 1Msg “Hallo this is xhc macro 1 button is pressed”;Add any EdingCNC compatible g-code you want hereEndSubYou can do this for all pendant’s macro buttons.22 December 20179
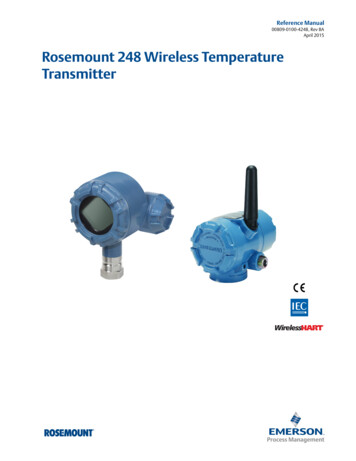
Wireless PendantManual2.6 SETUP AND BEHAVIOR OF THE MPGThe resolution of the MPG is 100 pulses per revolution. This is relatively low foran MPG, but in practice not a big issue. If you have a machine with highacceleration it may be noticed that the move is not smooth. This is becauseevery count of the MPG gives a small displacement and if your machine has highacceleration the displacement is already done when the next count pulse isread. This can be smoothed out by setting the speed and accelerationpercentage lower, such that the movement is smooth enough for normal MPGoperation.The parameters are in the setup of the software:Cnt/Rev:The number of counts of the hand wheel for one revolution,usually 400 for most CNC handwheels.Count:Counter for wired handwheel, not used for the pendant,normally 100 pulses/rev.V[%]:Percentage of velocity from selected axis, this is themaximum velocity the axis will move when using the handwheel.A[%]:Percentage of acceleration from selected axis, this is themaximum acceleration the axis will move when using thehand wheel.X1.X100 Vel Mode:In velocity mode the most important is that the movementstops immediately when the rotation of the hand wheelstops. The position of the hand wheel will not be maintainedif velocity mode is on. The position of the handheld ismaintained if velocity mode is off. This also means that theaxis may not immediately stop if the handwheel rotation22 December 201710
Wireless PendantManualstops. When turning beyond the limits of the axis, you mustturn back the handwheel the same amount before the axisstarts moving again.My own experience is that it works best to use velocitymode at X100 only. Just play with it to experience thebehavior and make your own choice.These parameters allow you to tune the motion behavior such that it hasacceptable smoothness and speed.22 December 201711
Wireless Pendant. Manual 22 December 2017 7 . The activation code is free for pendants that are obtained from Eding CNC directly or one of it resellers. For externally bought pendants there is a fee to be paid. Ask Eding CNC for the price. 2.3 U. SING THE PENDANT. Once the use of the wireless pendant has been enabled, (re)start the software.