Transcription
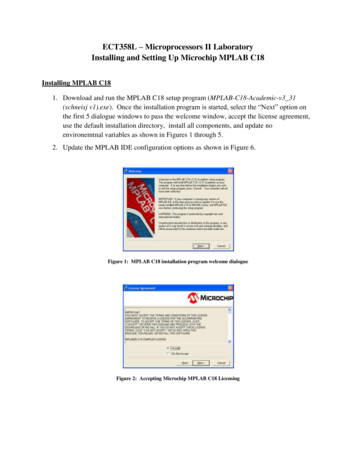
ECT358L – Microprocessors II LaboratoryInstalling and Setting Up Microchip MPLAB C18Installing MPLAB C181. Download and run the MPLAB C18 setup program (MPLAB-C18-Academic-v3 31(schneisj v1).exe). Once the installation program is started, select the “Next” option onthe first 5 dialogue windows to pass the welcome window, accept the license agreement,use the default installation directory, install all components, and update noenvironemtnal variables as shown in Figures 1 through 5.2. Update the MPLAB IDE configuration options as shown in Figure 6.Figure 1: MPLAB C18 installation program welcome dialogueFigure 2: Accepting Microchip MPLAB C18 Licensing
Figure 3: Accept default installation location for MPLAB C18Figure 4: Install all MPLAB C18 componentsFigure 5: Do not update any environmental variables
Figure 6: Update MPLAB IDE configuration options3. Begin the installation processes by selecting the “Next” option in the “Start Installation”dialogue window as shown in Figure 7. Installatin may take a couple minutes with thefinal dialogue window show in Figure 8 appearing. It is a good idea to read the MPLABC18 realase notes to gain a better understanding of the tool.Figure 7: Installation dialogue for MPLAB C18Figure 8: Installation complete dialogue for MPLAB C18
Creating a MPLAB C18 Project1. Start the Microchip MPLAB IDE.2. Create a new project verifying first that the correct device (PIC18F4520) and tool suiteare selected. From the “Project” menu item select the “New” option and complete theopened dialogue window as shown in Figure 9.Figure 9: New project name and location3. Enable the MPLAB C18 tool suite for this new project by selecting the “Select LanguageToolsuite” option from the “Project” menu item and selecting the “Microchip C18Toolsuite” option and “OK” on the opened dialogue window as shown in Figure 10. Thisstep will need to be performed every time a change in the programming language isneeded (assembly / C / etc.).Figure 10: Toolsuite selection in MPLAD IDE for C18 toolsuite4. From the “Project” menu item select the “Build Options” option for this “project” and the“Directories” tab. Add the new directories “C:\MCC18\h”, “C:\MCC18\lib”, and“C:\MCC18\bin\LKR” for the “Include Search Path”, Library Search Path”, and “LinkerScript Search Path” directories, respectively as shown in Figure 11.5. Add the sample source file, LAB4.c to the project by selecting the “Add Files to Project”option under the “Project” menu item or by right clicking the “Source Files” menu itemwithin the project window and selecting the “Add Files ” option as shown in Figure 12.Note the formatting of the sample program must be maintained for all futureprograms.
Figure 11: Add directories to include, library, and linker search paths for MPLABFigure 12: Adding source files to project6. Finally, using the same method as the previous step, the linker file associated with thetarget device must be added to the project by adding the “18f4520 g.lkr” linker file fromthe “C:\MCC18\bin\LKR\” directory as shown in Figure 13. Note that this file must beadded to the “Linker Script” menu item within the project window.Figure 13: Adding linker script for target device to project
Debugging with MPLAB C181. Connect the Microchip MPLAB ICD 2 in-circuit debugger and PICDEM 2 PLUSdevelopment board to the host computer and select the MPLAB ICD 2 tool as thedebugger for the project as shown in Figure 14. (refer to Installing and Setting upMicrochip MPLAB ICD 2 with PICDEM 2 PLUS.pdf for detailed connectivityinstructions)Figure 14: Selecting the MPLAB ICD2 as the debugging tool2. Program the target device using the steps outlined in the Installing and Setting upMicrochip MPLAB ICD 2 with PICDEM 2 PLUS.pdf document.3. The user can debug using the same tools used in debugging assembly source code anddocumented in Setting up and Using the Microchip MPLAB IDE.pdf.
Microchip MPLAB ICD 2 with PICDEM 2 PLUS.pdf for detailed connectivity instructions) Figure 14: Selecting the MPLAB ICD2 as the debugging tool 2. Program the target device using the steps outlined in the Installing and Setting up Microchip MPLAB ICD 2 with PICDEM 2 PLUS.pdf document. 3. The user can debug using the same tools used in debugging assembly source code and documented in Setting
