Transcription
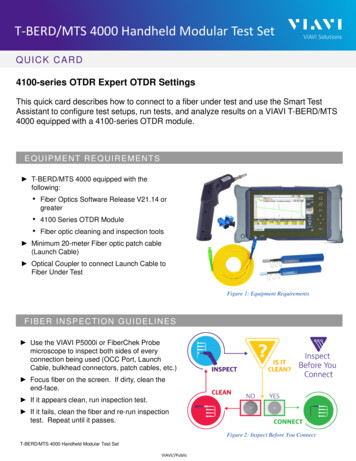
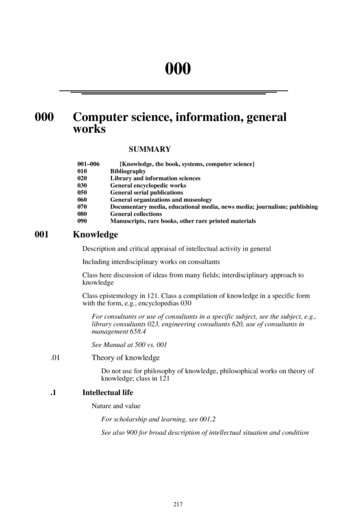
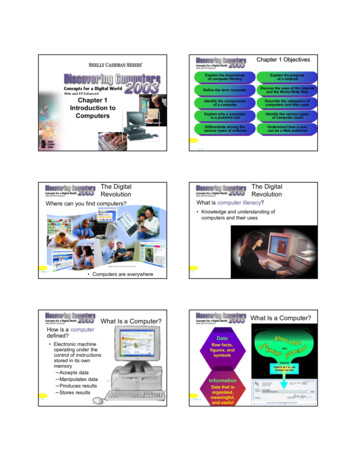
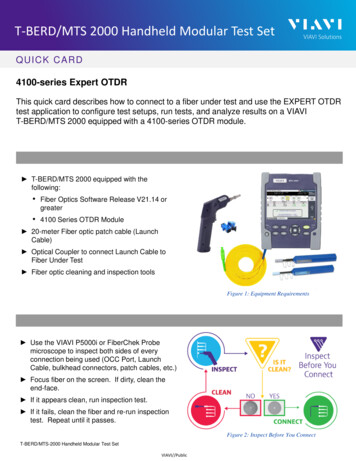
T-BERD/MTS 2000 Handheld Modular Test SetQUICK CARD4100-series Expert OTDRThis quick card describes how to connect to a fiber under test and use the EXPERT OTDRtest application to configure test setups, run tests, and analyze results on a VIAVIT-BERD/MTS 2000 equipped with a 4100-series OTDR module. T-BERD/MTS 2000 equipped with thefollowing: Fiber Optics Software Release V21.14 orgreater 4100 Series OTDR Module 20-meter Fiber optic patch cable (LaunchCable) Optical Coupler to connect Launch Cable toFiber Under Test Fiber optic cleaning and inspection toolsFigure 1: Equipment Requirements Use the VIAVI P5000i or FiberChek Probemicroscope to inspect both sides of everyconnection being used (OCC Port, LaunchCable, bulkhead connectors, patch cables, etc.) Focus fiber on the screen. If dirty, clean theend-face. If it appears clean, run inspection test. If it fails, clean the fiber and re-run inspectiontest. Repeat until it passes.Figure 2: Inspect Before You ConnectT-BERD/MTS-2000 Handheld Modular Test SetVIAVI//Public
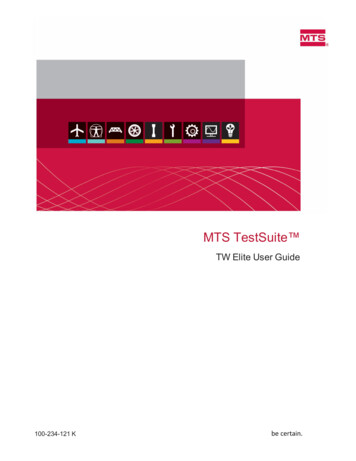
T-BERD/MTS 2000 Handheld Modular Test SetQUICK CARDC O N N E C T TO F I B E R U N D E R T E S T ( F U T )All fibers and connectors should be inspected andclean prior to connection, as described on page 1.The OTDR may be connected to the FUT via anoptical patch panel (OPP) or a coupler:Figure 3: OTDR Port Inspection1.Inspect the OTDR port on top of the test set.2.Inspect the fiber end face of the Launch Cable.3.Connect the Launch Cable to the OTDR port.4.If the interface to the FUT is a patch cord,connect the patch cord to an optical coupler.5.Inspect the FUT connected to the coupler orOPP port and the fiber end face of the LaunchCable.6.Figure 4: Connecting to couplerConnect the Launch Cable to the coupler orOPP port.Figure 5: Connecting to OPPLAUNCH TEST1.Press the ON/OFF buttonset.to start the test2.Press the Home buttonto display theHome view with the EXPERT OTDR icon.3.Tap the EXPERT OTDR iconyellow and highlighted.until it isFigure 6: Fiber Optics Home Screen2T-BERD/MTS-2000 Handheld Modular Test SetVIAVI//Public
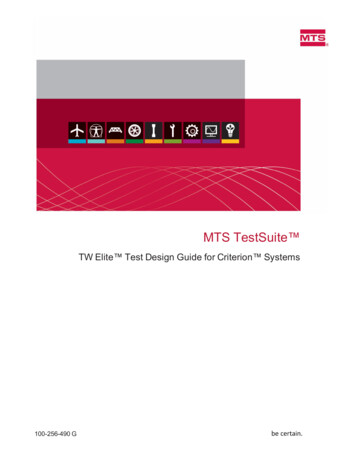
T-BERD/MTS 2000 Handheld Modular Test SetQUICK CARDCONFIGURE TEST1.2.3.4.Tap the Setup soft key.Tap Acquisition and configure the followingbasic settings for the trace: Laser: Choose the wavelength(s) to test. Acquisition Mode:oSelect Manual to manually to enterRange and Pulse width settings.oSelect Auto to automatically configureRange, Pulse width, and SmartAcqsettings.oSelect SmartAcq to perform anacquisition with a short pulse width,followed by an acquisition with a longerpulse width. The first acquisition allowsevents at the beginning of the fiber to bedetected more precisely. Acq. Time: Select Realtime, Auto or thedesired time to sample the fiber. Launch Cable: Select and enter Lengthif you are using a Launch Cable.Enter 20 meters or 66 feet for Viavi supplied20-meter launch cables.Figure 7: Acquisition settingsTap Alarms and configure pass/fail criteria: Set Alarm Level to Fail. Set Threshold to Default, or select alternatealarm thresholds (TIA-568.3, User, etc.)Figure 8: Alarm SettingsTap Display and set Distance Unit to yourdesired unit of measure.Figure 9: Display settings3T-BERD/MTS-2000 Handheld Modular Test SetVIAVI//Public
T-BERD/MTS 2000 Handheld Modular Test SetQUICK CARDRUN TEST1.Tap the Start soft-keyto start the test.After auto-configuration, the OTDR will performa connection check to ensure that theconnection is Good. If the Connection is Bad,disconnect the launch cable, and reconnect asdescribed on pages 1 and 2, cleaning everyfiber end-face that fails the inspection test.2.After connection checks, the OTDR will performacquisitions at the configured wavelengths.3.Tap the SmartLink tab at the left screen top toselect SmartLink view.4.Set the toggle switch at the right screen top toEvent Line.5.View SmartLink results: The FUT is displayed as a series of iconsrepresenting events (front connector,launch cable, connectors, splices, bends,etc.) and distances. Swipe left or right toview additional icons on spans with morethan 4 events. The center of the display shows summaryresults for the entire span for eachacquisition or wavelength. Tap any eventin the upper display to view detailedresults for that specific event. Figure 10: Start TestFigure 11: SmartLink View, Summary ResultsEvents and Acquisitions are marked witha green check or red x based on theAlarms setting.Note: the icon-based view may not beavailable on older T-BERD/MTS 2000s whenacquisition Mode SmartAcq.Rerun the test with Manual or AutoAcquisition or contact VIAVI to upgrade yourunit to add this feature.Figure 12: SmartLink View, Event Results4T-BERD/MTS-2000 Handheld Modular Test SetVIAVI//Public
T-BERD/MTS 2000 Handheld Modular Test SetQUICK CARD6.Tap the Trace tab at the left screen top to selectTrace view.7.Set the toggle switch at the screen top to Info.8.Tap the magnifying glass icons to zoom in ,zoom out, or auto-zoomthe display.You can also pinch and zoom with your fingers.9.View trace results: Trace information is shown in the upperdisplay. Tap 1 or 2 to select the acquisition(wavelength or pulse width) for resultsdisplay. Graphical results (dB versus distance) areshown in the center display. A color-coded Event table is shown in thelower display. Swipe up and down to viewall events.10.Tap the Table tab to select Table view.11.Set the toggle switch at the right screen top tothe center (off) position.12.View table results: Distance, Loss, and Reflectance are shownfor each event. Tap the toggle switch to view All events orFailed events.Figure 13: Trace viewFigure 14: Table view5T-BERD/MTS-2000 Handheld Modular Test SetVIAVI//Public
T-BERD/MTS 2000 Handheld Modular Test SetQUICK CARDS AV E R E S U LT S1.Tap the Fast Report soft key.2.Enter Job Id, Cable ID, Fiber Number,Locations, and Direction. The Job Id field identifies the Job andcreates a folder by the same name.Results are saved to this folder. The Cable Id, Fiber Id, and Fiber Numberfields determine the file name.Figure 15: Report Settings3.Set Dir. Naming to disk/[Job Id]. Use theabc/[auto] button to toggle between test entryand field entry,Figure 16: Directory Naming4.Set Save Mode to pdf.5.Tap Save.6.Tapto accept the default filename andsave test results.7.Tap the Fast Report soft key again to return tothe results display.8.Press the Home buttonHome view.to return to theFigure 17: Fast Report 2021 VIAVI Solutions, Inc,Product specifications and descriptions in thisdocument are subject to change without notice.T-BERD/MTS-2000Modular Test SetPatentedas describedHandheldat viavisolutions.com/patentsContact Us 1 844 GO VIAVI( 1 844 468-4284)To reach the VIAVI office nearest you,visit viavisolutions.com/contactVIAVI//Public
Tap the SmartLink tab at the left screen top to select SmartLink view. 4. Set the toggle switch at the right screen top to Event Line. 5. View SmartLink results: The FUT is displayed as a series of icons representing events (front connector, launch cable, connectors, splices, bends, etc.) and distances. Swipe left or right to