Transcription
How to install anSSL certificatein RecoveryManager Plushttps://www
STEP 1Enable SSL in the RecoveryManager Plus client1. Log in to RecoveryManager Plus.2. Navigate to Admin tab General Settings Connection.3. Check the Enable SSL Port option. The port number 8558 is entered by default.You can change it to a value of your choice.4. Click Save Changes and restart the product for the changes to take effect.STEP 2Create a Certificate Signing Request (CSR)1. Stop RecoveryManager Plus (StartAll ProgramsRecoveryManager PlusStop RecoveryManager Plus)2. Open command prompt and navigate to installation directory \ManageEngine\RecoveryManager Plus\jre\bin where installation directory is whereRecoveryManager Plus is installed.3. Execute the following command to create a Keystore.keytool -genkey -alias tomcat -keypass key password -keyalg RSA -validity1000 -keystore domainName .keystore key password is a password of your choice and domainName is the name of your domain.4. Type in your Keystore password. To avoid any confusion, try giving the samepassword as your 'keypass'.You will be prompted to answer the following questions:What is your first name and last name?Enter the NetBIOS or FQDN of the server inwhich RecoveryManager Plus is configured.What is the name of your Organizational Unit?Enter the name of the OU of your choice.What is the name of your organization?Provide the legal name of your organization.What is the name of your city or locality?Enter the city or locality name as provided in yourorganization's registered address.What is the name of your state or province?Enter the name of your state or province asprovided in your organization's registered address.What is the two-letter country code for this unit?Provide the two-letter code of the country yourorganization is located in.1www.recoverymanagerplus.com
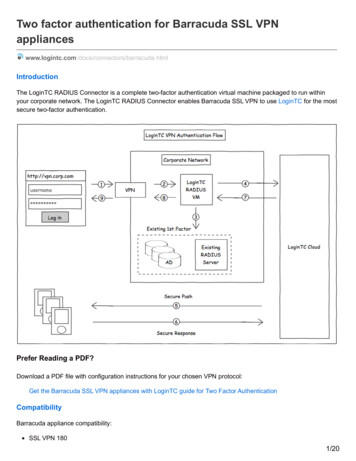
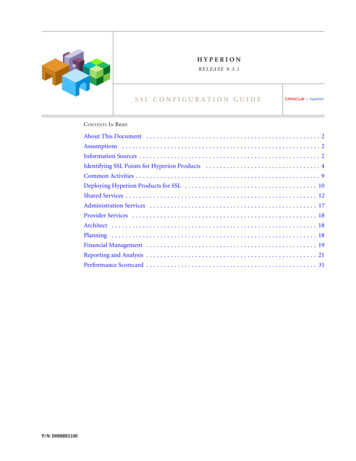
5. In the same path, execute the following command to create a CSR with SubjectAlternative Name (SAN).keytool -certreq -alias tomcat -keyalg RSA -ext SAN dns:server name,dns:servername.domain.com,dns:server name.domain1.com -keystore domainName .keystore -file domainName .csr domainName is the name of your domain and provide the appropriate SubjectAlternatives Names as shown in the figure below:STEP 3Issue the SSL certificate1. Issue the SSL certificate using an internal CA.An internal CA is a member server or domain controller in a specific domain that has beenassigned the role of a CA.iConnect to the Microsoft Certificate Services of your internal CA and click on theRequest a certificate link.2www.recoverymanagerplus.com
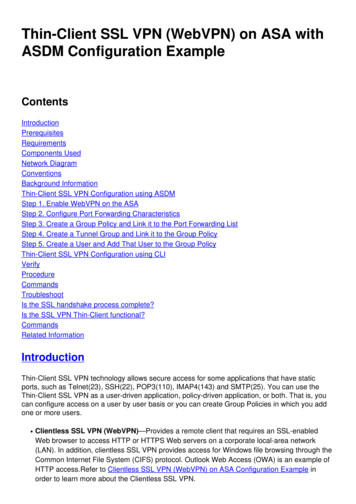
iiClick on 'Advanced certificate request' and select the Submit a certificate by using abase-64-encoded CMC or PKCS #10 file, or submit a renewal request by using abase-64-encoded PKCS #7 file option.iiiCopy the content from your '.csr' file and paste it under the Saved Request field.ivSelect the Web Server as the Certificate Template and click Submit.vClick on the Download Certificate Chain link to download the issued 'PKCS #7Certificates' types. The downloaded certificate will be of the p7b file format.viCopy and paste this '.p7b' file at the installation directory \ManageEngine\RecoveryManager Plus\jre\bin location.viiReturn to the Microsoft Certificate Services and click on the Home link at thetop-right corner of the page.viii Click on the Download a CA certificate, chain certificate or CRL link to download theCA root certificate.ixClick on the Download CA certificate link to download and save the root certificatethat is in the '.cer' format.3www.recoverymanagerplus.com
xCopy and paste the '.cer' file at the installation directory \ManageEngine\RecoveryManager Plus\jre\bin location.xiOpen the command prompt and navigate to the installation directory \ManageEngine\RecoveryManager Plus\jre\bin path and execute the following query to import the internalCA certificate into the '.keyDownload CA certificatestore' file.Keytool –import –trustcacerts –alias tomcat –file certnew.p7b –keystore keystore name .keystoreReplace the keystore name with the name of your keystore.xiiIn the same path, execute the following query to add the internal CA's root certificateto the list of trusted CAs in the Java cacerts file.keytool -import -alias internal CA name -keystore .\lib\security\cacerts -file certnew.cerNote: Open the '.cer' file to get the name of your internal CA. When prompted, provide'changeit' as the keystore password.2. Issue the SSL certificate using external CAs.iTo request a certificate from an external CA, submit the CSR to that CA.iiUnzip the certificates returned by your CA and place them in the installation directory /ManageEngine/RecoveryManager Plus/jre/bin folderiiiOpen the command prompt and navigate to the installation directory /ManageEngine/RecoveryManager Plus/jre/bin folderivRun the respective commands from the given list as applicable to your CA:A. For "GoDaddy" certificateskeytool -import -alias root -keystore domainname .keystore-trustcacerts -file gdrootg2.crtkeytool -import -alias cross -keystore domainname .keystore-trustcacerts -file gdrootg2 cross.crtkeytool -import -alias intermed -keystore domainname .keystore-trustcacerts -file gdig2.crt4www.recoverymanagerplus.com
B. For "Verisign" certificateskeytool -import -alias intermediateCA -keystore domainName .keystore-trustcacerts -file your intermediate certificate.cer keytool -import -alias tomcat -keystore domainName .keystore-trustcacerts file recoverymanager.cerC. For "Comodo" certificateskeytool -import -trustcacerts -alias root -file AddTrustExternalCARoot.crt-keystore domainName .keystorekeytool -import -trustcacerts -alias addtrust -file UTNAddTrustServerCA.crt-keystore domainName .keystorekeytool -import -trustcacerts -alias ComodoUTNServer -file ComodoUTNServerCA.crt- keystore domainName .keystorekeytool -import -trustcacerts -alias essentialSSL -file essentialSSLCA.crt-keystore domainName .keystoreD. For Entrust certificateskeytool -import -alias Entrust L1C -keystore keystore-name.keystore -trustcacerts file entrust root.cerkeytool -import -alias Entrust 2048 chain -keystore keystore-name.keystore - trustcacerts -file entrust 2048 ssl.cerkeytool -import -alias -keystore keystore-name.keystore -trustcacerts -file domain-name.cer E. For Thawte certificatesPurchased directly from Thawte:keytool -import -trustcacerts -alias tomcat -file certificate-name.p7b -keystore keystore-name.keystore Purchased through the Thawte reseller channel:keytool -import -trustcacerts -alias thawteca -file SSL PrimaryCA.cer -keystore keystore-name.keystore keytool -import -trustcacerts -alias thawtecasec -file SSL SecondaryCA.cer - keystore keystore-name.keystore keytool -import -trustcacerts -alias tomcat -file certificate-name.cer -keystore keystore-name.keystore Note: If you use an external CA which is not in the list mentioned above, please contact yourCA for the required commands.5www.recoverymanagerplus.com
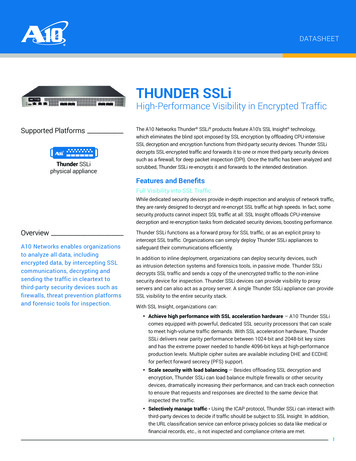
STEP 3Associate the certificate withRecoveryManager Plus1. Copy the '.keystore' file from the installation directory \ManageEngine\RecoveryManager Plus\jre\bin location and paste it at the installation directory \ManageEngine\RecoveryManager Plus\conf location.2. At the installation directory \ManageEngine\RecoveryManager Plus\conf location,locate the 'server.xml' file and take a backup of that file.3. Open the server.xml file using an editor and navigate to the last connector tag.4. Replace the value of the keystore file with the location of your keystore('./conf/ keystore name .keystore).5. Replace the value of the 'keystorePass' with the password given during keystore creation.6. Change the value of 'keystoreType' to "JKS".7. Save the server.xml file and start RecoveryManager Plus (StartRecoveryManager PlusAll ProgramsStart RecoveryManager Plus).8. Once the RecoveryManager Plus service has started, launch the RecoveryManager Plus client.Click here to download a guide on how to install an SSL certificate in RecoveryManager Plus.ManageEngine RecoveryManager Plus is a comprehensive backup and recovery solution that empowersadministrators to back up and restore their Active Directory, Azure Active Directory, Microsoft 365 (ExchangeOnline, SharePoint Online, OneDrive for Business, and MS Teams), Google Workspace, and on-premisesExchange environments from a single console. With its ability to perform incremental backups, granular andcomplete restoration, modifiable retention policies, and varied storage mediums, RecoveryManager Plus is thecomplete one-stop solution to enterprise backup and restoration needs.www.manageengine.com/ad-recovery-manager.
ManageEngine RecoveryManager Plus is a comprehensive backup and recovery solution that empowers administrators to back up and restore their Active Directory, Azure Active Directory, Microsoft 365 (Exchange Online, SharePoint Online, OneDrive for Business, and MS Teams), Google Workspace, and on-premises Exchange environments from a single console.