Transcription
Install Tomcat 9 for SAP BI 4.2Brief: The version of Tomcat that comes with SAP BusinessObjects does not meet securitypenetration testing therefore needs to be upgraded to the latest supported version of tomcat.Below instructions detail how to install a newer version of Tomcat for SAP BusinessObjects 4.2or SAP Crystal Server 2016 to use.Date: 03-12-2019Version: SAP BusinessObjects 4.2 / Crystal Server 2016 Service Pack 5 and aboveTomcat Version: 9.0.27 (at time of writing)NOTE: The process of upgrading Tomcat outside of the included BI Platform installation fallsunder Limited Support/Out of Scope of SAP Support. In cases where the upgraded version isnot stable or has other issues you may be required to downgrade or revert to the bundledversion for product compatibility, or at the request of SAP Product Support in the course oftroubleshooting. Refer to the supported version of Tomcat mentioned in the PAM Guide foryour respective BI product version.If Tomcat is successfully upgraded to a supported version respective to the BI Platformversion in use, that version of Tomcat is then supported by SAP per the PAM as normallysupported if bundled with the BI Platform installation.BackupsBefore upgrading Tomcat ensure to take the necessary backup of the files and registry forsafe side. Make a backup of the entire current Tomcat directory for BI 4.2 /Crystal Server 20161. Log onto the SAP BI Server2. Navigate to install dir \tomcat3. Make a copy of this whole directory and back this up somewhere off the server or onanother drivedscallards.com
Make a backup of Tomcat's Java Parameters from the Tomcat Configuration Manager1. Open the Tomcat Configuration Manager on the SAP BI Server2. Navigate to the Java tab and copy the Java options into a text file. Example below ofwhats been copied-Djava.library.path C:\Windows\SysWOW64\;C:\Program Files (x86)\SAPBusinessObjects\SAP BusinessObjects Enterprise XI 4.0\win64 x64\-Dcatalina.base C:\Program Files (x86)\SAP BusinessObjects\tomcat\-Dcatalina.home C:\Program Files (x86)\SAP BusinessObjects\tomcat\-Djava.endorsed.dirs C:\Program Files bobj.enterprise.home C:\Program Files (x86)\SAP BusinessObjects\SAPBusinessObjects Enterprise XI 4.0\-Xrs-XX:MaxPermSize 384M-Djava.awt.headless true-XX: HeapDumpOnOutOfMemoryError-Xloggc:C:\Program Files -XX: PrintGCDetails-XX: UseParallelOldGC-Djava.security.auth.login.config c:\windows\bscLogin.conf-Djava.security.krb5.conf d ****-Djcsi.kerberos.debug truedscallards.com
Make a backup of the Windows registry using this Microsoft ndowsDownloadsAt the time of writing this Nov 2019 Apache Tomcat 9.0.27 was the latest version available todownload from .27Download the 64-bit Windows Zip version as per the screen belowTomcat Steps to setupRemove the bundled Tomcat.1. Stop Tomcat from Central Configuration Manager (CCM) or Tomcat ConfigurationManager.dscallards.com
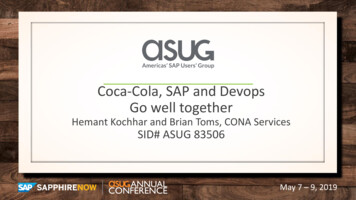
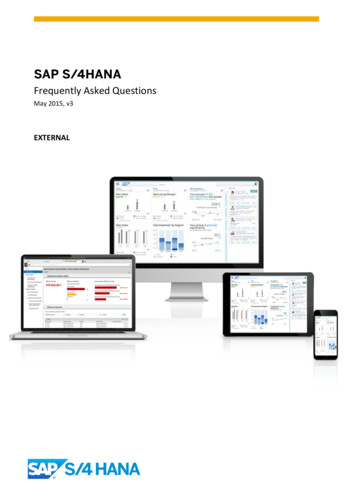
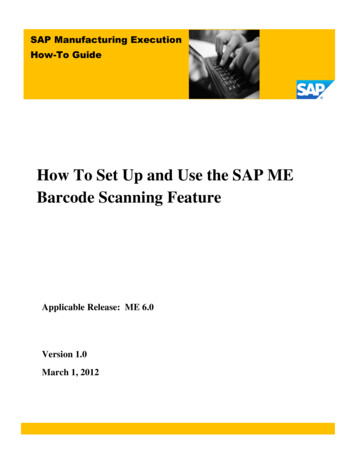
2. Navigate to installdir \SAP BusinessObjects and rename tomcat to tomcat old3. Open Services and copy the Tomcat Service Name:3. Run this following command to delete the Tomcat service based on the name aboveSc delete BOEXI40Tomcatdscallards.com
dscallards.com
4. Extract the Tomcat 9.0.27 zip file downloaded and copy to installdir \SAPBusinessObjects\ locationdscallards.com
5. Rename the folder to tomcatdscallards.com
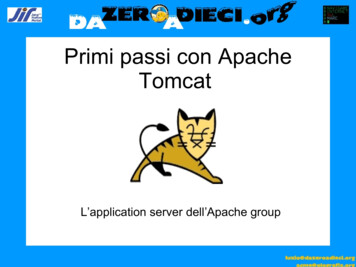
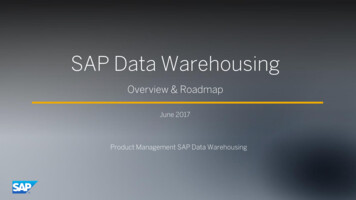
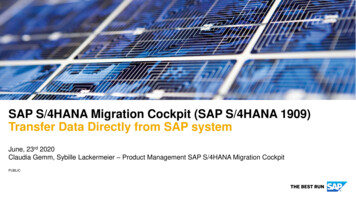
6. In a command prompt change directories to installdir \SAPBusinessObjects\tomcat\bin7. Run the following command to install the Tomcat service with the same name as theoriginal service nameService.bat install BOEXI40Tomcatdscallards.com
dscallards.com
Finalizing Tomcat settings and enabling the Tomcat Configuration Manager.1. Navigate to installdir \SAP BusinessObjects\tomcat\bin and rename Tomcat'sConfiguration Manager executable file from Tomcat9w.exe to BOEXI40Tomcatw.exe.2. Once renamed, right click on BOEXI40Tomcatw.exe and send shortcut to the desktop3. Right click on the Tomcat Configuration Manager shortcut file on Desktop & clickProperties. The Shortcut tab will be displayed by default. Add thetext //ES//BOEXI40Tomcat in the Target field after the existing entry, separated by aspace. Click Apply and Okaydscallards.com
4. Copy this Tomcat Configuration shortcut to OSInstalldirve \Documents andSettings\All Users\Start Menu\Programs\Tomcat folder and replace the existing file.(This step is to replace the shortcut and it is optional if you are using theConfiguration File of tomcat from desktop)Rename the existing shortut to old.Rename the new shortcut to Tomcat Configurationdscallards.com
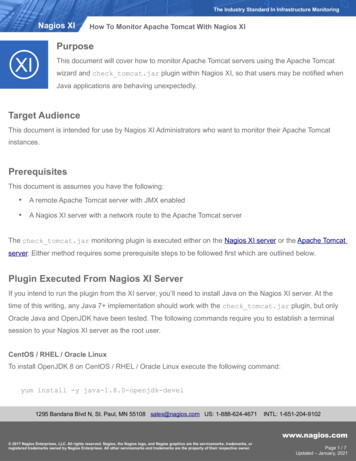
5. Open Tomcat Configuration Manager by clicking on that shortcut and make thechanges described below:a) General Tab :I.Make Startup Type: Automatic (By Default it is "Manual")dscallards.com
II.Change Tomcat display name to: Apache Tomcat For BI4b) Log On TabChange it to domain account if required or keep it as local system account.dscallards.com
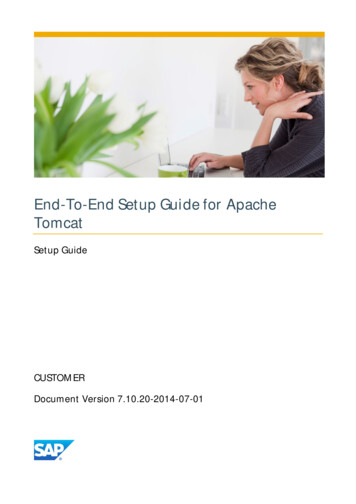
c) Logging TabI.Create 2 files Stderr.log and Stdout.log in rootBOinstalldir \SAPBusinessObjects\tomcat\logs Folder.II.Browse to the above files in "Redirect Stdout and Stderr respectively.dscallards.com
d) Java Tabi.Uncheck USE DEFAULT option and Browse JVM.DLL for Java Virtual Machine.Location: rootBOinstall \SAP BusinessObjects\SAP BusinessObjects Enterprise XI4.0\win64 x64\sapjvm\jre\bin\server and choose JVM.DLLii.Change the Java Parameter according to new directory structure or replace theparameters in java section. Ensure the directories and parameters are given correctlyyou can use Backup Java parameters from old Tomcat back as reference. For Sampleparameters check below:dscallards.com
-Djava.library.path C:\Windows\SysWOW64\;C:\Program Files (x86)\SAPBusinessObjects\SAP BusinessObjects Enterprise XI 4.0\win64 x64\-Dcatalina.base C:\Program Files (x86)\SAP BusinessObjects\tomcat\-Dcatalina.home C:\Program Files (x86)\SAP BusinessObjects\tomcat\-Djava.endorsed.dirs C:\Program Files bobj.enterprise.home C:\Program Files (x86)\SAP BusinessObjects\SAPBusinessObjects Enterprise XI 4.0\-Xrs-XX:MaxPermSize 384M-Djava.awt.headless true-XX: HeapDumpOnOutOfMemoryError-Xloggc:C:\Program Files -XX: PrintGCDetails-XX: UseParallelOldGC-Djava.security.auth.login.config c:\windows\bscLogin.conf-Djava.security.krb5.conf c:\windows\krb5.inidscallards.com
-Dcom.wedgetail.idm.sso.password ****-Djcsi.kerberos.debug trueClick ApplyIII.Change the Initial Memory Pool to blank, Maximum Memory Pool to a minumum of4096, but please increase accoridngin to usage/number os users. Thread Stack size as1024 minimum.Deploying Web Applications (WAR files on Tomcat):1. Open the file config.tomcat9 in Notepad.It is located in BOinstalldir \SAPBusinessObjects\SAP BusinessObjects Enterprise XI 4.0\wdeploy\conf folder.2. Assign the following values to the respective variables:as dir C:\Program Files (x86)\SAP BusinessObjects\Tomcatas instance localhostas service name BOEXI40Tomcatdscallards.com
3. Save & close the file.4. Open a Command Prompt using Administrator and Navigate to the directory installdir \SAP BusinessObjects\SAP BusinessObjects Enterprise XI 4.0\wdeploy.5. Run the command : wdeploy tomcat9 validateconfig to check if you have made thecorrect changes in config file in step 1 & 26. A BUILD SUCCESSFUL message will appear if the validation is successful.7. Now run the command : wdeploy tomcat9 deployall to deploy the WAR files onTomcat8. A BUILD SUCCESSFUL message will appear once all the WAR files are successfullydeployed. This will take roughly 20 minutes or more to do this processdscallards.com
6. Edit server.xml file installdir \SAP BusinessObjects\tomcat\conf and add the lineinside the Host name tag, appbase C:\Program Files (x86)\SAPBusinessObjects\tomcat\webapps7. Start Tomcat and Wait for 10 – 15 minutes until the Catalina servlet initializes itself &starts all applications.dscallards.com
Securing Tomcat1. Remove default tomcat web-apps from installdir ROOTHost-Manager2. Enable the https connector port in the server.xml file installdir \SAPBusinessObjects\tomcat\confdscallards.com
Connector port "8443" protocol eads "150" SSLEnabled "true" secure "true" scheme "https"keystoreFile "c:\ssl\.keystore" keystorePass "***" clientAuth "false"sslEnabledProtocols "TLSv1.2,TLSv1.1,TLSv1,SSLv2Hello" compression ”on”URIEncoding ”UTF-8” compressionMinSize ”2048” noCompressionUserAgents ”gozilla,traviata”compressableMimeType ascript,text/json,application/json”Ciphers ”TLS RSA WITH AES 256 CBC SHA,TLS RSA WITH AES 128 CBC SHA,TLS RSA WITH AES 256 CBC SHA256,TLS RSA WITH AES 256 CBC SHA” /Connector note: keystore file is created outside this process to store certificates for SSL within, keystorepassword is also required that creates the keystore.3. Save and close the server.xml filedscallards.com
4. Restart Apache Tomcat for BI4 service from the Central Configuration ManagerWritten by: Rebecca Morris, Senior BI Consultant, DSCallards DSCallards Ltddscallards.com
If Tomcat is successfully upgraded to a supported version respective to the BI Platform version in use, that version of Tomcat is then supported by SAP per the PAM as normally supported if bundled with the BI Platform installation. Backups Before upgrading Tomcat ensure to take the necessary backup of the files and registry for safe side.