Transcription
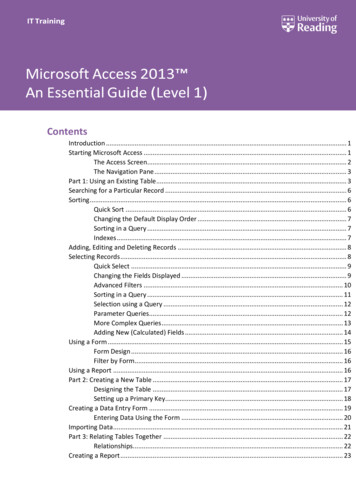
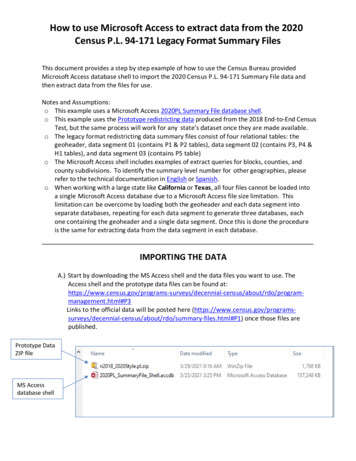
How to use Microsoft Access to extract data from the 2020Census P.L. 94‐171 Legacy Format Summary FilesThis document provides a step by step example of how to use the Census Bureau providedMicrosoft Access database shell to import the 2020 Census P.L. 94‐171 Summary File data andthen extract data from the files for use.Notes and Assumptions:o This example uses a Microsoft Access 2020PL Summary File database shell.o This example uses the Prototype redistricting data produced from the 2018 End-to-End CensusTest, but the same process will work for any state’s dataset once they are made available.o The legacy format redistricting data summary files consist of four relational tables: thegeoheader, data segment 01 (contains P1 & P2 tables), data segment 02 (contains P3, P4 &H1 tables), and data segment 03 (contains P5 table)o The Microsoft Access shell includes examples of extract queries for blocks, counties, andcounty subdivisions. To identify the summary level number for other geographies, pleaserefer to the technical documentation in English or Spanish.o When working with a large state like California or Texas, all four files cannot be loaded intoa single Microsoft Access database due to a Microsoft Access file size limitation. Thislimitation can be overcome by loading both the geoheader and each data segment intoseparate databases, repeating for each data segment to generate three databases, eachone containing the geoheader and a single data segment. Once this is done the procedureis the same for extracting data from the data segment in each database.IMPORTING THE DATAA.) Start by downloading the MS Access shell and the data files you want to use. TheAccess shell and the prototype data files can be found al-census/about/rdo/programmanagement.html#P3Links to the official data will be posted here census/about/rdo/summary-files.html#P1) once those files arepublished.Prototype DataZIP fileMS Accessdatabase shell
B.) Open the .zip file and extract the files found inside. This example uses WinZip, youmay use another software package or Microsoft Windows to unzip these files. Thefiles must be unzipped before beginning the import process. Once unzipped, navigateinto the folder that contains the unzipped files.
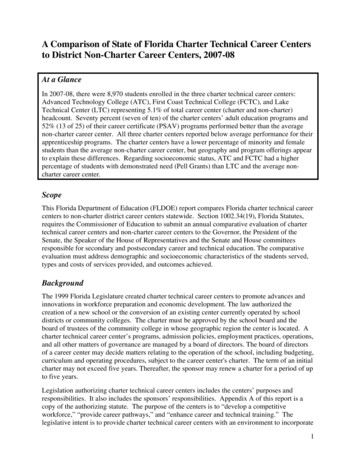
C.) Your Windows environment must be set to show file name extensions. This can be set through theView function of Windows Explorer. Make sure the “File name extensions” box is checked.D.) All files with a .pl extension must be changed to .txt files. Right click on the first file thathas a .pl extension. Choose “Rename” and add .txt to the end of the filename. Hit Enter.Repeat for each file that has a .pl extension.Note: The file “Type” should change from “PL File” to “Text File” after you add the .txtfile extension to the name and hit enter.
E.) Open the 2020PL SummaryFile Shell using Microsoft Access. You’ll see theplaceholder tables for the geoheader (2020 PL Geoheader) and 3 data segments (2020PL Segment 1; 2020 PL Segment 2; 2020 PL Segment 3). You will also see threeexample data queries, one for blocks, one for counties and one for countysubdivisions.F.) Click on the “External Data” menu, select the “New Data Source” option, select the“From File” option, and finally select “Text File”.
G.) Use the “Browse” button to navigate to the files’ location and select which file youwant to bring into the database.
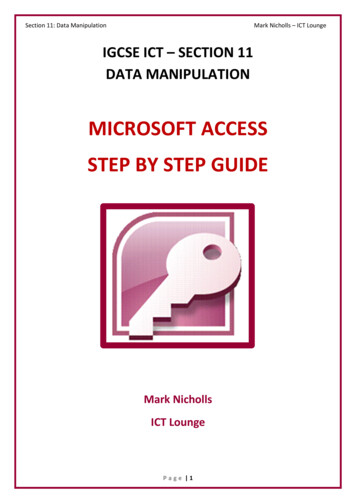
I.) Click on the radio button next to “Append a copy of the records to the table.” Select the table inthe pull-down menu that corresponds with the file that you are importing. Once everything is selected,hit the “OK” buttonNote: Make sure to import the correct text file into the correct Microsoft access table shell.For the prototype data from the 2018 End-to-End Test conducted in Rhode Island, you canidentify each in the file name. The correct table shells and text file imports are listed in thetable below.Microsoft Access Shell Table Name2020 PL Geoheader Fields2020 PL Segment 1 Fields2020 PL Segment 2 Fields2020 PL Segment 3 FieldsText Document Namerigeo2018 2020Style.pl.txtri000012018 2020Style.pl.txtri000022018 2020Style.pl.txtri000032018 2020Style.pl.txtTwo Character State AbbreviationData Segment numberYear
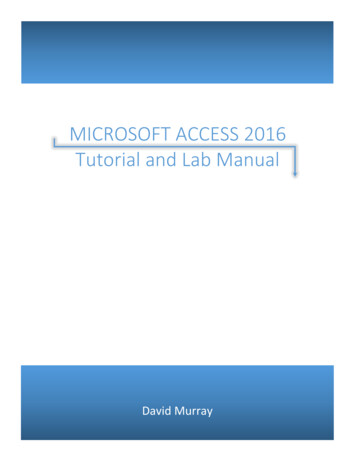
J.) The Import Text Wizard opens. Click the “Delimited” radio button and then clickthe “Next” button.
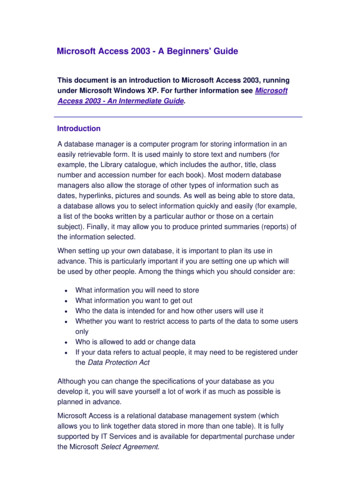
K.) Set the radio button selection to “Other” and type a pipe character “ ” into the adjoining textbox. NOTE: To type a pipe character on a standard U.S. keyboard, hold down the “Shift” key andclick on the backslash “ \” key. Then, select the “Finish” button.Use these keys together to get apipe “ ”.L.) When the import completes, click the “Close” button to close the Import Wizard. Users canselect to save their import steps at this stage, but it is not required. NOTE: You an verify thatthe data was imported by opening the table in the MS Access database. To open the table,double click the table name in the table of contents.M.) Repeat steps F through L for each file until the Geoheader and all of the data segmentsare loaded. (Please remember that when working with a large state like California orTexas, all four files cannot be loaded into a single Microsoft Access database due to aMicrosoft Access file size limitation. This limitation can be overcome by loading both thegeoheader and each data segment into separate databases, repeating for each datasegment to generate three databases, each one containing the geoheader and a singledata segment.)
Extracting the DataThe 2020PL SummaryFile Shell has the relationship between the tables needed for extracting dataalready established. In addition, there are three example queries, one for blocks, one for counties,and one for county subdivisions (COUSUBs).A.) To check these relationships are indeed established, click on the “Database Tools” menu and thenthe “Relationships” button.
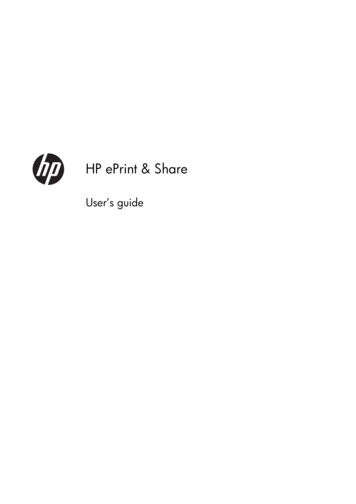
B.) If the relationships don’t show right away, click the “All Relationships” button. You should seethe tables with connections depicted by black lines between the common field LOGRECNO.C.) To pull data from the database you just built, it is necessary to construct a query.The MS Access database shell has three example queries built in. The first pulls block data from data segment one The second pulls county data from data segment two The third pulls county subdivision data from data segment three
D.) To modify one of these queries, right click on the query and select Design View. Here you canchange the summary level (SUMLEV) to change the geography and/or add additional data fieldsyou want to see in the final extracted table. This example will look at the block query.E.) In the Design View window, you will see the tables in the area at the top and then theselected fields from those tables in the fields below. To add fields to the query,double click the desired field in the table in the top window.
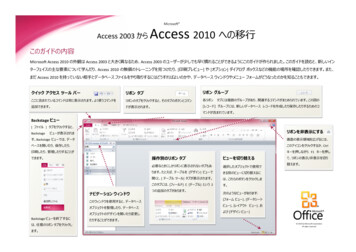
F.) In this query we selected block level data by selecting the summary level field,“SUMLEV”, from the geoheader and then setting its value to 750, the code for blocks.These summary level codes can be pulled from the summary level sequence chart inthe technical documentation.
G.) To view the results of your constructed query, click the “View” button.
H.) You should now see a table with all the fields you had added in the designview.I.) You can now save and close your query for future use or go back into Design View toadjust what fields and summary level you want in your extract.
J.) If you want to export the table you created, right click on name of the query you savedand select “Export”. This will provide many format options for your exported table.Note: Some formats may not be compatible with the size of the table you areexporting.
Microsoft Access database shell to import the 2020 Census P.L. 94‐171 Summary File data and then extract data from the files for use. Notes and Assumptions: o This example uses a Microsoft Access 2020PL Summary File database shell . o This example uses the Prototype redistricting data produced from the 2018 End‐ to‐End Census