Transcription
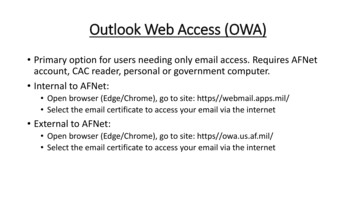
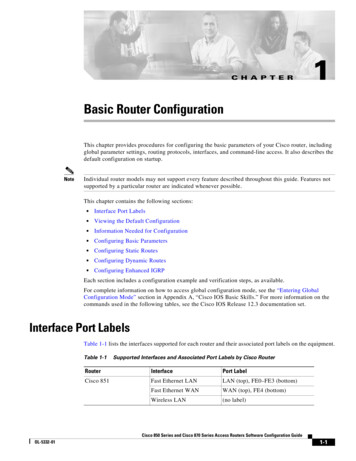
AnyConnect Connection GuideThe Cisco AnyConnect VPN Client provides a method for Sandbox users to create a secure VPNconnection to a Sandbox Lab. This document will guide users through the process of usingAnyConnect to establish a VPN connection to their reserved lab. Although the images in thisdocument are specific to a Windows system, the connection process on Mac OS systems should beessentially the same.0) Download and InstallIf you have not yet downloaded and installed the AnyConnect VPN Client, you must do this first. Download AnyConnect VPN ClientInstall AnyConnect VPN Client1) LaunchLaunch the AnyConnect VPN Client program:2) Set PreferencesYou’ll need to review and configure the AnyConnect options. After Anyconnect launches, you’ll needto click on the “Configuration” button on the main panel. See image below.
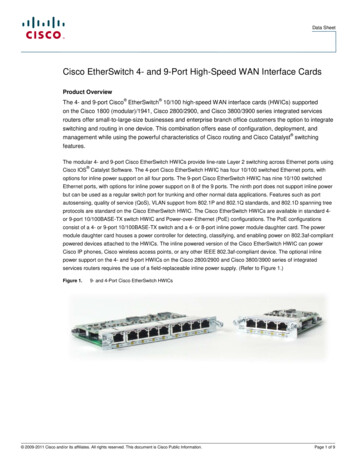
You will need to uncheck the option that says “Block connections to untrusted servers”. Yourselection is immediately saved.Close the Configuration window.3) Email with Connection InformationYou will receive an email when your Lab is fully provisioned, tested and ready for you to access. Thisemail will contain three important pieces of information.1) Your Lab’s Network IP Address2) Your VPN Username3) Your VPN PasswordYou’ll need these pieces of information in several of the upcoming sections of this guide.2
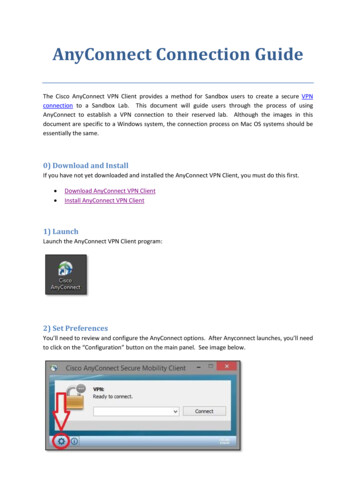
4) Enter Your Lab’s Network IP AddressIn the main entry field, enter your Lab’s Network IP Address as provided in the email. Then choose“Connect”.5) Accept the Certificate WarningAfter a few seconds, you’ll see a new window notifying you of an “Untrusted Server Certificate”.This is expected and not a real issue. Choose “Connect Anyway”.3
6) Enter Your Network CredentialsYou’ll see a new window prompting you to provide your Lab’s network credentials. Enter theUsername and Password as provided in the email. Choose “OK”.7) Connection StatusNext you’ll see the main AnyConnect window go through several connection states. When it hascompleted establishing the connection, AnyConnect will iconify in the Notification Area of theWindows Taskbar.When you have an established VPN connection, the AnyConnect icon will display a symbol of apadlock, as shown here.8) You Are Connected!Congratulations! Your system is now on the same network as your Sandbox Lab. You can interactwith resources in your lab by using either your Lab’s Web Portal, or you can make connectionsdirectly to enabled devices by using tools such as PuTTY installed on your system.4
9) DisconnectingWhen you wish to disconnect the VPN connection, simply click on the AnyConnect icon (as shown instep 7). You’ll see the main AnyConnect window. Choose “Disconnect”.Your AnyConnect icon will no longer display the padlock.Your system is now disconnected from your Lab’s network.5
The Cisco AnyConnect VPN Client provides a method for Sandbox users to create a secure VPN connection to a Sandbox Lab. This document will guide users through the process of using AnyConnect to establish a VPN connecti